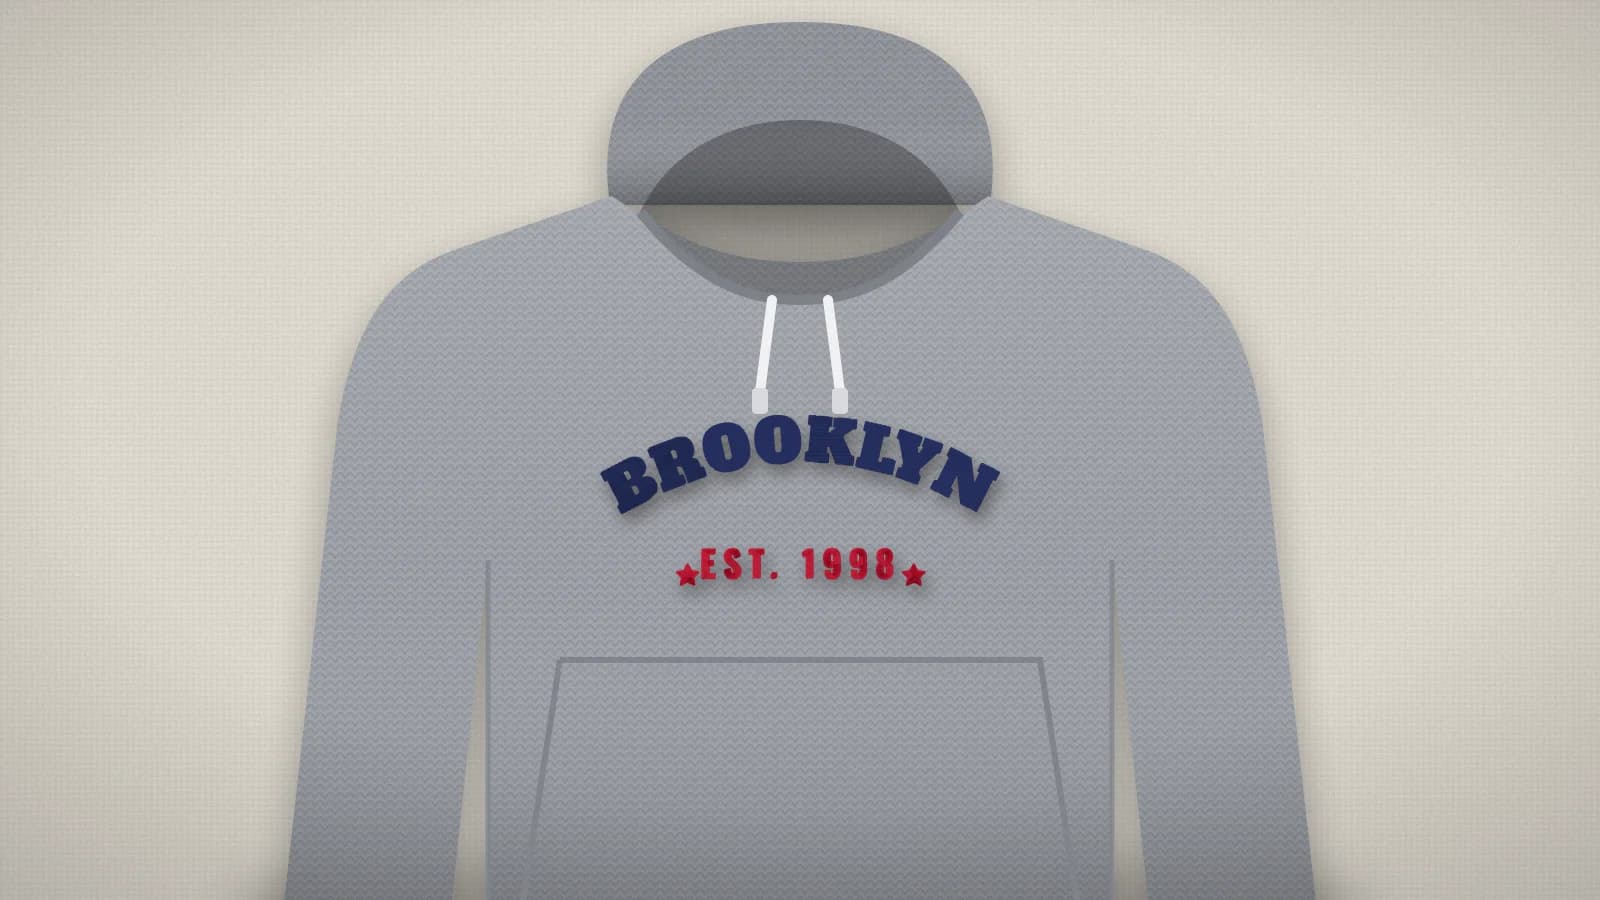
A hoodie is one of the most rewarding things to embroider and one of the bulkiest to hoop. Most are fleece: a knit face, often a cotton-polyester blend, with a soft brushed back. That means the fabric stretches, the surface swallows thin stitches, and the rest of the garment is thick, heavy and in the needle's way.
Three habits handle most of it: hoop only one layer, use cut-away underneath with a water-soluble topping on top, and keep the design bold rather than dense. For a file sized for a hoodie, start with the hoodie embroidery file page.
Where designs go on a hoodie, and how big
| Placement | Typical size | Where it sits | Good to know |
|---|---|---|---|
| Left chest | 3–4 in (75–100 mm) wide | About 7–9 in below the shoulder seam at the collar, 3.5–5 in from the center front | The easiest placement; fits a 4×4 in hoop |
| Center chest | 4–8 in (100–200 mm) wide | Centered, top about 3–4 in below the neckline | Keep the bottom well clear of the pocket |
| Full front | 8–11 in (200–280 mm) wide, often no more than about 6–7 in (150–180 mm) tall | Centered, top about 3–4 in below the neckline | The classic spot for arched varsity lettering; needs a large field |
| Sleeve | 2.5–3.5 in (65–90 mm) wide | Outside of the sleeve, about 2–4 in below the shoulder seam | Hoop one layer; a long name down the arm needs a long hoop |
| Hood | 2–4 in (50–100 mm) wide | On the side panel, clear of the seams | Hard to hoop; usually floated |
| Back | 10–12 in (250–300 mm) wide | Centered, top about 3–5 in below the hood seam | The flattest, largest area; an 8×12 in hoop turned sideways or larger |
These are adult sizes; kids' hoodies take smaller designs. Settle the size before you digitize, because a stitch file doesn't scale well by more than about 10%. The embroidery placement guide explains how to measure and mark each position. Team orders that pair a hoodie with a beanie or a tote bag need a file at each item's size, not one file stretched to fit.
Stabilizer and topping for fleece
A medium-weight cut-away is the usual backing for a hoodie. Fleece stretches, and cut-away stays in the garment to support the stitches through every wash. Tear-away leaves a neater inside, but on a knit the design tends to distort once the backing is gone.
On the front, lay a sheet of water-soluble topping over the design area. It keeps the stitches on top of the brushed surface, so lettering and satin edges stay crisp. Afterwards, tear off the excess and dab the rest away with a damp cloth.
- Large or dense designs: add a second layer of cut-away, or use a fusible cut-away that irons onto the inside so the fleece can't shift.
- Hoodies that won't hoop well: hoop the stabilizer alone and float the hoodie on it with spray adhesive, or use a magnetic hoop.
Not sure what a particular hoodie needs? The embroidery stabilizer finder suggests a backing and topping for the fabric and design.
Try it with your own design
Sign up free, upload an image and get a stitch preview in under a minute.
Drop your image here
PNG, JPG, WebP or SVG · stays on your device
Setting up the file for fleece
Fleece needs a file made for it. Heavy underlay lays down a base that flattens the surface before the top stitches go on, and extra pull compensation keeps outlines meeting their fills as the knit pulls in. In the digitizer, the fleece preset (fleece, towel, sweatshirt) sets both: heavy underlay, 0.3 mm of pull compensation and fill rows about 0.4 mm apart.
Bold beats dense on a soft garment. A solid fill across a full front turns into a stiff, heavy plate, so favor outlined lettering, varsity text and designs with open areas over big solid backgrounds. Keep lettering at least about 6–7 mm tall, a little more than on a shirt, because the surface hides thin strokes.
Hooping a thick hoodie
- Lay the hoodie flat and mark the center of the design with chalk or a water-soluble pen.
- Slip the hoop's outer ring inside the hoodie through the bottom hem, lay the cut-away on it, smooth the front over both and press in the inner ring. Only the front layer goes in the hoop.
- Keep the fleece flat and smooth, not stretched tight. Stretched fleece relaxes after unhooping and puckers around the design. Then lay the topping over the design area.
- Roll the back, hood and sleeves away from the needle and clip them, so the garment's weight doesn't drag on the hoop as it moves.
- Check underneath by hand before you start: only the front and the backing should be under the needle.
If a standard hoop only closes over thick fleece by force, switch to a magnetic hoop or float the hoodie. Forcing it leaves hoop burn, a crushed ring in the surface that can take a wash or a shot of steam to lift.
Working around the pocket, seams, hood and zip
On a pullover, the front pocket is the main limit. Its top edge is a thick double layer, and the needle shouldn't cross it. Leave a gap of an inch (25 mm) or so between the bottom of a chest design and the pocket, and measure on the actual hoodie, since pockets vary.
- On the pocket itself: slide the outer ring into the pocket so only its front layer is stitched. Otherwise the design sews the pocket shut.
- Seams: shoulder, raglan and side seams are thick ridges. Keep small text and fine details off them; fills and wide satin cross a seam better.
- Hood: float it on adhesive stabilizer and keep the design small. On a lined hood the back of the stitches shows inside, and an iron-on cover backing hides it.
- Zip-ups: use the left chest, sleeves or back. A design across the zip has to be split and sewn on each side, which takes careful alignment.
Step-by-step: embroidering a hoodie
- Pick the placement and measure the space on the hoodie, including the gap above the pocket.
- Open the digitizer, sign in with your free account and add your design as a PNG, JPG, WebP or SVG. The image stays on your device, and the upload is saved to My designs.
- Set the width for the placement, choose the fleece preset and read the design check. It flags details under about 0.8 mm and lettering under about 5 mm.
- Check the stitch count and sew time. A 20,000-stitch full front is about half an hour of sewing at 700 stitches a minute, plus thread changes.
- Download your machine's format, or the ZIP with all of them. Digitizing and previewing are free with your account; downloads need a plan.
- Hoop as above and test on a spare hoodie or a scrap of the same fleece.
- After sewing, trim the cut-away about 1/4 in (6 mm) from the stitches, tear off the topping and dab away the rest.