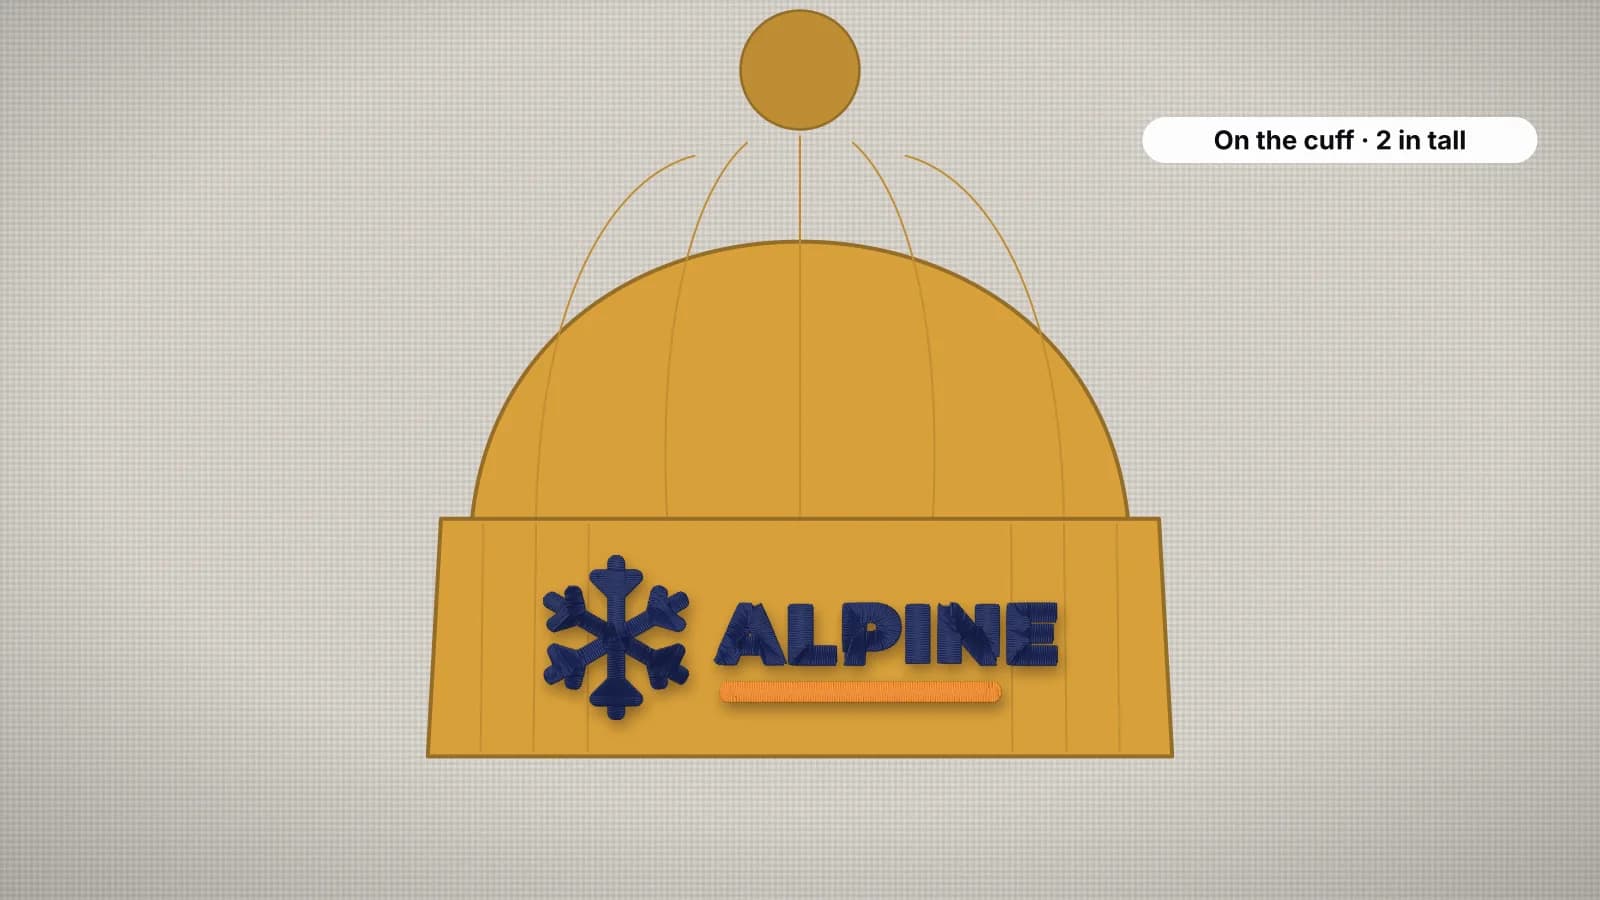
A logo on the cuff of a beanie is one of the most popular pieces of winter merch, for teams, ski shops, breweries and gifts. It's also a small, awkward target: the cuff is only a few inches deep, the hat is a tube, and rib knit stretches a lot sideways and swallows thin stitches.
The usual approach is to stitch the cuff unfolded, floated on sticky backing rather than clamped in a hoop, with a short, bold design and a topping on chunky knits. For a file sized for the cuff, start with the beanie embroidery file page.
Beanie design sizes
| Placement | Design size | Good to know |
|---|---|---|
| Cuff logo | 2–4 in (50–100 mm) wide, under about 1.75 in (45 mm) tall | The classic spot, centered on the front of the folded cuff |
| Small cuff icon | About 1.5–2 in (40–50 mm) wide | A single icon or initial |
| Uncuffed beanie, front | About 2.5–3.5 in (65–90 mm) wide | Stitched on the front of the hat, below the crown shaping |
| Kids' and baby beanies | Narrower, still under about 1.75 in tall | A short word or a small icon; measure the cuff |
Height is the limit to watch. A folded cuff is often only around 3 in (75 mm) deep, and the design needs a margin above and below so it doesn't run into the fold or the edge. Short, wide designs suit the space: about 3.5 × 1.4 in (90 × 35 mm) is a common, balanced size. Cuff depth varies by style, so measure your beanies. The beanie size page shows the placement on a diagram.
Which way up: stitching the unfolded cuff
Most cuffed beanies are stitched with the cuff unfolded and laid flat. That gives a single layer to work on, and once the cuff is turned back, the back of the stitches is hidden inside the fold. The catch is orientation:
- Put the beanie on a head or a ball, fold the cuff the way it will be worn, and mark the center of the design on the cuff with chalk or a water-soluble pen.
- Unfold the cuff. The face you marked is now on the inside of the hat, so turn the beanie inside out to bring it to the outside.
- Check which way up the design runs. With the crown at the top, the design usually needs to sew upside down, because the cuff's bottom edge becomes its top once it's folded back.
- Tape a paper printout on the mark and fold the cuff up over it to confirm, before you hoop anything.
Do the printout check before the first beanie of every order. It takes a minute, and it's the easiest way to avoid a hat stitched upside down or on the wrong face of the cuff.
Rotate the design in the digitizer before you download it so it sews the right way for how the cuff sits in the hoop, or turn it on the machine's screen, which many machines can do.
Try it with your own design
Sign up free, upload an image and get a stitch preview in under a minute.
Drop your image here
PNG, JPG, WebP or SVG · stays on your device
Sticky backing, cut-away and topping for rib knit
| Design | Backing | Topping | Needle |
|---|---|---|---|
| Light: text, outlines, a small icon | Sticky tear-away, floated | On chunky knits | 75/11 ballpoint |
| Medium: a typical cuff logo | Light cut-away | On chunky knits | 75/11 ballpoint |
| Dense: filled badges | Medium cut-away (2.5 oz) | On chunky knits | 75/11 ballpoint |
The folded cuff is a double layer that doesn't get stretched much in wear, so a sticky tear-away is often enough for light designs. Heavier logos need a cut-away that stays in and keeps supporting the stitches. A water-soluble topping matters more on beanies than on most knits: chunky ribs are deep, and thin satin sinks between them. The topping holds the stitches on the surface while the design forms; tear off the excess afterwards and dab the rest away with a damp cloth. The stabilizer finder gives the same combination for a beanie at each density.
Floating, beanie hoops and cap frames
Clamping rib knit in a standard hoop stretches it, and stretched ribbing springs back after unhooping, which narrows the design and puckers its edges. There are three common ways around it:
- Float it on sticky backing. Hoop a sticky stabilizer on its own, score and peel the paper, and press the unfolded cuff onto it, smooth but not stretched. Pull the rest of the hat away from the needle and clip it to the hoop edge. Many machines can sew a basting box first to hold it down.
- Use a beanie hoop. Hoops made for beanies and other tubular items are sold for many multi-needle machines. They clamp the cuff without spreading the ribs, which speeds up larger orders.
- Use a cap frame or a magnetic hoop. Some embroiderers sew beanies on a cap frame, and a magnetic hoop clamps knit without forcing it into a ring. What fits depends on your machine, so check its accessories.
Whichever you use, check underneath before you start: only the cuff and the backing should be under the needle, with the crown and the back of the hat folded clear.
Designs that work on rib knit
- Bold and simple wins. Icons, short words and chunky logos read best. Rib knit swallows hairlines and small text, so keep lettering at least about 6 mm tall and strokes about 1 mm wide or more.
- Keep it short. One line of text, or an icon with a short word, fits the cuff better than two lines.
- Choose the knit preset in the digitizer. It adds heavy underlay and extra pull compensation, which keeps edges sharp as the ribbing pulls in.
- Skip thin outlines around filled shapes. On ribbing, a hairline outline looks broken.
A cuff logo is quick to sew. A 3.5 × 1.4 in design with about 60% of its area stitched usually comes to roughly 2,000–3,000 stitches, depending on how much is satin. The stitch count calculator estimates your own size, and the small text guide has minimum letter sizes by font.
Step-by-step: embroidering a beanie
- Measure the folded cuff and decide the design size, leaving a margin above and below.
- Open the digitizer, sign in with your free account and add your logo or artwork.
- Set the width, check that the height stays under about 1.75 in (45 mm), choose the knit preset and read the design check.
- Rotate the design if needed so it sews the right way up for how the cuff sits in the hoop, then download your machine's format. Digitizing and previewing are free with your account; downloads need a plan.
- Hoop sticky backing, or set up your beanie hoop or cap frame, and turn the beanie inside out with the cuff unfolded.
- Press the cuff onto the backing without stretching it, lay a topping over the design area on chunky knits and fit a 75/11 ballpoint.
- Test on a spare beanie, then tear or trim the backing, remove the topping and fold the cuff back.