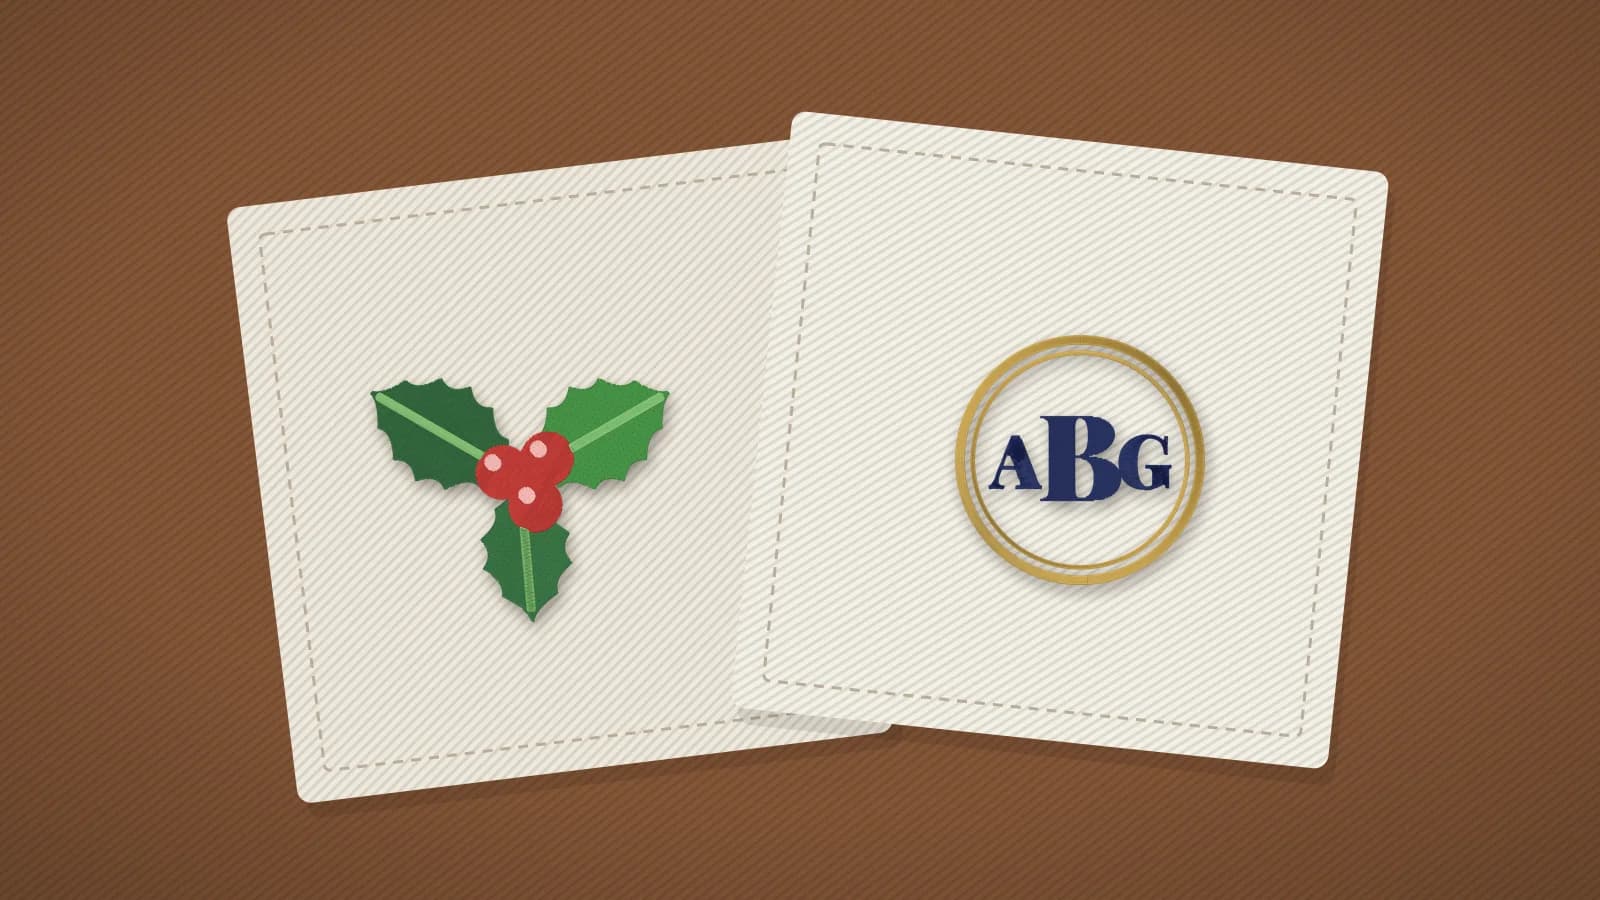
Embroidered napkins are a small project that looks special on a table: a monogram for a wedding gift, holly for Christmas dinner, a lemon for summer lunches. Each one is quick to stitch. The care goes into placement, since the design sits in a corner where hooping is awkward, and into the back, since a napkin is unfolded and both sides are seen.
This guide covers where the design goes and how big, how to hoop a corner, which backing looks clean from both sides, and how to keep a set of six or twelve matching. For a classic monogram, the monogram maker is the quickest start.
Where the design goes on a napkin
Most napkin embroidery sits in one corner, so it shows when the napkin is folded with that corner on top. Decide on the fold first, because it decides which corner is used and which way up the design faces.
- On the diagonal: center the design on the line from the corner point toward the middle of the napkin, so it sits evenly between the two edges.
- In from the edges: keep the edge of the design about 1.5–2 in (40–50 mm) from both hemmed edges on a dinner napkin, a little less on small napkins. That clears the hem and leaves a margin of plain fabric around the motif.
- Tilted or square: a monogram can point toward the corner, tilted 45°, or sit square to the hems. Square is easier to hoop; tilted suits napkins folded into a triangle or a point.
- Check it folded. Fold a napkin the way you'll set the table and mark the corner that shows. A design that reads upright on the flat napkin can end up sideways or upside down once folded.
To tilt a design 45°, mark the diagonal on the napkin and hoop square to it, or rotate the artwork before you digitize it; the digitizer rotates in 90° steps.
Napkin sizes and design sizes
| Napkin | Typical size | Design size | Good to know |
|---|---|---|---|
| Dinner napkin | About 18–22 in (45–55 cm) square | A monogram about 1.5–2.5 in (40–65 mm) tall; a motif up to about 3–4 in | The usual size for sets and gifts |
| Lunch napkin | About 14–18 in (35–45 cm) square | About 1.25–2 in (30–50 mm) tall | Slightly smaller than a dinner set's design |
| Cocktail napkin | About 6–10 in (15–25 cm) square | About 1–1.5 in (25–40 mm) | A single initial or a tiny motif |
Classic three-letter monograms put the surname initial larger in the middle. Motifs can be a little bigger than a monogram: the free holly sprig is about 94 × 76 mm (3.7 × 3 in), made for a napkin corner, and the candy cane and give thanks designs suit napkins too. Keep lettering at least about 5 mm tall in a block font, and about 10 mm or more in a script.
Try it with your own design
Sign up free, upload an image and get a stitch preview in under a minute.
Drop your image here
PNG, JPG, WebP or SVG · stays on your device
Hooping a napkin corner
A hoop needs fabric on every side to clamp, and a design near the corner of a napkin doesn't leave much. Three common ways around it:
- Float it. Hoop a sticky stabilizer on its own, score and peel the paper, and press the napkin corner onto it, lined up with the hoop's center marks. Adhesive wash-away stabilizers are sold for when the back has to stay clean, and many machines can sew a basting box to hold the napkin down.
- Hoop it, if there's room. With a small hoop, or a design set further in, there may be enough fabric around the corner to clamp. Check that the rings clear the hem.
- Extend it. Baste strips of scrap fabric along the two edges so the corner area is big enough to clamp, then unpick them after stitching.
Print a true-size outline of your hoop with the hoop template tool and lay it on the napkin. It shows at once whether the corner can be hooped or needs floating.
Backing that looks clean from both sides
A napkin is unfolded at the table, so the back of the embroidery is seen. Choose a backing that leaves little or nothing behind:
| Fabric and design | Backing | Needle |
|---|---|---|
| Cotton or linen, light design: monograms, outlines, small motifs | Wash-away (water-soluble), one or two layers | 75/11 sharp |
| Cotton or linen, medium design | Light tear-away (1.5 oz), torn close to the stitches | 75/11 sharp |
| Fine or sheer linen | Wash-away mesh, light designs only | 65/9 or 70/10 sharp |
| Dense design | Medium tear-away, or choose a lighter design | 75/11 sharp |
Wash-away dissolves when the napkin is rinsed, so nothing is left on the back. It gives less support than tear-away, which is why it suits light, open designs best. Tear-away leaves small fragments trapped under the stitches, which most people won't notice under a monogram. Avoid cut-away on napkins: it stays visible and stiffens the corner. The stabilizer guide compares every type.
- Match the bobbin. Some embroiderers wind a bobbin in the same color as the top thread when the back will show, so the reverse looks tidy.
- Trim every jump thread and tail on both sides.
- Prewash linen before stitching. It can shrink in the first wash, and a design stitched on unwashed linen can pucker when it does.
- Press from the back on a towel, so the stitches keep their texture.
Making a matching set
- Wash and press every napkin first, so they all shrink and settle the same way.
- Make one placement template: a card square with the corner, the hems and the design's center marked. Use it to mark every napkin.
- Use one file for the whole set, digitized at its final size, rather than resizing it for each napkin.
- Keep the color sheet that comes with the file, or write down the thread colors in order, so a napkin stitched later still matches.
- Stitch a test on a spare napkin or a scrap of the same fabric, check it from both sides, then stitch the set.
For a set with a different initial on each napkin, keep the same layout, frame, size and threads in the monogram maker and change only the letters. The monogram embroidery file page lists sizes for other linens.
Step-by-step: embroidering a napkin
- Prewash and press the napkins, decide the fold and mark the corner and the diagonal on each one.
- Make the design: initials in the monogram maker, or your own artwork in the digitizer with the woven preset. Sign in with your free account; trying designs and previewing them is free.
- Set the size, about 1.5–2.5 in (40–65 mm) tall for a dinner napkin monogram, and download your machine's format. Downloads need a plan.
- Hoop wash-away or tear-away, or float the corner on sticky backing, lining the mark up with the hoop's center.
- Fit a 75/11 sharp needle and stitch, then trim jump threads on both sides.
- Tear away or rinse out the backing, and press from the back.