A T-shirt looks like the easiest thing to embroider and often turns out to be one of the trickiest. Most tees are single jersey, a thin knit that stretches in every direction, so it moves under the needle, puckers around dense stitching and relaxes out of shape if it was stretched in the hoop.
Four habits handle it: a backing that stays in the shirt, a ballpoint needle, hooping the knit flat without pulling it, and a design light enough for thin fabric. To see a logo on a tee at its real size before you stitch anything, try the embroidery mockup generator.
Where designs go on a T-shirt, and how big
| Placement | Design size | Where it sits | Good to know |
|---|---|---|---|
| Left chest | 3–4 in (75–100 mm) wide, up to about 3 in (75 mm) tall | About 7–9 in below the shoulder seam at the collar, 3.5–5 in from the center front | The most common tee placement; fits a 4×4 in hoop |
| Right chest | 2–3.5 in (50–90 mm) wide | Mirrors the left chest, at the same height | A name or a second, smaller logo |
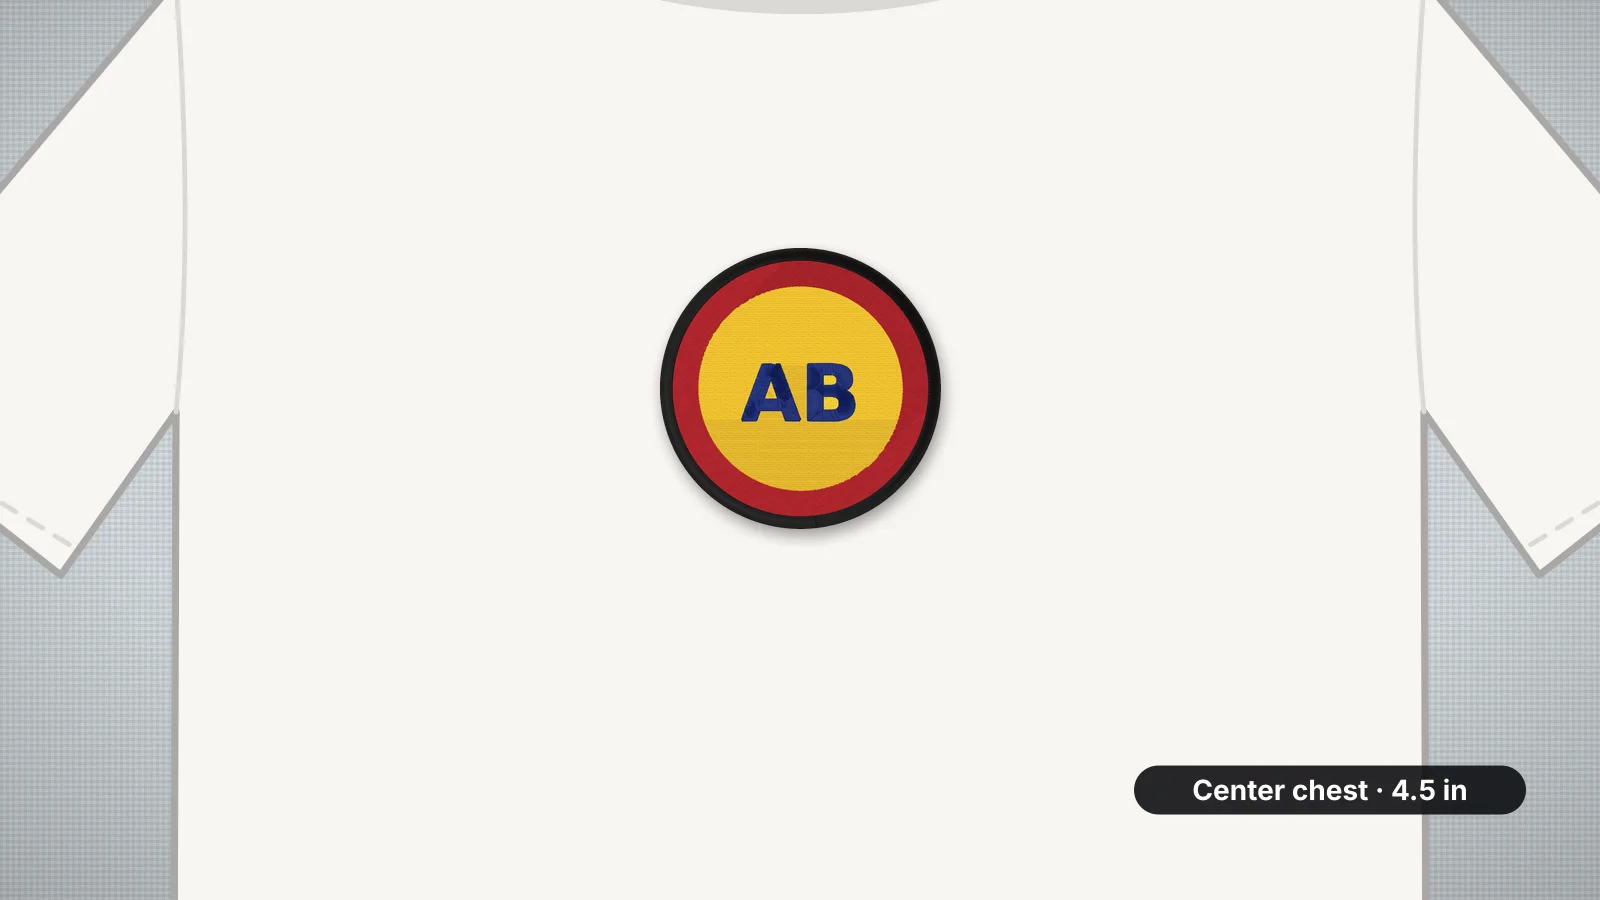
| Center chest | 4–8 in (100–200 mm) wide | Centered, top about 3–4 in below the collar | Crests, short slogans and medium logos |
| Full front | 8–12 in (200–300 mm) wide | Centered, top about 3–4 in below the collar | Keep it open and light; needs a large hoop |
| Back of the neck | 2–4 in (50–100 mm) wide, about 0.5–1.5 in tall | Centered, about 1–2 in below the collar seam | One short line; keep the inside soft |
| Upper sleeve | 2.5–3.5 in (65–90 mm) wide | Outside of the sleeve, about 2–4 in below the shoulder seam | Hoop one layer of the sleeve only |
These are adult sizes. Kids' tees usually take a left chest logo of about 2.5–3 in (65–75 mm), and on fitted women's tees many shops place the chest logo a little higher and closer to the center. The embroidery size chart has a page for each placement, such as left chest and full front, and the placement guide explains how to measure and mark them.
Backing and needle for jersey
A T-shirt needs a backing that stays in after stitching: cut-away, or no-show mesh, which is a thin, soft cut-away. Tear-away is tempting because it leaves a neat inside, but once it's torn off nothing holds the knit, and the design usually distorts after a wash or two. How heavy depends on the design:
| Design | Backing | Topping | Needle |
|---|---|---|---|
| Light: text, outlines, open designs | No-show mesh or light cut-away (1.5–2 oz) | Not usually needed | 75/11 ballpoint |
| Medium: a typical logo | Medium cut-away (2.5 oz) | Not usually needed | 75/11 ballpoint |
| Dense: full fills, badges | Heavy cut-away (3 oz) or two layers | Not usually needed | 75/11 ballpoint |
| Thin performance or stretch tee | No-show mesh, fusible if possible; medium fusible cut-away for dense designs | Not usually needed | 70/10 or 75/11 ballpoint |
Use a ballpoint needle. Its rounded tip slides between the knit loops instead of cutting them, which avoids small holes and runs around the design. On white and pale tees, choose no-show mesh in a color close to the shirt, because regular cut-away can shadow through thin jersey. A fusible no-show mesh also stops the knit stretching while you hoop. The stabilizer finder gives the same advice for each fabric and design density, and the needle guide covers sizes and points.
Try it with your own design
Sign up free, upload an image and get a stitch preview in under a minute.
Drop your image here
PNG, JPG, WebP or SVG · stays on your device
Keep the design light for thin knit
Thread doesn't stretch, and jersey does. Every stitch adds weight and stiffness, so a dense solid fill on a thin tee becomes a heavy plate that drags the fabric down, puckers at its edges and feels like card against the chest. The designs that look best on T-shirts tend to be open.
- Favor outlines, lettering and open shapes over large solid backgrounds, and let the shirt color show through where you can.
- Go lighter on big designs. Stitch count grows with area: a 10 × 7 in full front that's mostly outlines and lettering, about 40% stitched, comes to roughly 20,000 stitches; fully filled, it would be closer to 50,000.
- Choose the knit preset in the digitizer. It spaces fill rows slightly wider than the woven preset and adds heavy underlay and 0.3 mm of pull compensation, so outlines still meet their fills as the knit pulls in. The stretch preset goes a step further for thin performance tees.
- Keep lettering bold, with capitals about 5 mm (0.2 in) tall or more in a block font. The small text guide has minimums for each font style.
Heavier, tightly knit tees carry embroidery better than thin, loose ones. If a big statement design is the goal, sweatshirt fleece takes it more comfortably; the hoodie guide covers that fabric.
Hooping a T-shirt without stretching it
- Lay the shirt flat, find the center front by folding it in half, and mark the center of the design with a cross in chalk or water-soluble pen.
- Slide the hoop's outer ring inside the shirt through the bottom hem, so only the front layer will go in the hoop, and lay the backing on the ring.
- Smooth the front over the backing and press in the inner ring, lining up the cross with the hoop's center marks. The knit should lie flat and smooth, not tight like a drum.
- Don't tug the fabric after hooping to tighten it. Stretched jersey relaxes once it's out of the hoop, and the design puckers around its edges.
- Roll the back and sleeves away from the needle and clip them, then run a hand underneath to check that only the front and the backing are under the needle.
If your hoop leaves shiny rings on polyester or dark tees, try a magnetic hoop, or hoop adhesive backing on its own and float the shirt on it. A shot of steam usually lifts hoop marks that do appear.
Small tees, such as kids' sizes, may not fit around a big hoop. Floating works well there too, and many machines can sew a basting box around the design to hold a floated shirt flat while it stitches.
Back of the neck, sleeves and pockets
- Back of the neck: hoop through the bottom of the shirt, not the neckline, so the collar ribbing isn't stretched. Keep the design to one short line, and fuse a soft cover backing over the back of the stitches, since this spot rubs against the skin.
- Sleeves: a short sleeve is a narrow tube. Slide the outer ring into the sleeve or float it on adhesive backing, so only the outer layer is stitched, and keep the design clear of the hem. Multi-needle machines often use a sleeve or tubular hoop.
- Pocket tees: make sure only the pocket's front layer is stitched, or the design sews the pocket shut. Small designs of about 2–3 in (50–75 mm) suit most pockets, with a margin inside the pocket's edges.
- Seams: keep fine lettering off the shoulder and side seams. The thicker ridge pushes the stitches around.
Step-by-step: embroidering a T-shirt
- Choose the placement and measure the space on the actual shirt; tee sizes vary between brands.
- Open the digitizer, sign in with your free account and add your design as a PNG, JPG, WebP or SVG.
- Set the width for the placement, such as 3.5 in (90 mm) for a left chest, and choose the knit preset, or stretch for thin performance tees.
- Read the design check, which flags details under about 0.8 mm and lettering under about 5 mm, and check the stitch count. Pick the preview fabric color closest to your shirt to see how the threads read on it.
- Download your machine's format, or the ZIP with all of them. Digitizing and previewing are free with your account; downloads need a plan.
- Hoop the shirt with the backing as above, fit a 75/11 ballpoint and sew a test on a spare tee or a scrap of similar jersey.
- Trim the cut-away about 1/4 in (6 mm) from the stitches, rounding the corners so they don't show through the knit.
Washing and care
- Prewash cotton tees if you can. Cotton can shrink a little in the first wash, and the knit can pucker around a design that doesn't shrink with it.
- Wash inside out in cool or warm water and skip high dryer heat. Both help the knit and the stitches keep their shape.
- Press from the back on a padded surface, never directly on the stitches, with low heat on polyester blends.
- Use polyester thread on shirts that are washed often. It generally holds its color better than rayon.