A blanket with a name on it is one of the most popular embroidered gifts there is, from baby blankets to throws for a new home. Most are fleece or minky, plush polyester fabrics that are soft, lofty and slightly stretchy. That softness is the challenge: the pile swallows stitches, minky sheds and slides, and a big blanket is heavy enough to drag on the hoop.
Three things handle most of it: a water-soluble topping on top, a soft backing underneath that suits a blanket whose back shows, and a plan for the blanket's weight. This guide covers placement, sizes, backing, hooping and the fonts that read well across a bed or a crib.
Where a name or monogram goes on a blanket
- A corner is the classic spot for a monogram or small motif. Center it a few inches in from both edges, often about 3–5 in (75–125 mm) to the center of a design that size, so it clears any binding and shows when the blanket is folded or draped.
- Along one edge, a name centered a few inches up from the top or bottom edge reads across a crib or the foot of a bed.
- In the center, a large design or name suits a decorative throw. On a blanket that's used every day, a corner wears and feels better.
- On the diagonal, a corner design sits at 45°. Mark a line across the corner at 45° and hoop square to that line, or rotate the artwork before you digitize it; the digitizer's rotate buttons turn in 90° steps.
Fold the blanket the way it'll be stored or given, and see which corner shows before you mark anything. For a gift, that's the one people see first.
Design sizes for blankets
| Blanket | Typical size | Corner monogram or motif | Name |
|---|---|---|---|
| Baby or receiving blanket | About 30 × 40 in (75 × 100 cm) | About 3–4 in (75–100 mm) tall | Letters about 1.5–2 in (40–50 mm) tall |
| Throw | About 50 × 60 in (125 × 150 cm) | About 4–5 in (100–125 mm) tall | Letters about 2–3 in (50–75 mm) tall |
| Bed blanket | Twin to king; measure yours | About 4–5 in (100–125 mm) tall | Along the top edge, letters about 2–4 in (50–100 mm) tall |
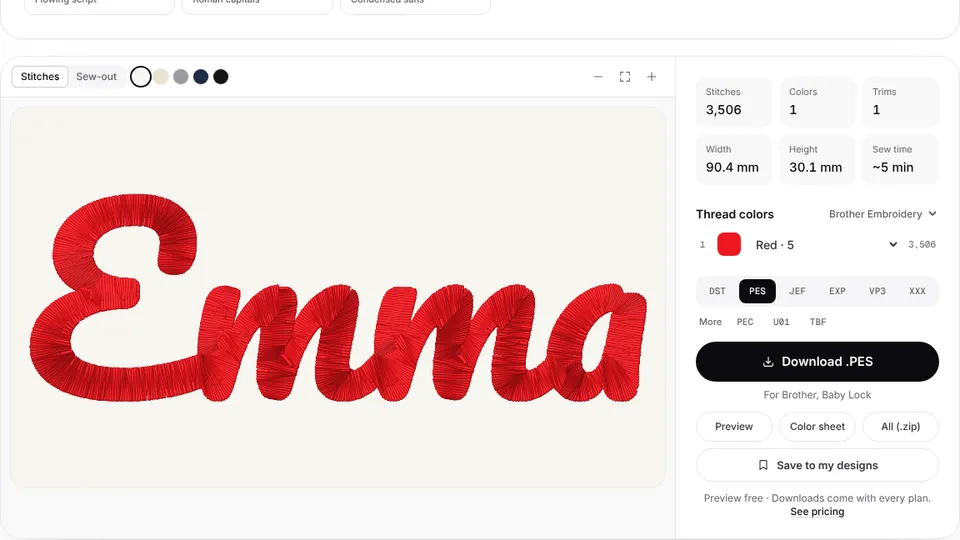
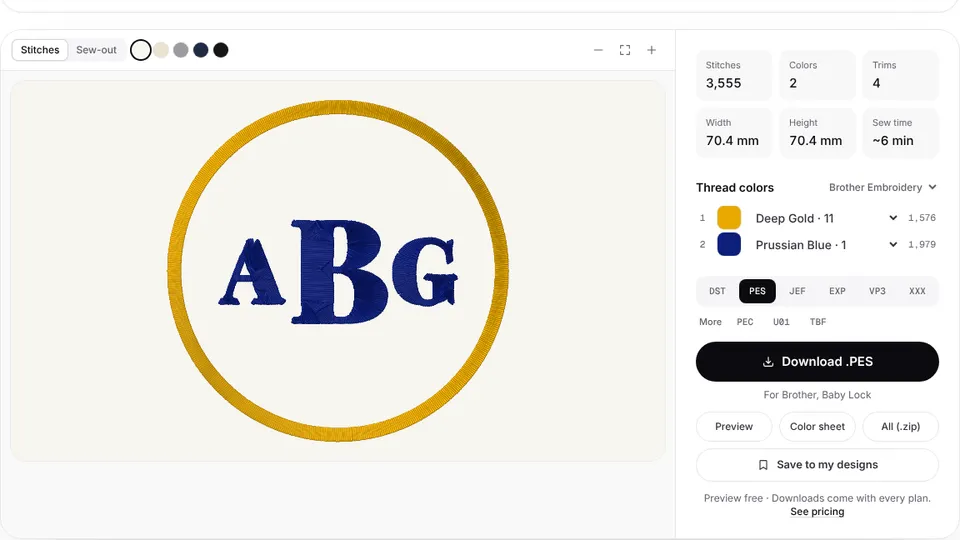
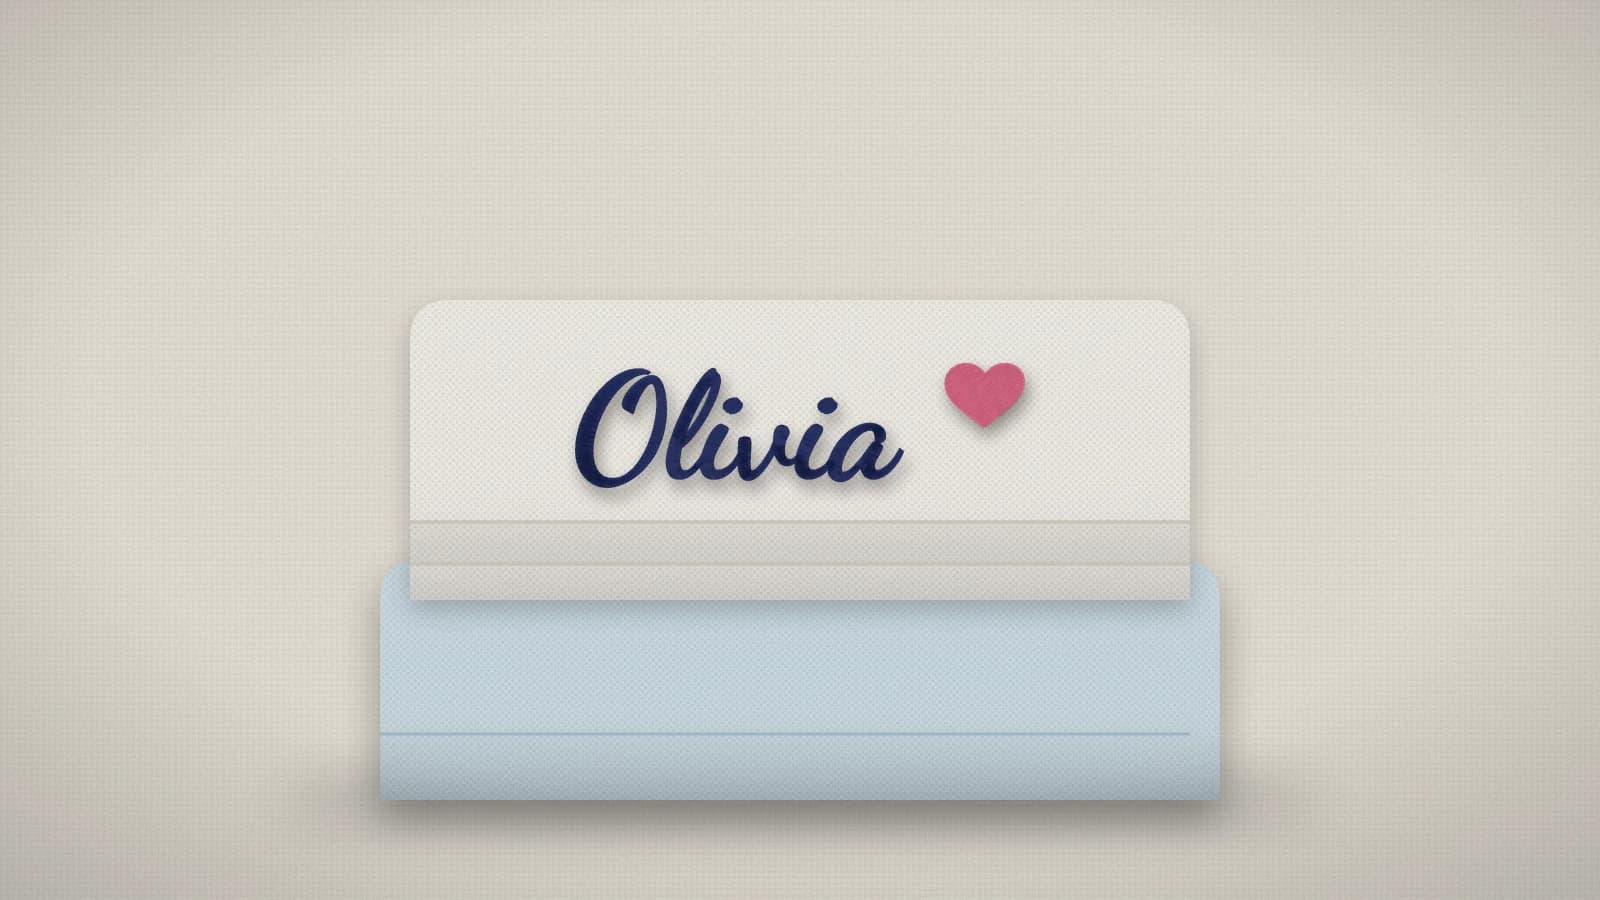
Names grow wide quickly: as the towel guide notes, a ten-letter script name 2 in (50 mm) tall can run 8–9 in across. Check the width against your largest hoop with a margin using the hoop size calculator, or bring the height down a little. The monogram maker has classic three-letter layouts and a double circle frame that suits blankets.
Try it with your own design
Sign up free, upload an image and get a stitch preview in under a minute.
Drop your image here
PNG, JPG, WebP or SVG · stays on your device
Topping and backing for fleece and minky
| Blanket fabric | Backing | Topping | Needle |
|---|---|---|---|
| Polar fleece | Medium cut-away, or no-show mesh for light designs | Water-soluble, always | 75/11 or 80/12 ballpoint |
| Minky and plush | Medium cut-away, bonded with spray adhesive so the minky can't slide | Water-soluble, always | 75/11 ballpoint |
| Sherpa and very deep pile | Medium cut-away | Water-soluble, two layers or a heavier film | 75/11 or 80/12 ballpoint |
| Cotton or muslin | Soft cut-away or no-show mesh; wash-away for light designs where both sides show | Not needed on smooth weaves | 75/11 sharp |
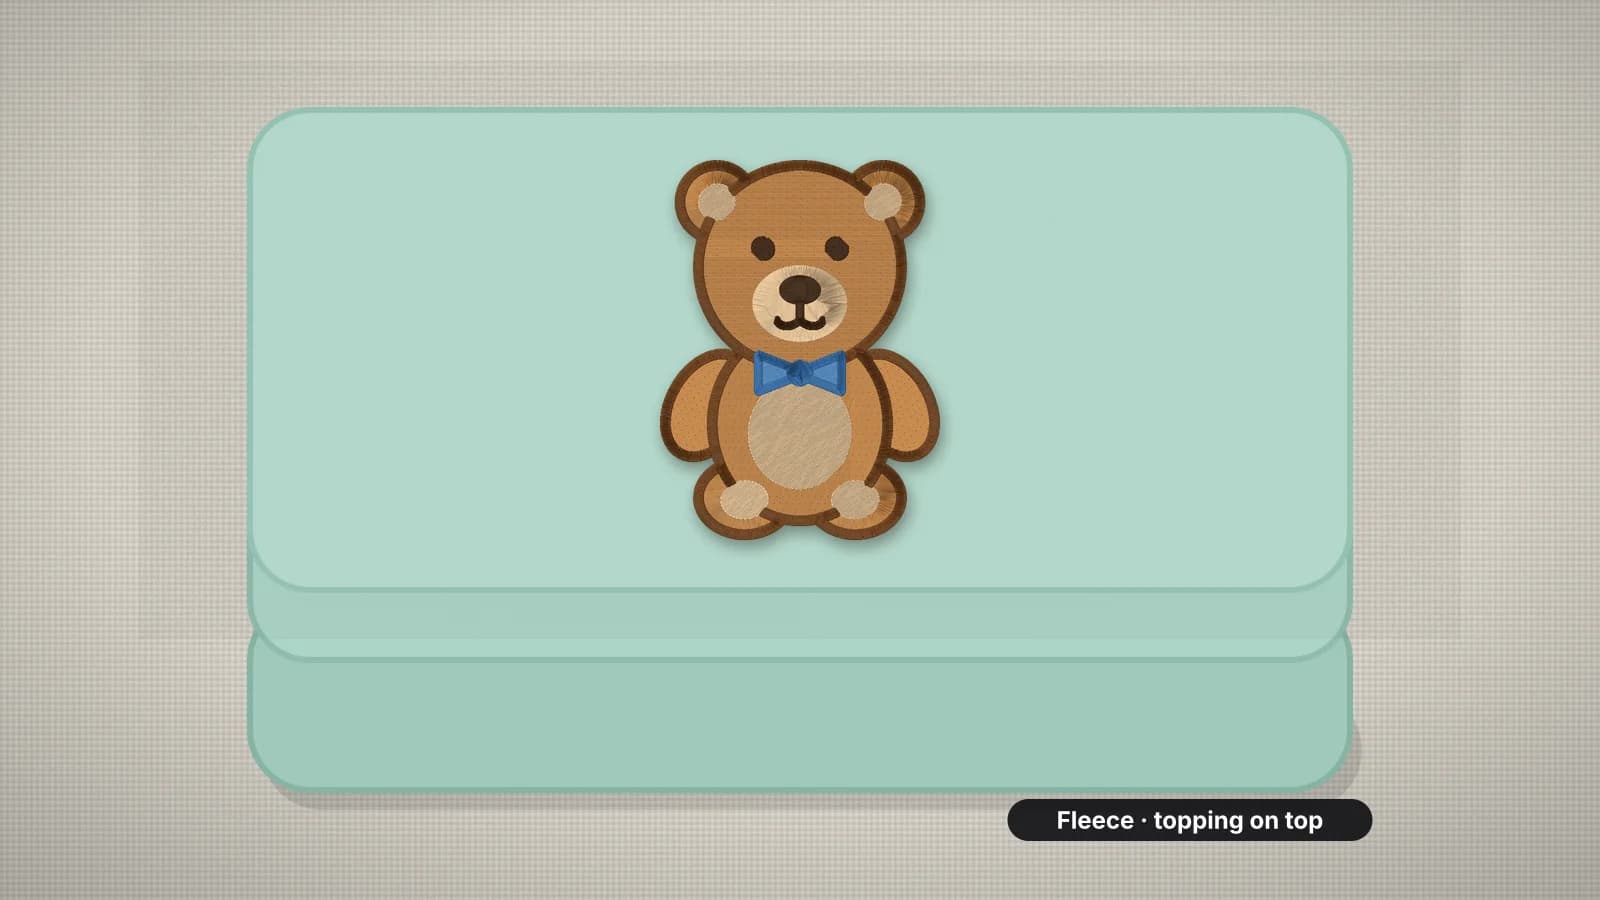
The topping is the part not to skip. A thin water-soluble film over the design area holds the pile down while the stitches form, so lettering sits on top instead of sinking between the fibers. Afterwards, tear off the excess and dab or rinse away the rest. Underneath, a cut-away supports the stitches through years of washing, which fleece and minky need because they stretch a little.
A blanket's back shows, so trim the cut-away neatly, about 1/4 in (6 mm) from the stitches with rounded corners, in a color close to the blanket. On a two-layer blanket you sew yourself, embroider the top layer before you assemble it, and the back of the design is hidden inside. On cotton blankets, a soft fusible cover backing ironed over the back hides it; on fleece and minky, test the iron on a corner first, because heat can flatten the pile.
Hooping a large blanket
Blankets are thick and heavy, and plush fabrics mark easily in a standard hoop. Most embroiderers use one of two methods:
- Float it. Hoop sticky backing, or cut-away misted with temporary spray adhesive, on its own. Press the blanket onto it smoothly, without stretching, and lay the topping on top. A basting box around the design, which many machines can sew, holds everything in place.
- Use a magnetic hoop. It clamps thick fleece and minky without forcing the rings together and leaves fewer marks in the pile.
Then deal with the weight. Fold or roll the rest of the blanket and rest it on the table beside the machine, so it can't drag the hoop as the arm moves. Clip the folds to the hoop edge, away from the needle, and check underneath before you start: only one layer of blanket, the backing and the topping should be under the needle.
For large names on a throw, a bigger hoop is worth it. An 8×12 in hoop turned sideways takes a design up to about 11.4 × 7.5 in, so most names fit in one hooping.
Knit, waffle and chunky blankets
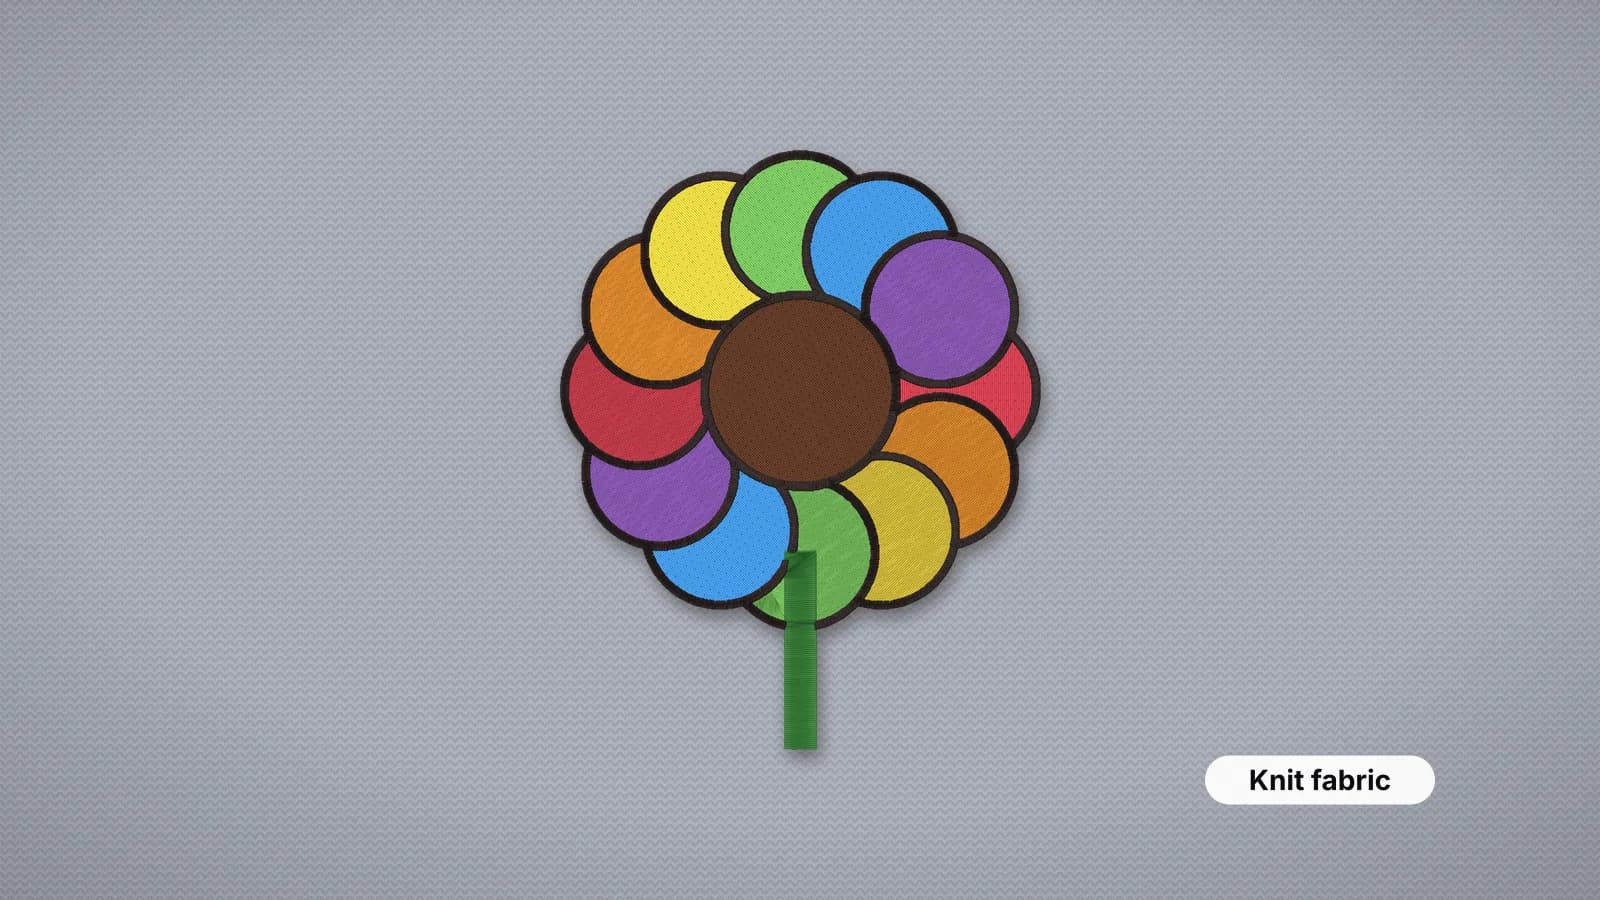
Knitted and textured blankets are harder. Their surface is loops, cells and gaps, and the bigger they are, the more the embroidery sinks or falls between them.
- Fine knit blankets behave like a sweater: use a topping, the knit preset with its heavy underlay, a ballpoint needle and bold, simple designs, and float rather than hoop.
- Waffle and textured cotton weaves need a topping too, so small stitches don't sink into the cells. They're woven, so a sharp needle and a soft cut-away suit them.
- Chunky knits with big loops are a poor surface for machine embroidery. Stitch a patch on firm fabric and sew it on instead; the patch guide covers how.
- Cellular blankets with open holes can't support stitches across the holes. Put the design on a solid border if there is one.
The sweater guide goes deeper on embroidering knits.
Names and fonts that read well
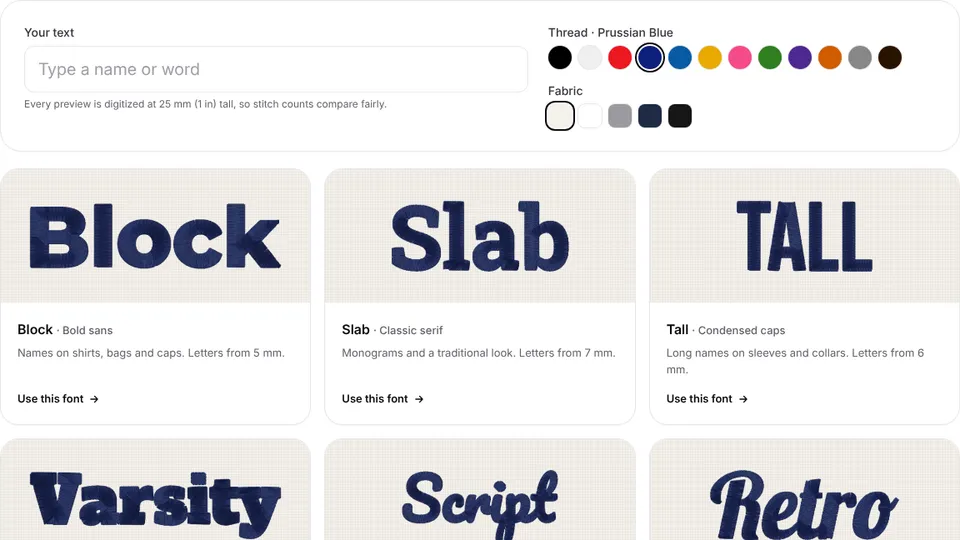
- Bold scripts and rounded block letters hold up best in pile. Thin strokes and hairline joins vanish, so pick fonts with strokes of about 1.5 mm or more at the final size.
- Go a little bigger than on flat fabric. Plush hides detail, so add 1–2 mm or more to the size you'd use on a shirt, and keep script names at least about 25 mm (1 in) tall.
- Keep it light. A solid filled background behind a name makes a stiff patch on a soft blanket. Let the blanket show around the letters.
- Choose the contrast. A thread clearly lighter or darker than the blanket reads from across a room; tone-on-tone looks subtle up close.
The embroidery fonts page stitches a name in 12 lettering fonts with the smallest size each can be sewn, and the text to embroidery tool turns it into a file. In the digitizer, the fleece preset (fleece, towel, sweatshirt) adds heavy underlay and a slightly denser satin for plush fabrics.
Finishing and washing
- Remove the topping: tear away the excess and dab or rinse off the rest, so the design isn't stiff.
- Trim the backing neatly with rounded corners, close to the stitches but not touching them.
- Trim jump threads on both sides, especially on baby blankets, where loose loops can catch small fingers.
- Wash cool or warm on a gentle cycle and tumble dry low. High heat can flatten fleece and minky pile around the design.
- Add a care card to gifts with the washing instructions.