BAI's 15-needle machines, THE MIRROR and THE VISION, read DST and DSB stitch files. BAI's panel manual says any other format has to be converted first, so a customer's PES file or a logo image needs to become a DST before it reaches the machine.
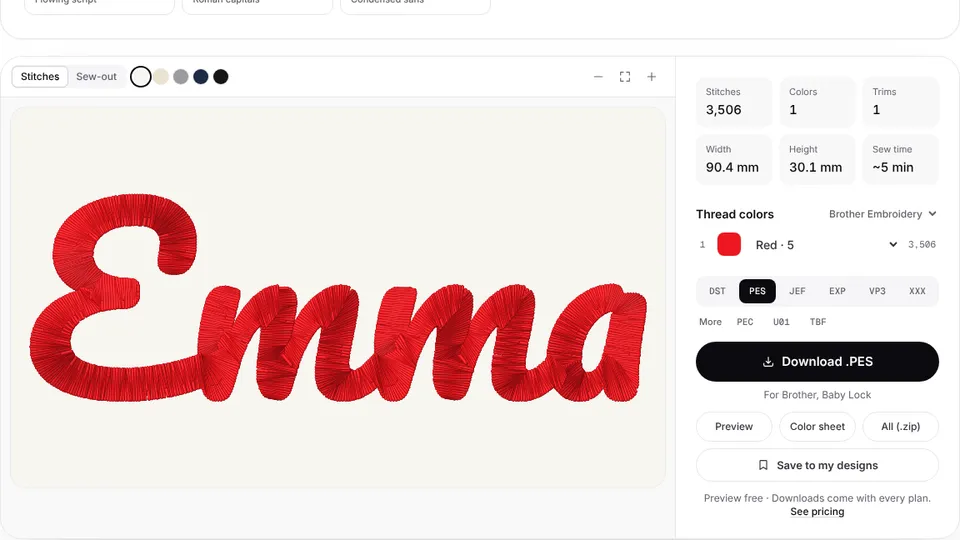
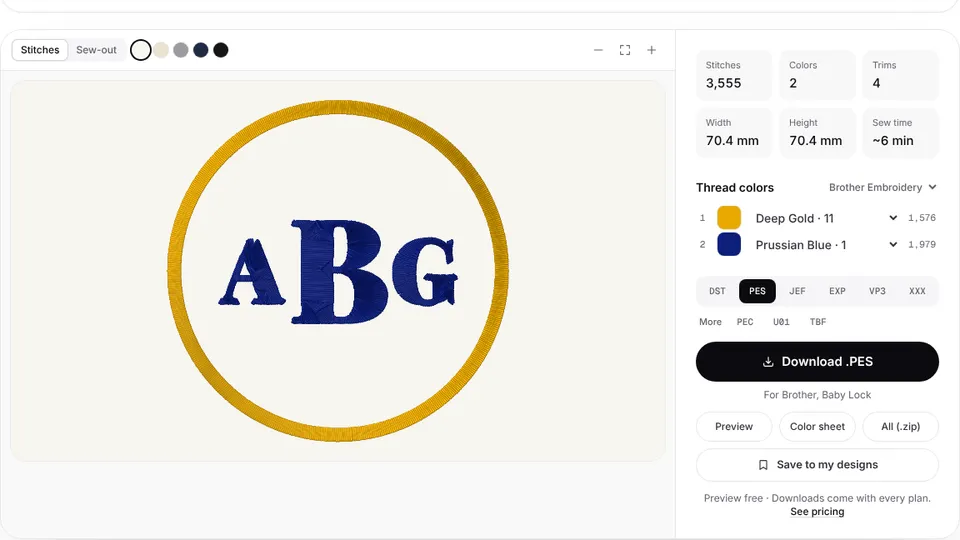
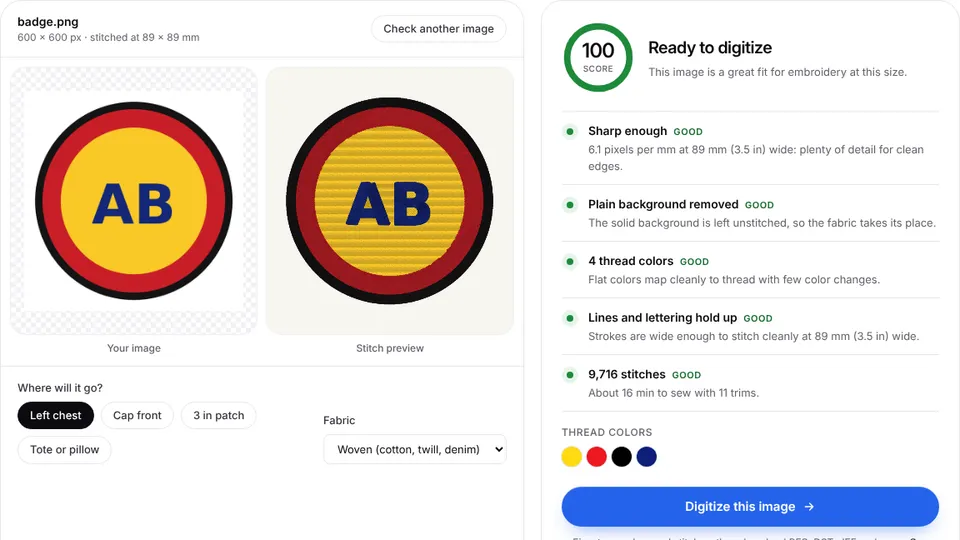
Embrizo's digitizer builds the stitches from a PNG, JPG or SVG in your browser, with trims and color changes where a commercial machine expects them. Upload the artwork, review the stitch preview and make a DST file.
DST and DSB on BAI machines
BAI's catalogs say the machines read design formats such as DST and DSB, and the Institch i5 panel manual names the same two. DST is the Tajima format that almost every commercial machine and embroidery program handles, so it is the one to make. DSB is a Barudan stitch format.
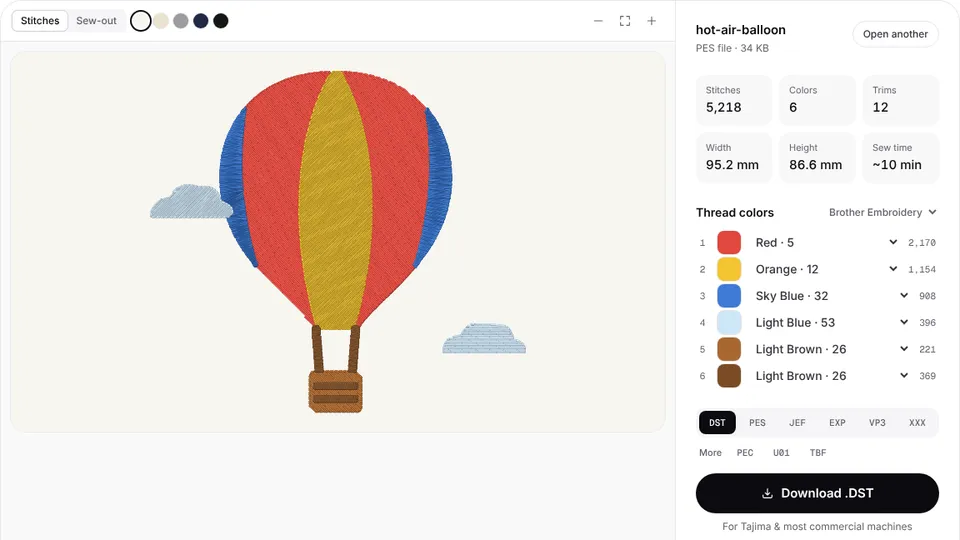
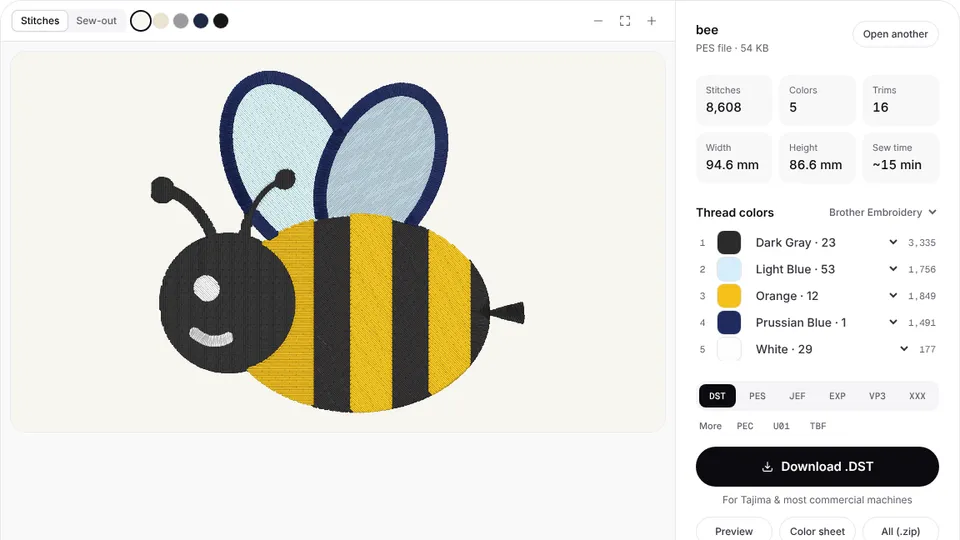
A DST file holds stitches, jumps, trims and color changes, but no thread colors. On a BAI you pick a needle number for each color on the color setting screen. The color sheet that comes with each download lists the colors in sewing order.
The panel can also embroider from a photo, but BAI's own FAQ recommends a DST or DSB file for a better result.
Getting DST files onto a BAI
- Copy the .dst file to a USB stick. BAI's manual asks for a stick under 64 GB, formatted FAT32.
- Insert the stick at the control panel and tap the input key.
- Select the design, or several at once, and tap import. The design is saved to the machine's pattern list.
- Open the design, set a needle for each color and choose the hoop before you trace and sew.
Both machines also take designs over WiFi: BAI's FAQ says to put the computer and the machine on the same network and send patterns from its Institch cloud page.
BAI models and embroidery fields
| Model | Type | Maximum field |
|---|---|---|
| THE MIRROR | Single-head, 15 needles | 500 × 350 mm (19.7 × 13.8 in) |
| THE VISION | Single-head, 15 needles | 500 × 400 mm (19.7 × 15.7 in) |
| THE VISION-2HEADS | Two heads, 15 needles each | 500 × 400 mm (19.7 × 15.7 in) |
Both single-head machines ship with pairs of 90, 120, 150, 210 and 290 mm hoops plus one large hoop: 350 × 500 mm on THE MIRROR and 395 × 395 mm on THE VISION. Cap hoops, a cap driver and a cap station are included. The digitizer's largest preset is 8×12 in (200 × 300 mm); for a jacket back, type the width, up to about 40 cm.
Tips for BAI production
- Set needles from the color sheet. Each color change in the DST is one step in the panel's color sequence.
- Slow down small lettering. The panel can run a single color at reduced speed, and BAI's FAQ suggests a lower speed and a small needle for tiny letters.
- Size to the hoop, not the field. A left chest logo belongs in a 120 or 150 mm hoop; see the hoop sizes chart.
- Test caps first. Caps sew best from the center out, and the digitizer doesn't do cap-specific sequencing.
- Quote from the stitch count. The stitch count chart and pricing calculator turn a design into a price per piece.
Convert other formats to DST
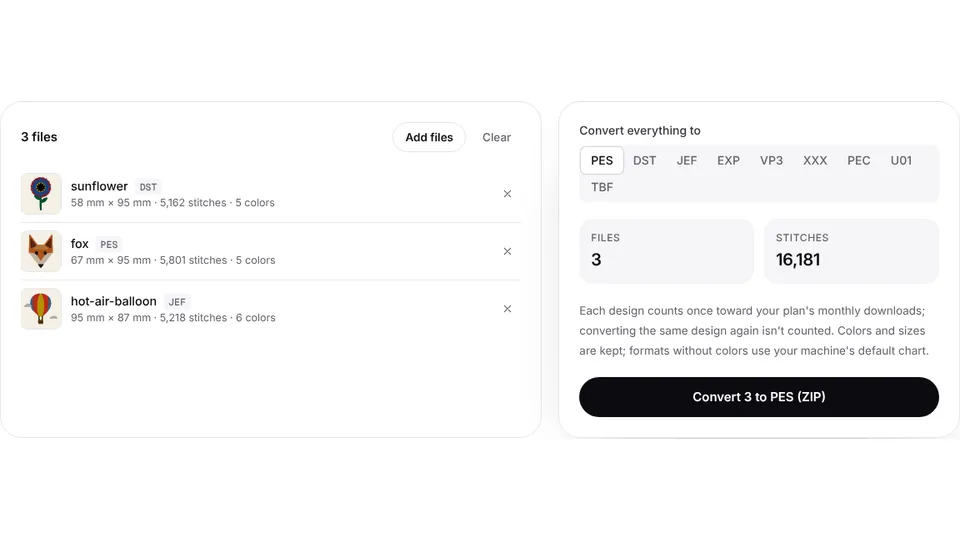
Customers often send files made for home machines. Convert them to DST in your browser:
- PES to DST for Brother and Baby Lock files
- JEF to DST for Janome files
- VP3 to DST for Husqvarna Viking and Pfaff files
- EXP to DST and XXX to DST for Bernina, Melco and Singer files
- PNG to DST for a customer's logo image