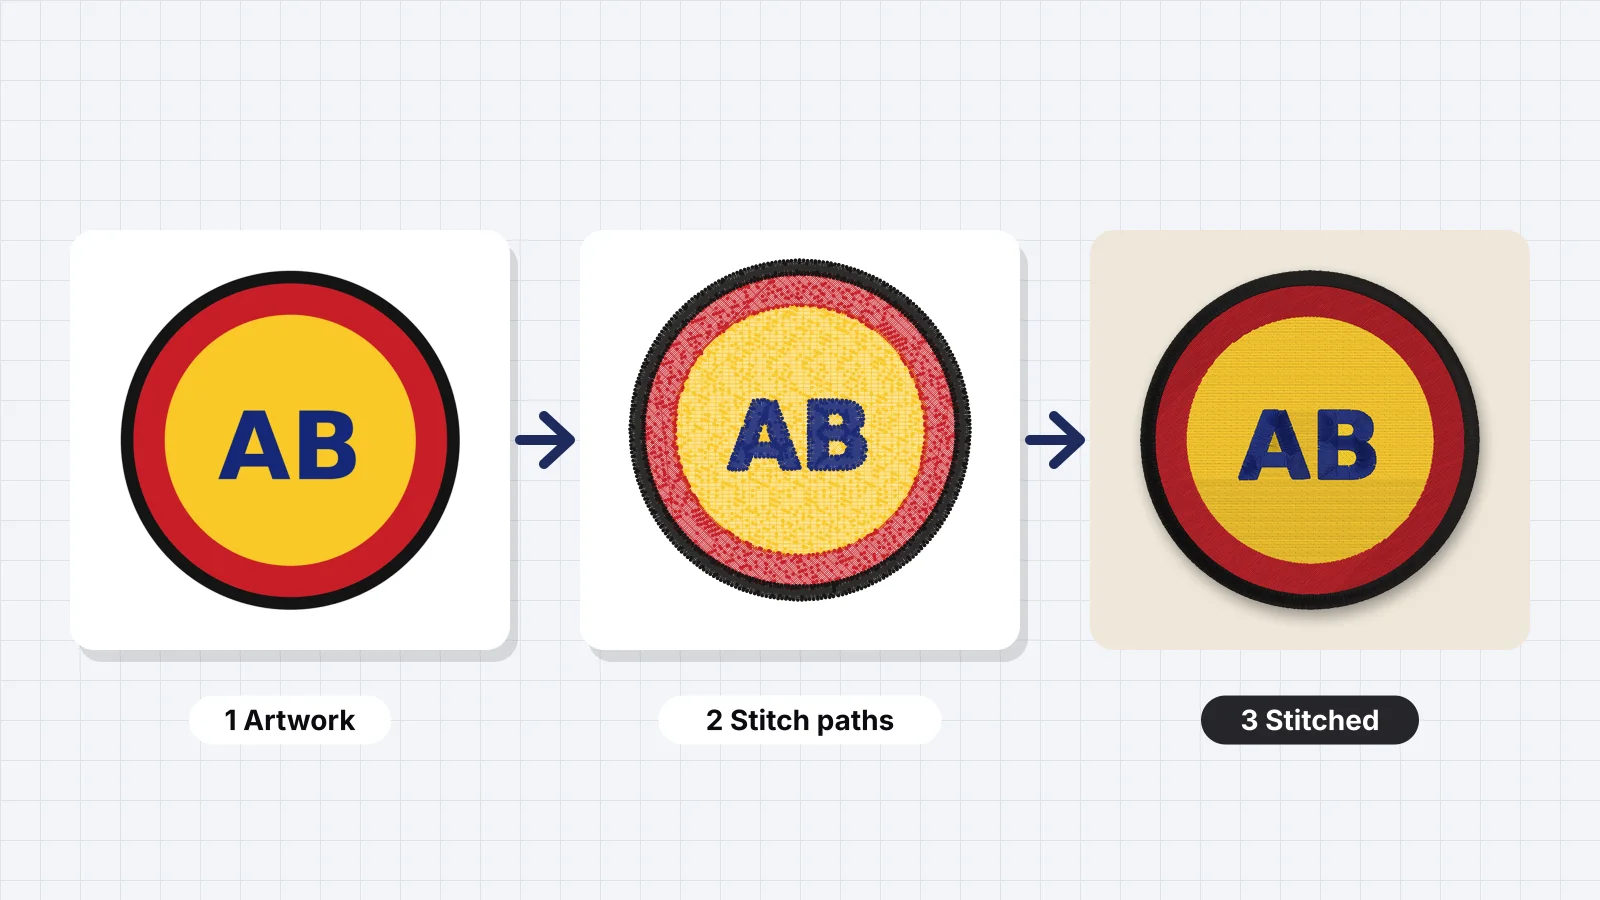
An embroidery machine doesn't see pictures. It moves the hoop under the needle one point at a time, following a list of coordinates and commands: stitch here, jump there, trim, change color, stop. Digitizing is the job of writing that list from a piece of artwork.
This guide explains what digitizing decides, why a picture can't be sewn as it is, how manual digitizing, auto-digitizing and digitizing services compare, what ends up in the file, and how to get started with your first design.
Embroidery digitizing, defined
Digitizing turns a logo, drawing or photo into a machine embroidery file, such as a PES or DST. The file is a sequence of stitch points in real millimeters, with commands for jumps, trims, color changes and stops. The machine follows it exactly, so every decision about how the design will look in thread is made during digitizing.
The scale is bigger than most people expect. A typical left chest logo holds about 3,000–8,000 stitches, a filled patch 10,000–20,000, and a jacket back 40,000–100,000 or more. Each one has a position, and together they decide coverage, texture, shine and how the fabric behaves. The glossary entry for digitizing gives the short version.
What digitizing decides
| Decision | What it means | Typical value |
|---|---|---|
| Stitch type | Satin for narrow shapes and lettering, fill for larger areas, running stitch for fine lines | Satin from about 1 to 7 mm wide, fill above that, running stitch for lines under about 0.5 mm |
| Direction | The angle of the fill rows and satin stitches | Varied between neighboring shapes so they catch the light differently |
| Density | How close the rows of stitches are | About 0.4 mm spacing for 40 wt thread |
| Underlay | Foundation stitches sewn first to hold the fabric and lift the top stitches | Center run, edge run or zigzag, depending on the shape |
| Pull compensation | Making shapes slightly wider, because stitches pull the fabric inward | About 0.2–0.4 mm per side |
| Sewing order | Which shapes sew first | Background first, details and outlines last, with few jumps |
| Trims and ties | Tie-in and tie-off stitches, and where the thread is cut between shapes | A tie at every start and end, and trims across longer gaps |
| Colors | Thread colors and the order they change | Matched to a thread chart such as Brother or Janome |
Underlay and pull compensation are the two most people haven't heard of, and they make the biggest difference to quality. The guides to underlay and pull compensation explain both.
Try it with your own design
Sign up free, upload an image and get a stitch preview in under a minute.
Drop your image here
PNG, JPG, SVG, PDF or AI · stays on your device
Not sure what to expect? See real examples or how it works.
Why a machine can't sew a PNG directly
A PNG or JPG is a grid of colored pixels. It says what color each tiny square is and nothing about thread. The same red circle could be sewn as a fill at 45 degrees, as a satin ring or as a spiral, each with a different look and stitch count. Fabric stretches and pulls, which an image knows nothing about, and stitches have physical limits: stitches much longer than about 7 mm snag, and very short ones, under about 0.3 mm, can break the thread.
| Image (PNG or JPG) | Embroidery file (PES or DST) | |
|---|---|---|
| Contents | A grid of colored pixels | Stitch points, jumps, trims and color changes |
| Size | Pixels; the printed size depends on resolution | Fixed in real millimeters |
| Colors | Millions, with gradients | A handful of thread colors, in sewing order |
| Can a machine read it? | No | Yes, in a format the machine supports |
| Editing | Easy | Hard; big changes mean digitizing the artwork again |
| Resizing | Any amount | About 10% either way; more needs new stitches |
That's why every embroidery file starts as artwork and goes through digitizing, whoever or whatever does it.
Manual digitizing, auto-digitizing and services
There are three ways to get a design digitized. They differ mainly in who makes the stitch decisions.
| Manual digitizing | Auto-digitizing (Embrizo) | Digitizing service | |
|---|---|---|---|
| How it works | You draw each stitch object in software and set its angle, density, underlay and order | You upload an image; the software plans the stitches and you adjust the settings | You send the artwork and a digitizer sends back a file |
| Time for a left chest logo | About 1–3 hours for someone experienced, much longer while learning | Seconds to digitize, a few minutes to adjust | Typically one to a few days |
| Cost | Software from free (Ink/Stitch) to over $1,000 (Hatch Digitizer is $1,199), plus learning time | From $8 a month billed yearly for downloads | Per design, often roughly $10–$50 or more for a typical logo |
| Control | Every stitch | Settings such as density, underlay, angle and stitch type per color | Through revision requests |
| Best for | Complex designs, 3D puff and special effects, professional digitizers | Logos, lettering, drawings and clip art with flat colors; quick jobs | Detailed or tricky designs when you don't want to do it yourself |
For most logos, drawings and lettering, auto-digitizing gives a clean, sewable file in a fraction of the time. Manual digitizing and services earn their cost on very detailed work. Auto-digitizing vs manual digitizing goes deeper, and the digitizing cost guide breaks down the prices.
What a digitized file contains
- Stitch coordinates: each needle position, usually in steps of 0.1 mm.
- Jumps and trims: moves without stitching, and where the thread is cut.
- Color changes and stops: where the machine pauses for the next thread, or for an appliqué step.
- Design size and stitch count, which the machine shows before sewing.
- Thread colors, in formats that store them. DST and EXP don't, so the machine shows its own default colors.
| Format | Machines | Stores thread colors? |
|---|---|---|
| DST | Tajima and most commercial machines | No |
| PES | Brother and Baby Lock | Yes |
| JEF | Janome and Elna | Yes |
| EXP | Melco and BERNINA | No |
| VP3 | Husqvarna Viking and PFAFF | Yes |
| XXX | SINGER | Yes |
A machine file holds stitches, not shapes, so it's the end product rather than an editable original. The embroidery file formats guide covers every common format.
Who needs digitizing
- Small businesses and shops stitching customer logos on polos, caps and workwear.
- Home embroiderers turning their own drawings, kids' art or pet photos into designs.
- Etsy and craft sellers making custom names, patches and gifts.
- Teams, schools and clubs with a crest or mascot to put on uniforms.
You don't need digitizing for designs that are already machine files, such as purchased designs, the patterns built into your machine or Embrizo's free design library. You only need it to turn your own artwork into stitches.
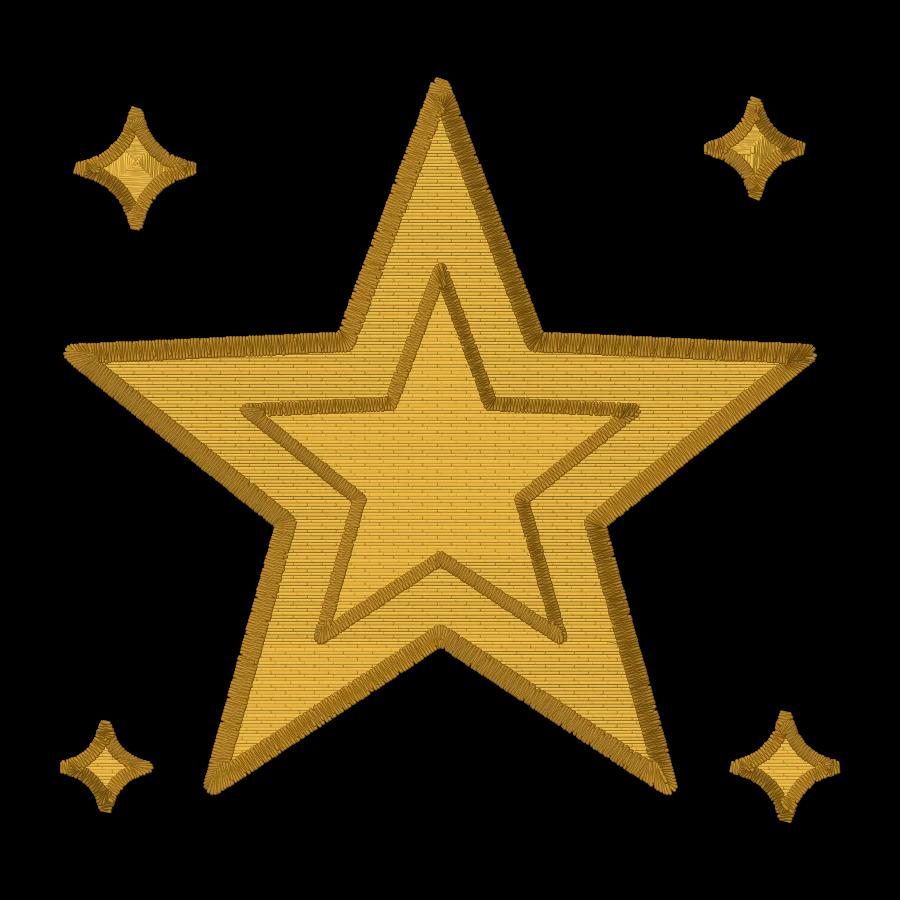
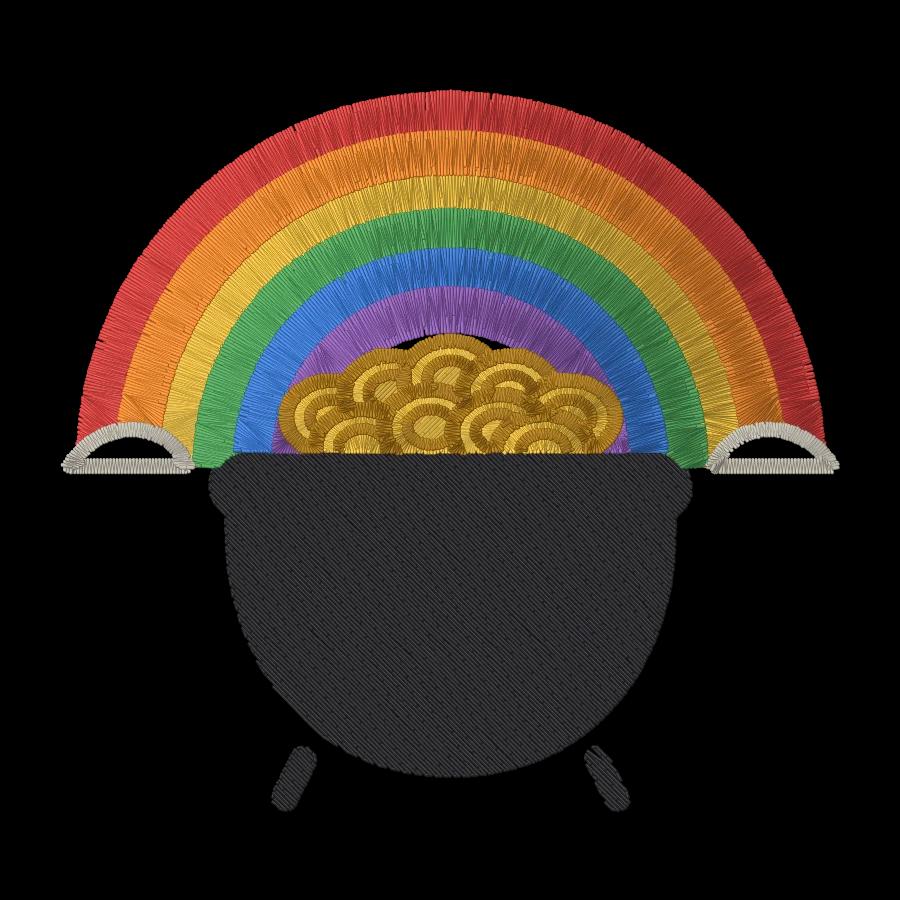
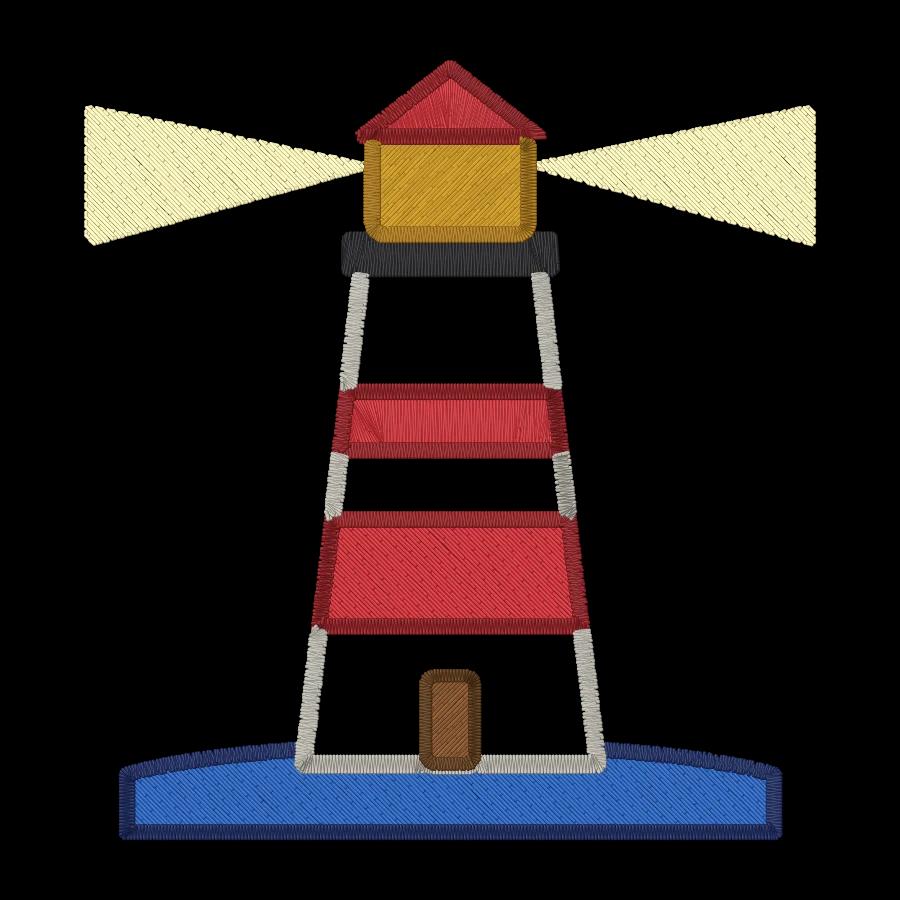
Practice on a free design
167 ready-to-sew designs in every machine format, free with an account.

How to get started
- Start with clean artwork: flat colors, sharp edges and a finished size in mind.
- Auto-digitize it in Embrizo. Upload the PNG, JPG, WebP or SVG to the digitizer. It removes the background, separates the colors, chooses satin, fill or running stitch for each shape and adds underlay and pull compensation.
- Set the size and fabric, and adjust colors, density or underlay if needed.
- Check the stitch preview and the sew-out simulation, along with the stitch count and thread list.
- Save the file in your machine's format. A free account digitizes and previews; saving machine files needs a plan.
- Test-sew on scrap of the same fabric, with the right stabilizer, before stitching the real item.
For a first design, pick something simple: a two- or three-color logo or monogram about 75–100 mm (3–4 in) wide, sewn on a stable woven fabric such as cotton twill or canvas with a tear-away stabilizer. It shows how digitizing choices look in thread without fighting the fabric.
If you later want to place stitches by hand, the Ink/Stitch tutorial is a good free starting point.


