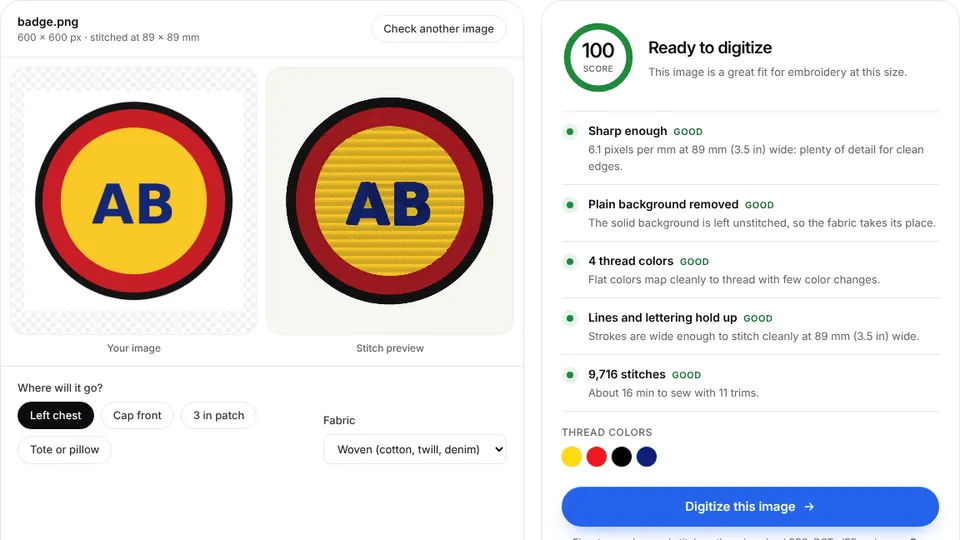
 Free toolEmbroidery image checkerUpload an image and see if it's ready to digitize: colors, fine detail, resolution and fixes.Open the tool
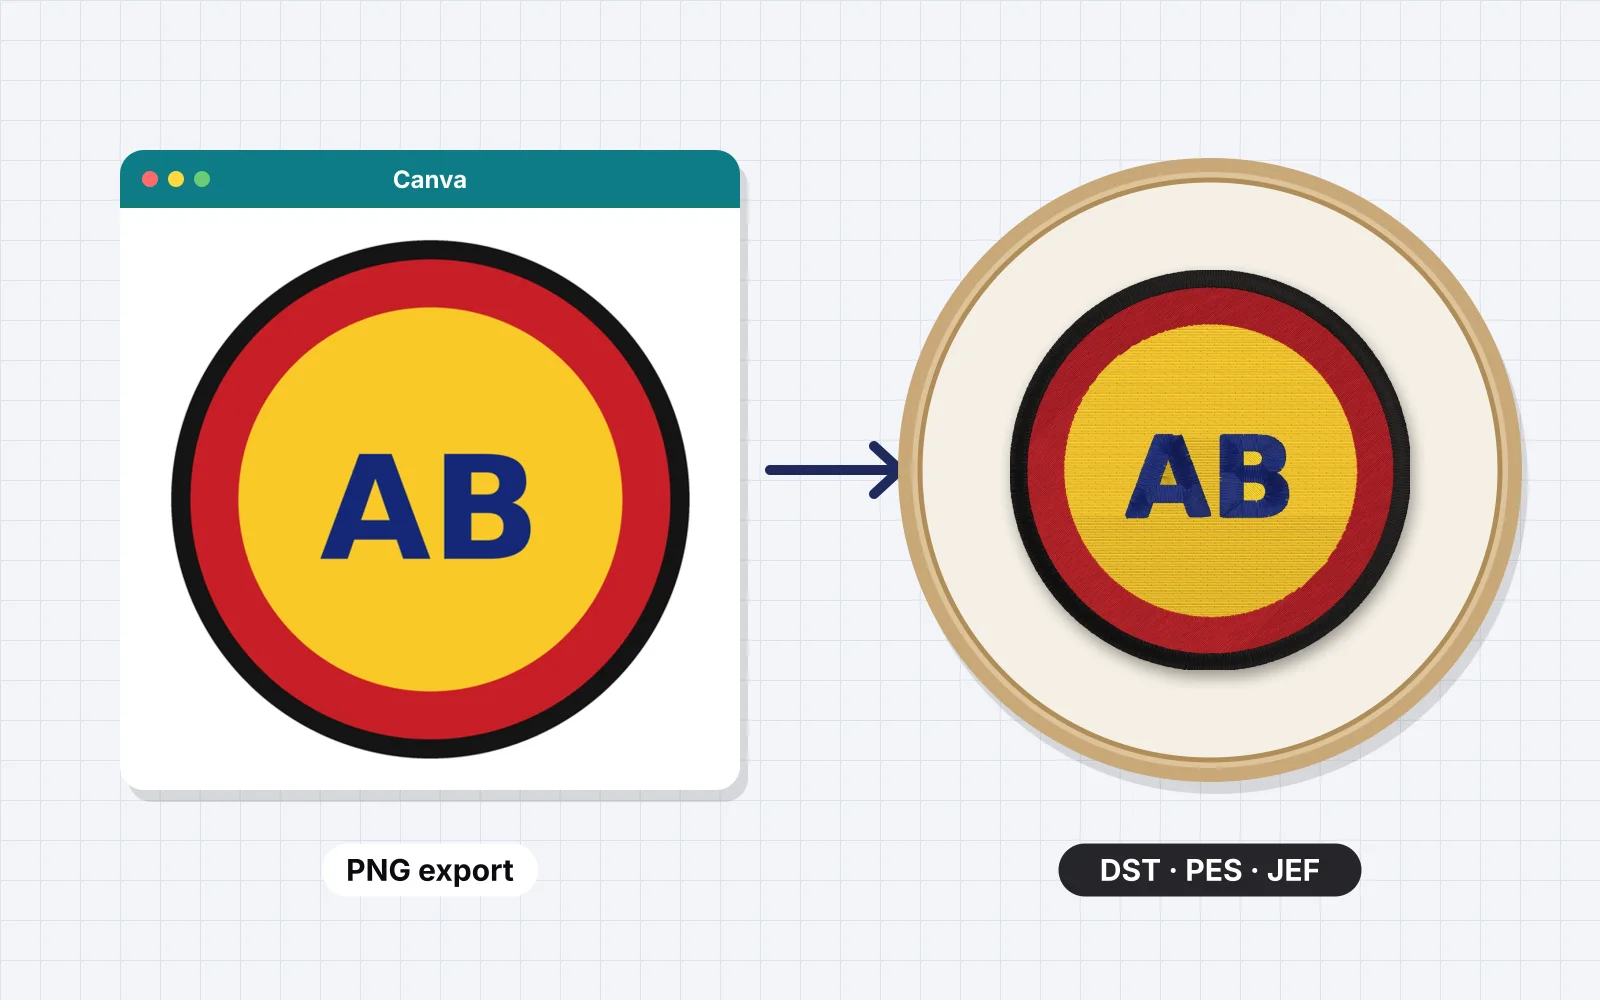
Canva is where a lot of embroidery starts: small businesses build their logos there, teachers make class shirts and crafters lay out names, badges and party graphics. But Canva makes pictures, not stitches. Its downloads are image, PDF and video files, while an embroidery machine needs a stitch file such as PES or DST that tells the needle where to go.
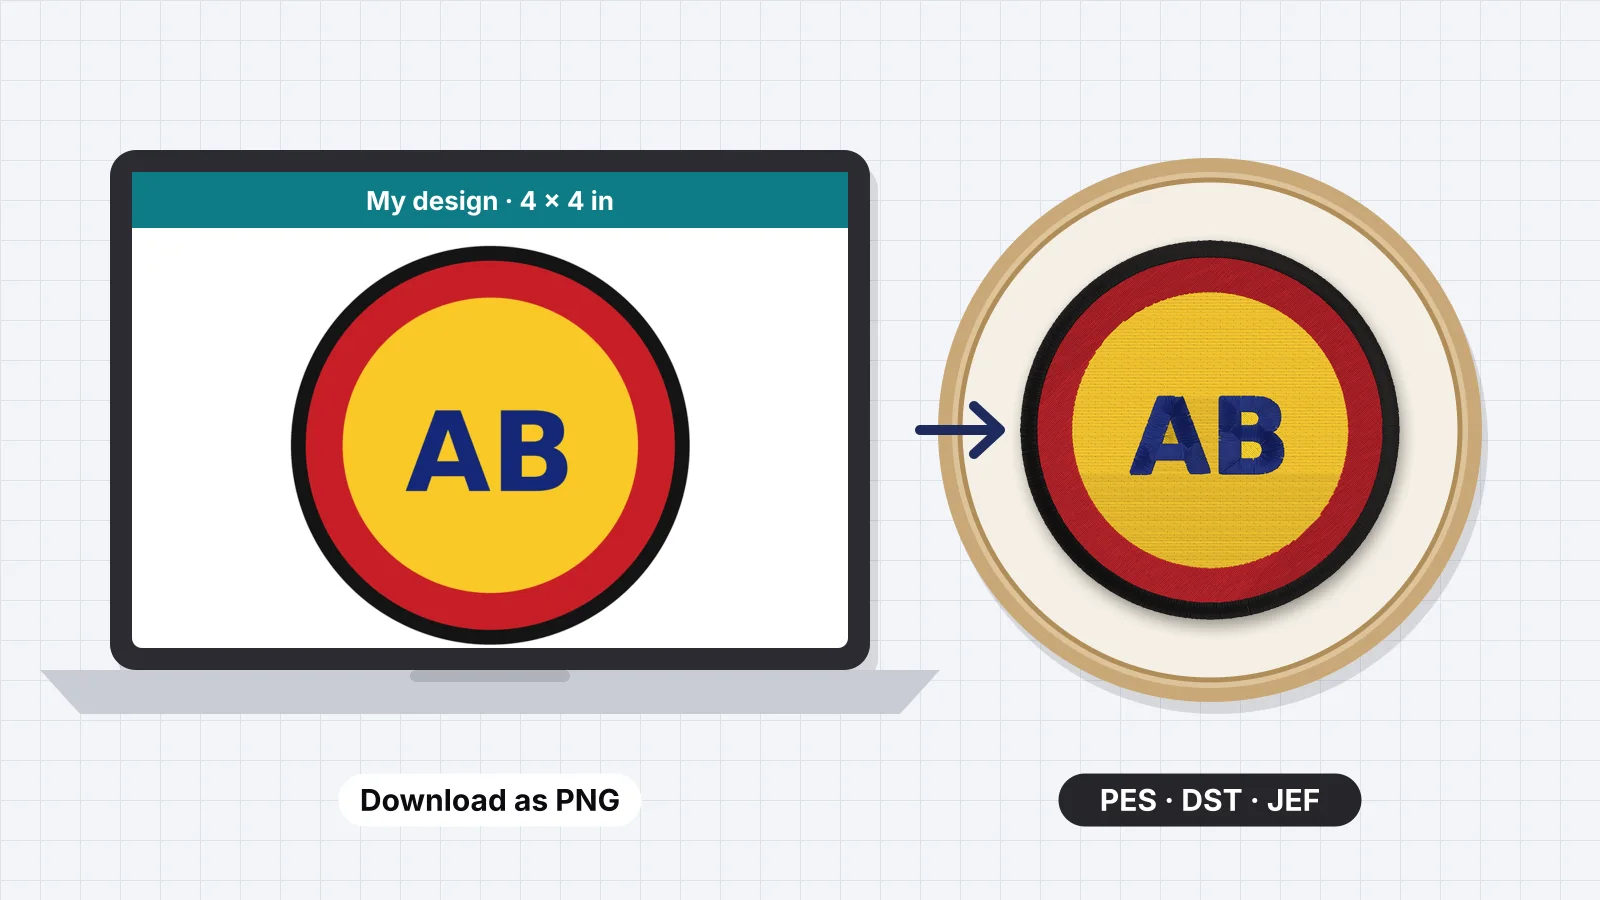
A design built the right way in Canva digitizes cleanly in about a minute. This guide covers setting up the canvas at the real stitch size, choosing elements, fonts and colors that sew, the export settings that matter, turning the PNG into a machine file with Embrizo and checking Canva's license before you sell. If your design is already finished, the Canva to embroidery file page goes straight to converting it.
What Canva can and can't do for embroidery
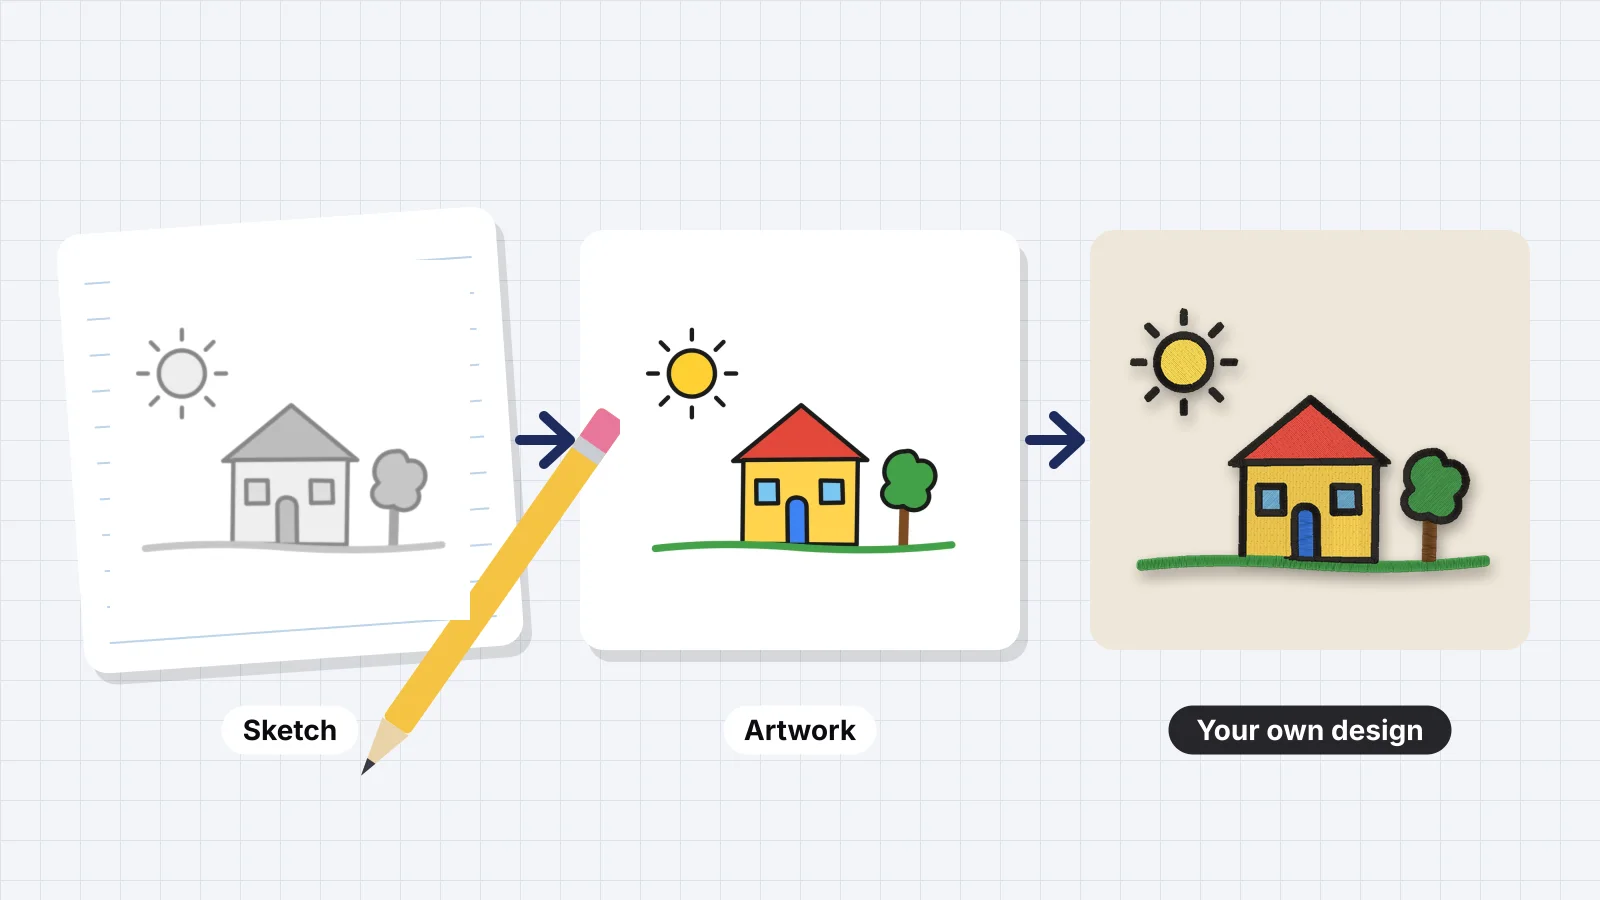
Canva is a good place to arrange shapes, icons and lettering, and to try a layout on a mockup. What it can't do is decide how each shape is stitched: which areas become satin or fill, the stitch direction and density, the underlay under each shape and the order the colors sew in. That step is called digitizing, and it happens after you export.
| Canva download | Use it for embroidery? | Notes |
|---|---|---|
| PNG | Yes, the best choice | Sharp edges and exact colors. A transparent background needs Canva Pro; plain white works too |
| SVG | Yes, on paid Canva plans | Vector, so it stays sharp at any size. Embrizo's digitizer accepts SVG directly |
| JPG | Only if it's all you have | Compression adds blotchy pixels around edges that can turn into extra colors |
| PDF Standard or PDF Print | Convert it first | Fine for print shops; turn it into a PNG or SVG before digitizing |
| GIF, MP4 and animations | No | Embroidery is a single still image |
Plan for the machine from the start. Most home machines sew in a 4 × 4 in (100 × 100 mm) or 5 × 7 in (130 × 180 mm) hoop, so a design that only looks good at 10 in wide is the wrong design for a left chest logo.
Set up the canvas at the finished stitch size
Design at the size the embroidery will be, in inches or millimeters, not at a social media size such as 1080 × 1080 px. At real size, what you measure on the canvas is what you'll get in thread, which makes it obvious when text is too small or a line too thin.
- Choose Create a design, then Custom size.
- Change the unit from px to in or mm.
- Enter the finished width and height from the table below. The artwork doesn't have to touch the edges; a small margin is fine.
- Turn on rulers and guides from the File menu's view settings, so you can measure letters and lines as you go.
- Build the design on its own page, separate from any mockup or social media version.
| Placement | Canvas size | In mm |
|---|---|---|
| Left chest logo | 3.5 × 2.25 in (up to 4 × 3 in) | 89 × 57 mm |
| Cap front | 4.25 × 2 in (up to 5 × 2.25 in) | 108 × 51 mm |
| Sleeve or back of neck | 2.5 × 1.5 in | 64 × 38 mm |
| Center chest | 6 × 4 in | 152 × 102 mm |
| Full front of a T-shirt or sweatshirt | 10 × 7 in | 254 × 178 mm |
| Tote bag | 8 × 6 in | 203 × 152 mm |
| Hand towel band | 5 × 1.75 in | 127 × 44 mm |
The embroidery size chart lists more placements and where each one sits on the garment. A full-front design this big needs an 8 × 12 in hoop; on a 5 × 7 in hoop, keep the design under about 4.7 × 6.7 in (120 × 170 mm).
Canva doesn't know your hoop. Before you design, check your machine's largest sewing field with the hoop size calculator, and size the canvas to fit inside it with 5–10 mm (about 1/4 in) to spare on every side.
Try it with your own design
Sign up free, upload an image and get a stitch preview in under a minute.
Drop your image here
PNG, JPG, SVG, PDF or AI · stays on your device
Not sure what to expect? See real examples or how it works.
Shapes, lines and effects that stitch
Thread is laid down in solid areas and lines, so build the design from flat shapes. Canva's Elements panel is full of flat icons and shapes that work well, and just as full of watercolor clip art, textured brushes and photos that don't.
- Flat graphics with solid fills. Search Elements for terms like flat icon, line icon or silhouette, then recolor them to your thread colors.
- Lines at least 1 mm (0.04 in) wide. Thinner lines can only sew as a single running stitch, and below about 0.5 mm (0.02 in) they disappear. Measure shape borders and strokes on the ruler at full size.
- Gaps of at least 1 mm between shapes. Thread spreads slightly and the fabric pulls in, so small gaps close up.
- No detail smaller than about 1.5 mm (1/16 in). Tiny dots, sparkles and thin rays turn into specks of stitches.
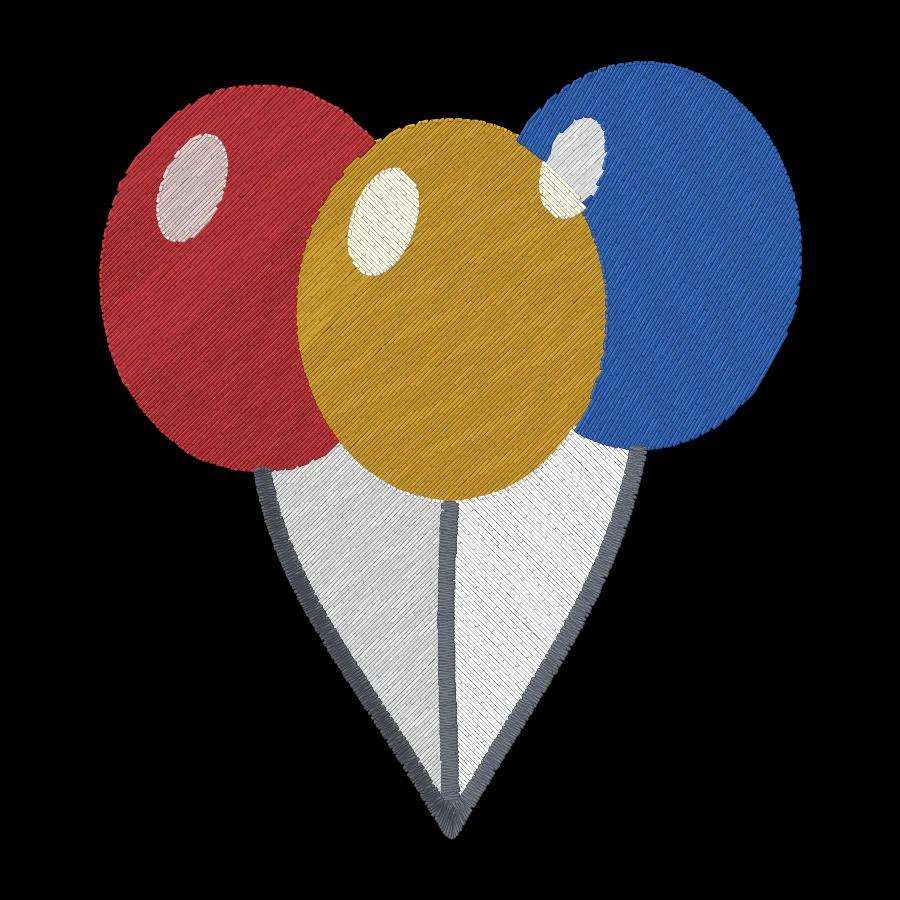
- Simple, closed shapes. A badge, a circle or a bold silhouette digitizes better than a cluster of overlapping clip art.
| Canva feature | Embroidery-friendly? | Why |
|---|---|---|
| Solid shapes, icons and silhouettes | Yes | Each solid area becomes one stitched area in one thread color |
| Curve text effect | Yes | Fine, as long as the letters stay large enough (see below) |
| Hollow text effect | Only when large | Leaves a thin outline that can only sew as a running stitch |
| Shadow, Lift, Neon, Echo, Glitch and Splice effects | No | They add blurred edges and in-between colors that stitch as extra layers |
| Gradients and duotone photos | No | A gradient breaks into bands of color, each a separate thread |
| Transparency slider | No | A semi-transparent color becomes a new blended color |
| Photos, frames and textured graphics | No | These need a photo-stitch approach, not a logo-style design |
Fonts and text that sew cleanly
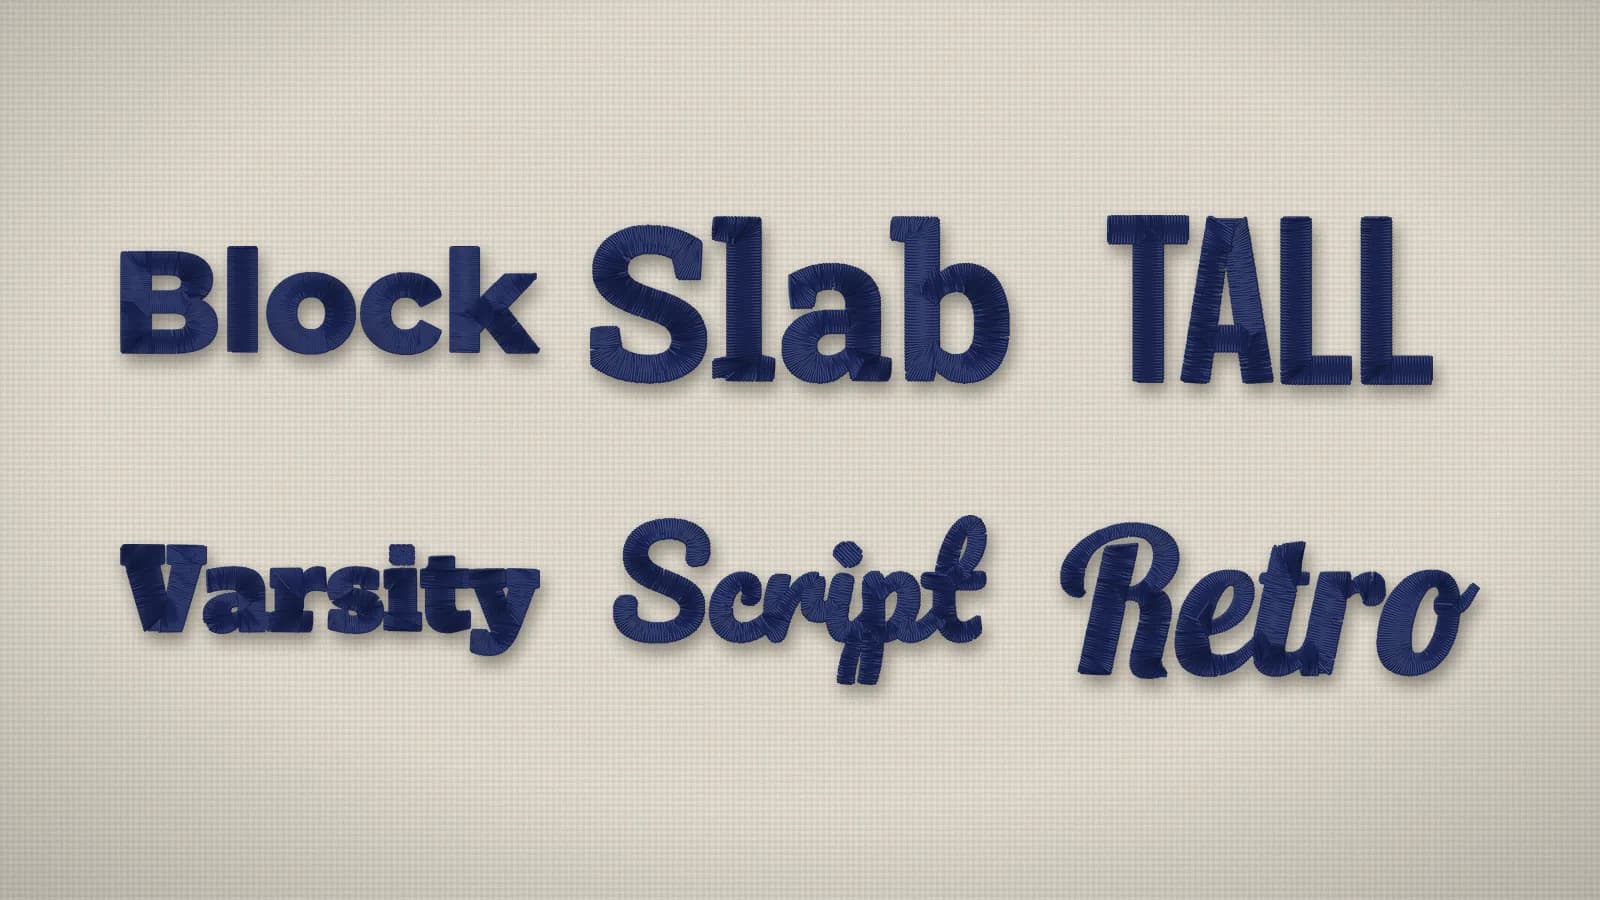
Text is where Canva designs most often go wrong, because a font that reads well on a screen can be far too thin in thread. Measure the height of a capital letter on the ruler, at full size, and compare it with these minimums:
| Font style | Examples in Canva | Smallest capital height |
|---|---|---|
| Bold sans-serif | Montserrat ExtraBold, League Spartan, Anton, Archivo Black | 5 mm (0.2 in) |
| Serif and slab serif | Roboto Slab Bold, Playfair Display Bold | 7–8 mm (0.28–0.31 in) |
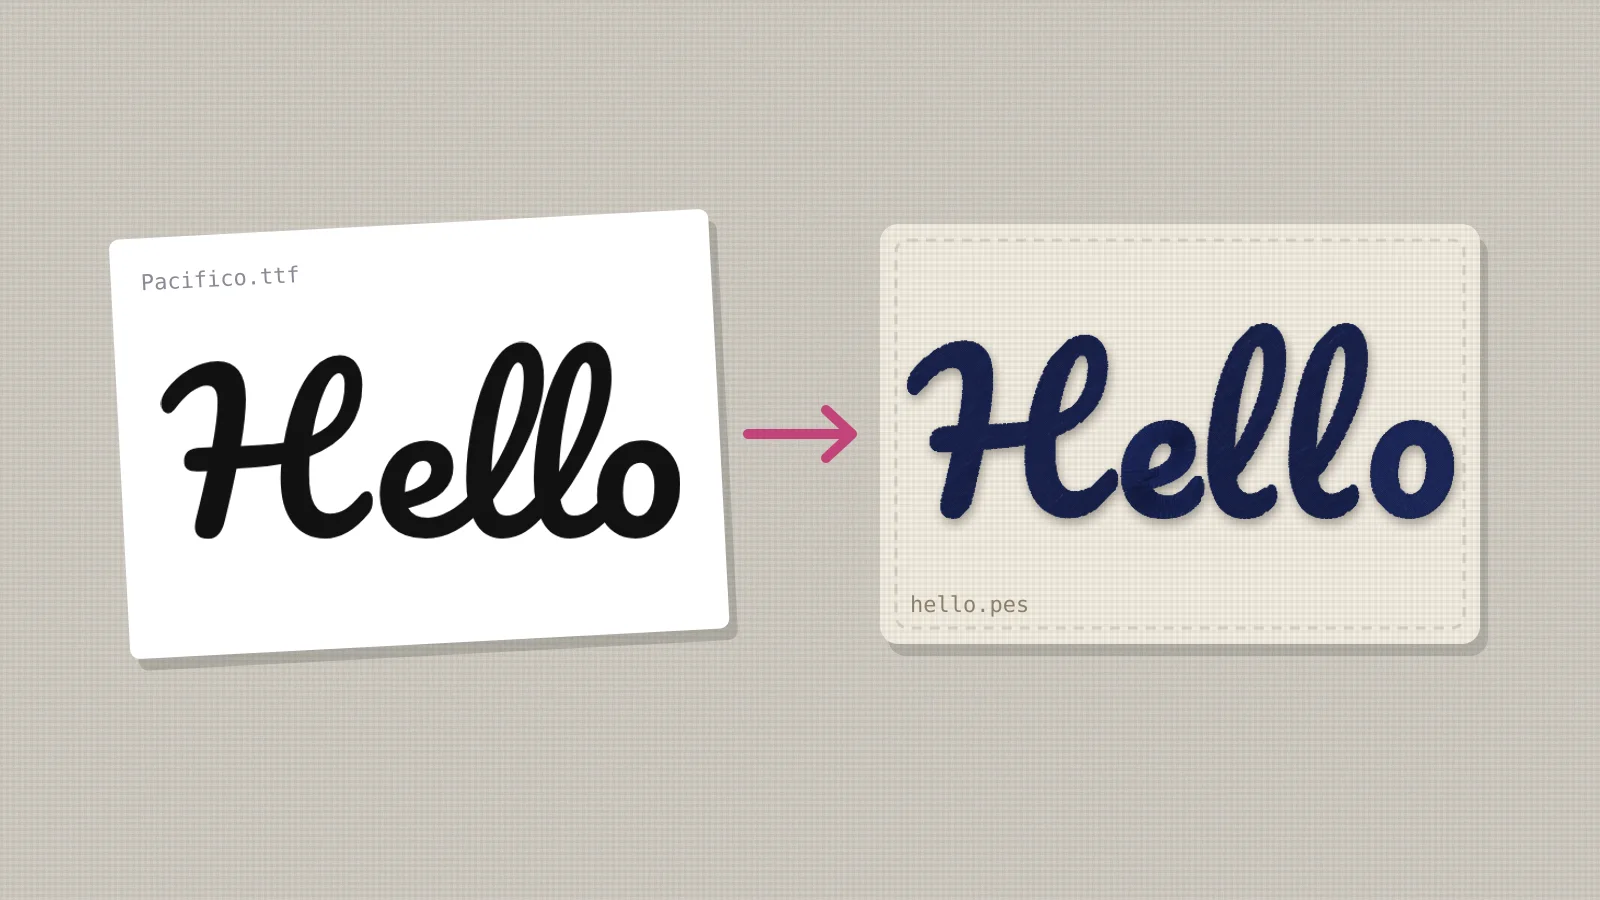
| Bold script | Pacifico, Lobster | 8–10 mm (0.31–0.39 in) |
| Thin script and hairline fonts | Great Vibes, Allura | 12 mm (0.5 in) or more, or avoid |
- Strokes at least about 1 mm wide. Satin stitch needs width to sit on; a hairline serif or a thin script loop sews as a wobbly running stitch.
- Add 1–2 mm on textured fabric. Piqué polos, fleece and towels swallow small letters, and caps need a little extra height too.
- Leave space between letters. Letters that touch in Canva merge into one blob of satin, so increase the letter spacing slightly.
- Cut the small print. Taglines, phone numbers and web addresses under 5 mm tall won't read on a left chest logo. Drop them, or save them for a larger back design.
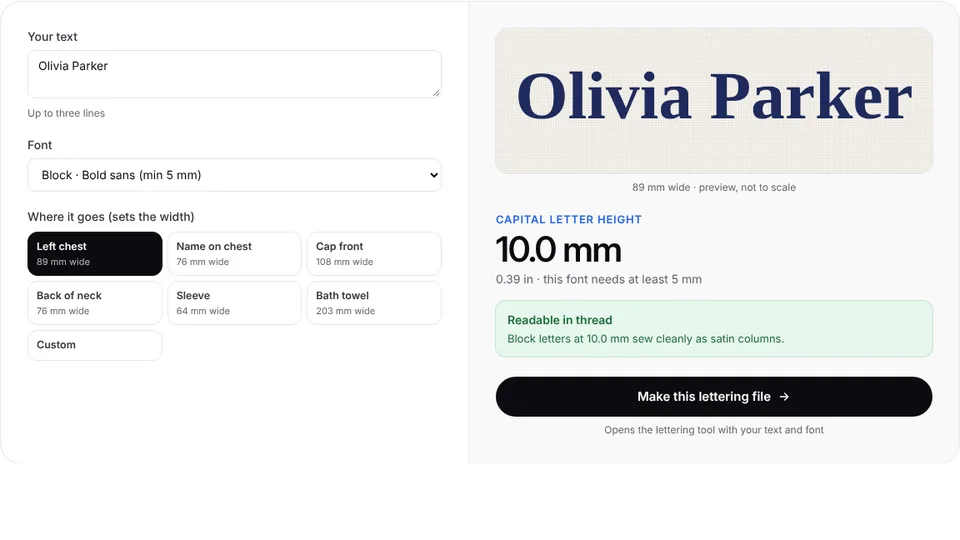
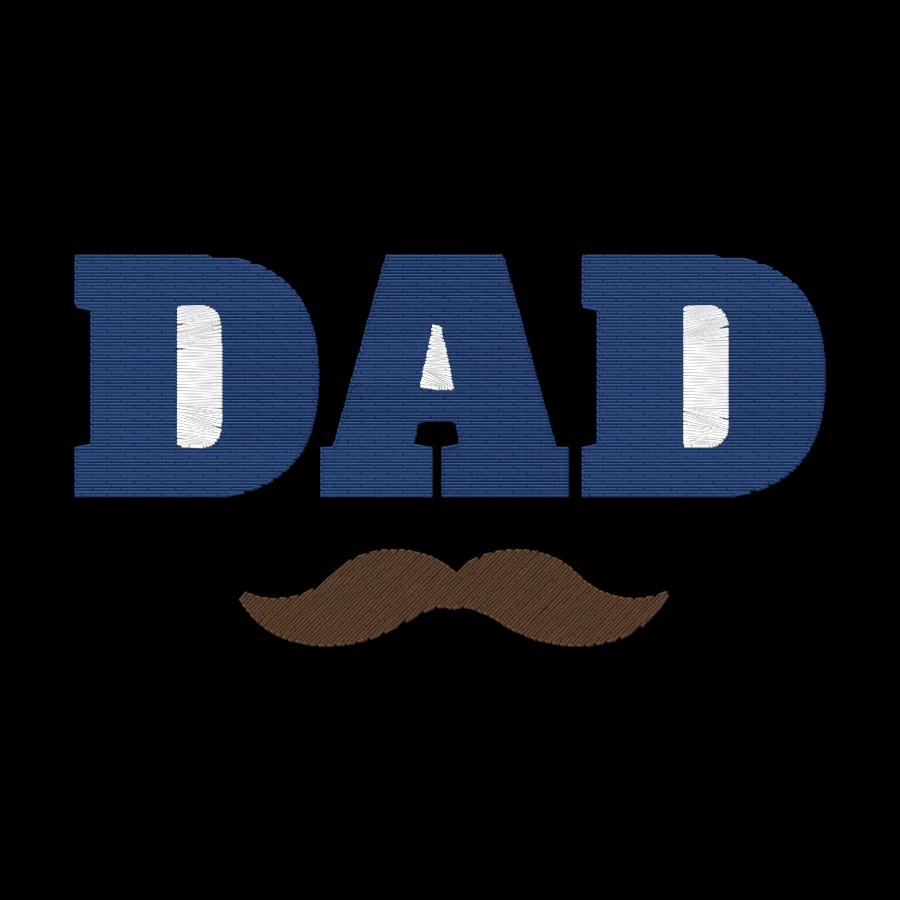
The lettering size calculator shows how tall your letters will be at a given width, and best fonts for embroidery lists fonts that stitch well. If the design is only a name or a line of text, Embrizo's text to embroidery tool sets it in stitch-ready fonts with no Canva step at all.
Use a few flat colors
Every color in the design is a separate thread, and on a single-needle machine every thread change means stopping to rethread. Keep a logo to 2–4 colors and an illustration to 3–6.
- Choose colors that exist in thread. Bright screen colors such as neon green have no close thread. The thread colors pages show everyday thread colors with the closest Brother and Janome threads, so you can pick matching colors in Canva.
- Leave the garment color out of the design. If the shirt is navy, leave navy areas empty rather than filling them, or the machine will stitch a dense navy block onto navy fabric.
- Use one shade per color. Two nearly identical reds become two threads. Make them the same color in Canva before you export.
- Check contrast with the fabric. Use light thread on dark fabric and dark thread on light fabric; thread color combinations has palettes that work.
Export settings in Canva
Export the design page on its own, without a mockup or background photo. In Canva, choose Share, then Download, and use these settings:
| Setting | Choose | Why |
|---|---|---|
| File type | PNG | Sharp edges and exact colors, with no JPG compression |
| Size | 2× or 3×, on plans with the size slider | More pixels for the digitizer: aim for 1,000–2,000 px across the design |
| Transparent background | On, with Canva Pro | Leaves only the design; a plain white background also works |
| Compress file | Off | Compression softens edges and adds in-between colors |
| Pages | Only the embroidery page | Mockups and extra pages aren't needed |
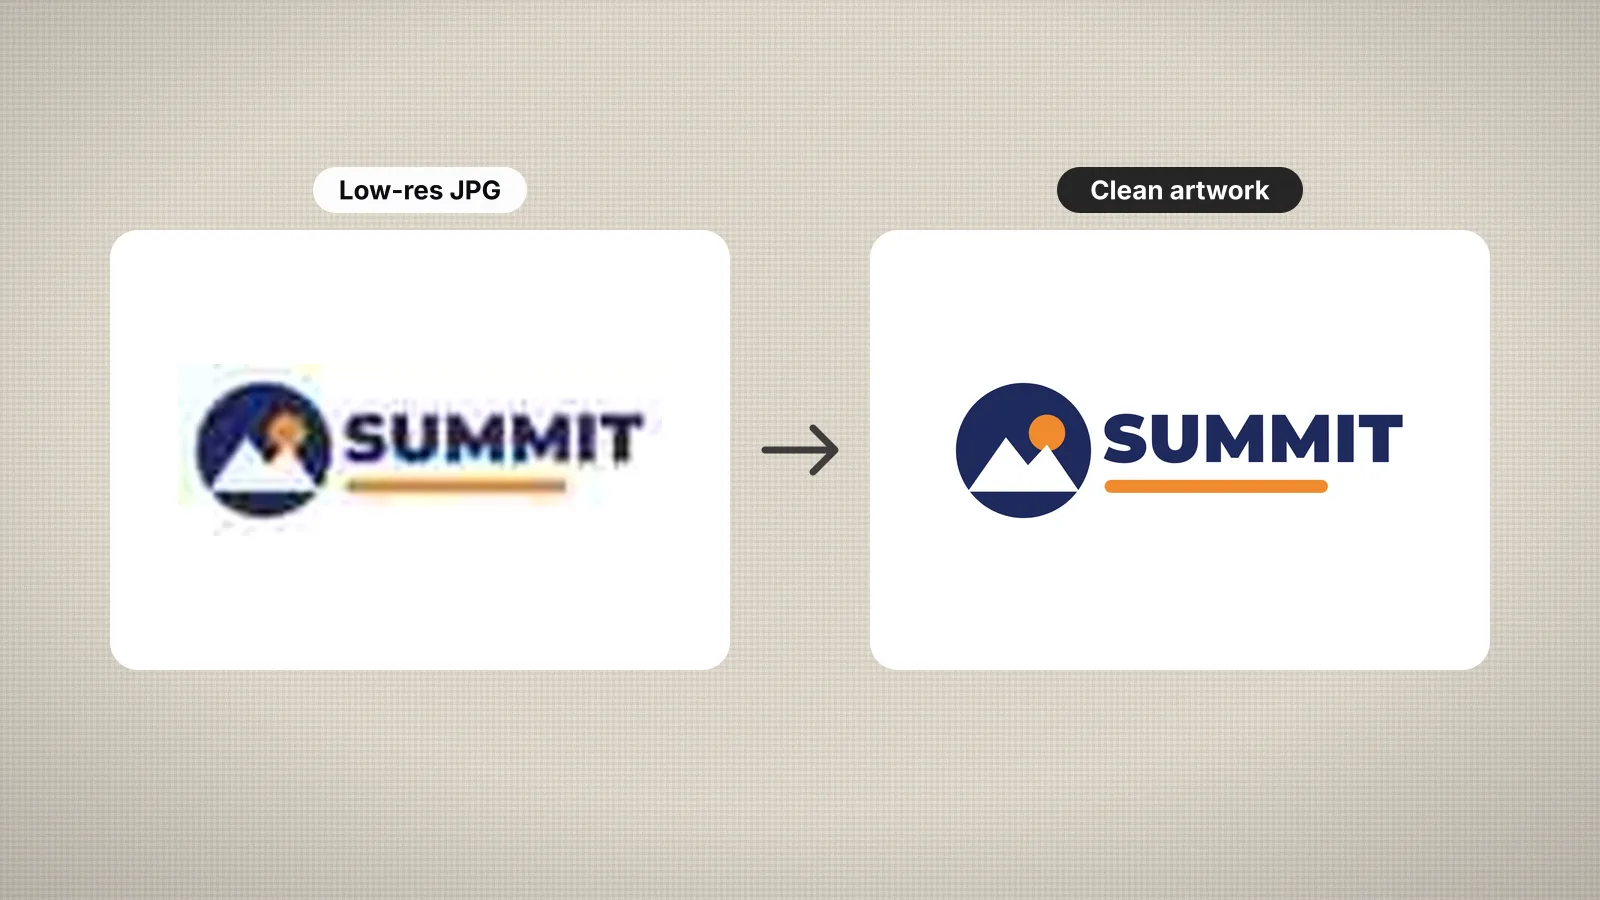
Check the pixel size of the downloaded PNG. A design under about 1,000 px across still digitizes, but small letters and sharp corners lose crispness. If it's smaller than that and your plan has no size slider, download PDF Print instead, which Canva renders at print resolution, and convert it as the PDF to embroidery file page explains.
With a white background, white parts of the design that touch the outside edge, such as a white ring around a badge, can be removed along with the background. Use a transparent background, or put a thin colored outline around white edges.
Turn the PNG into a machine file with Embrizo
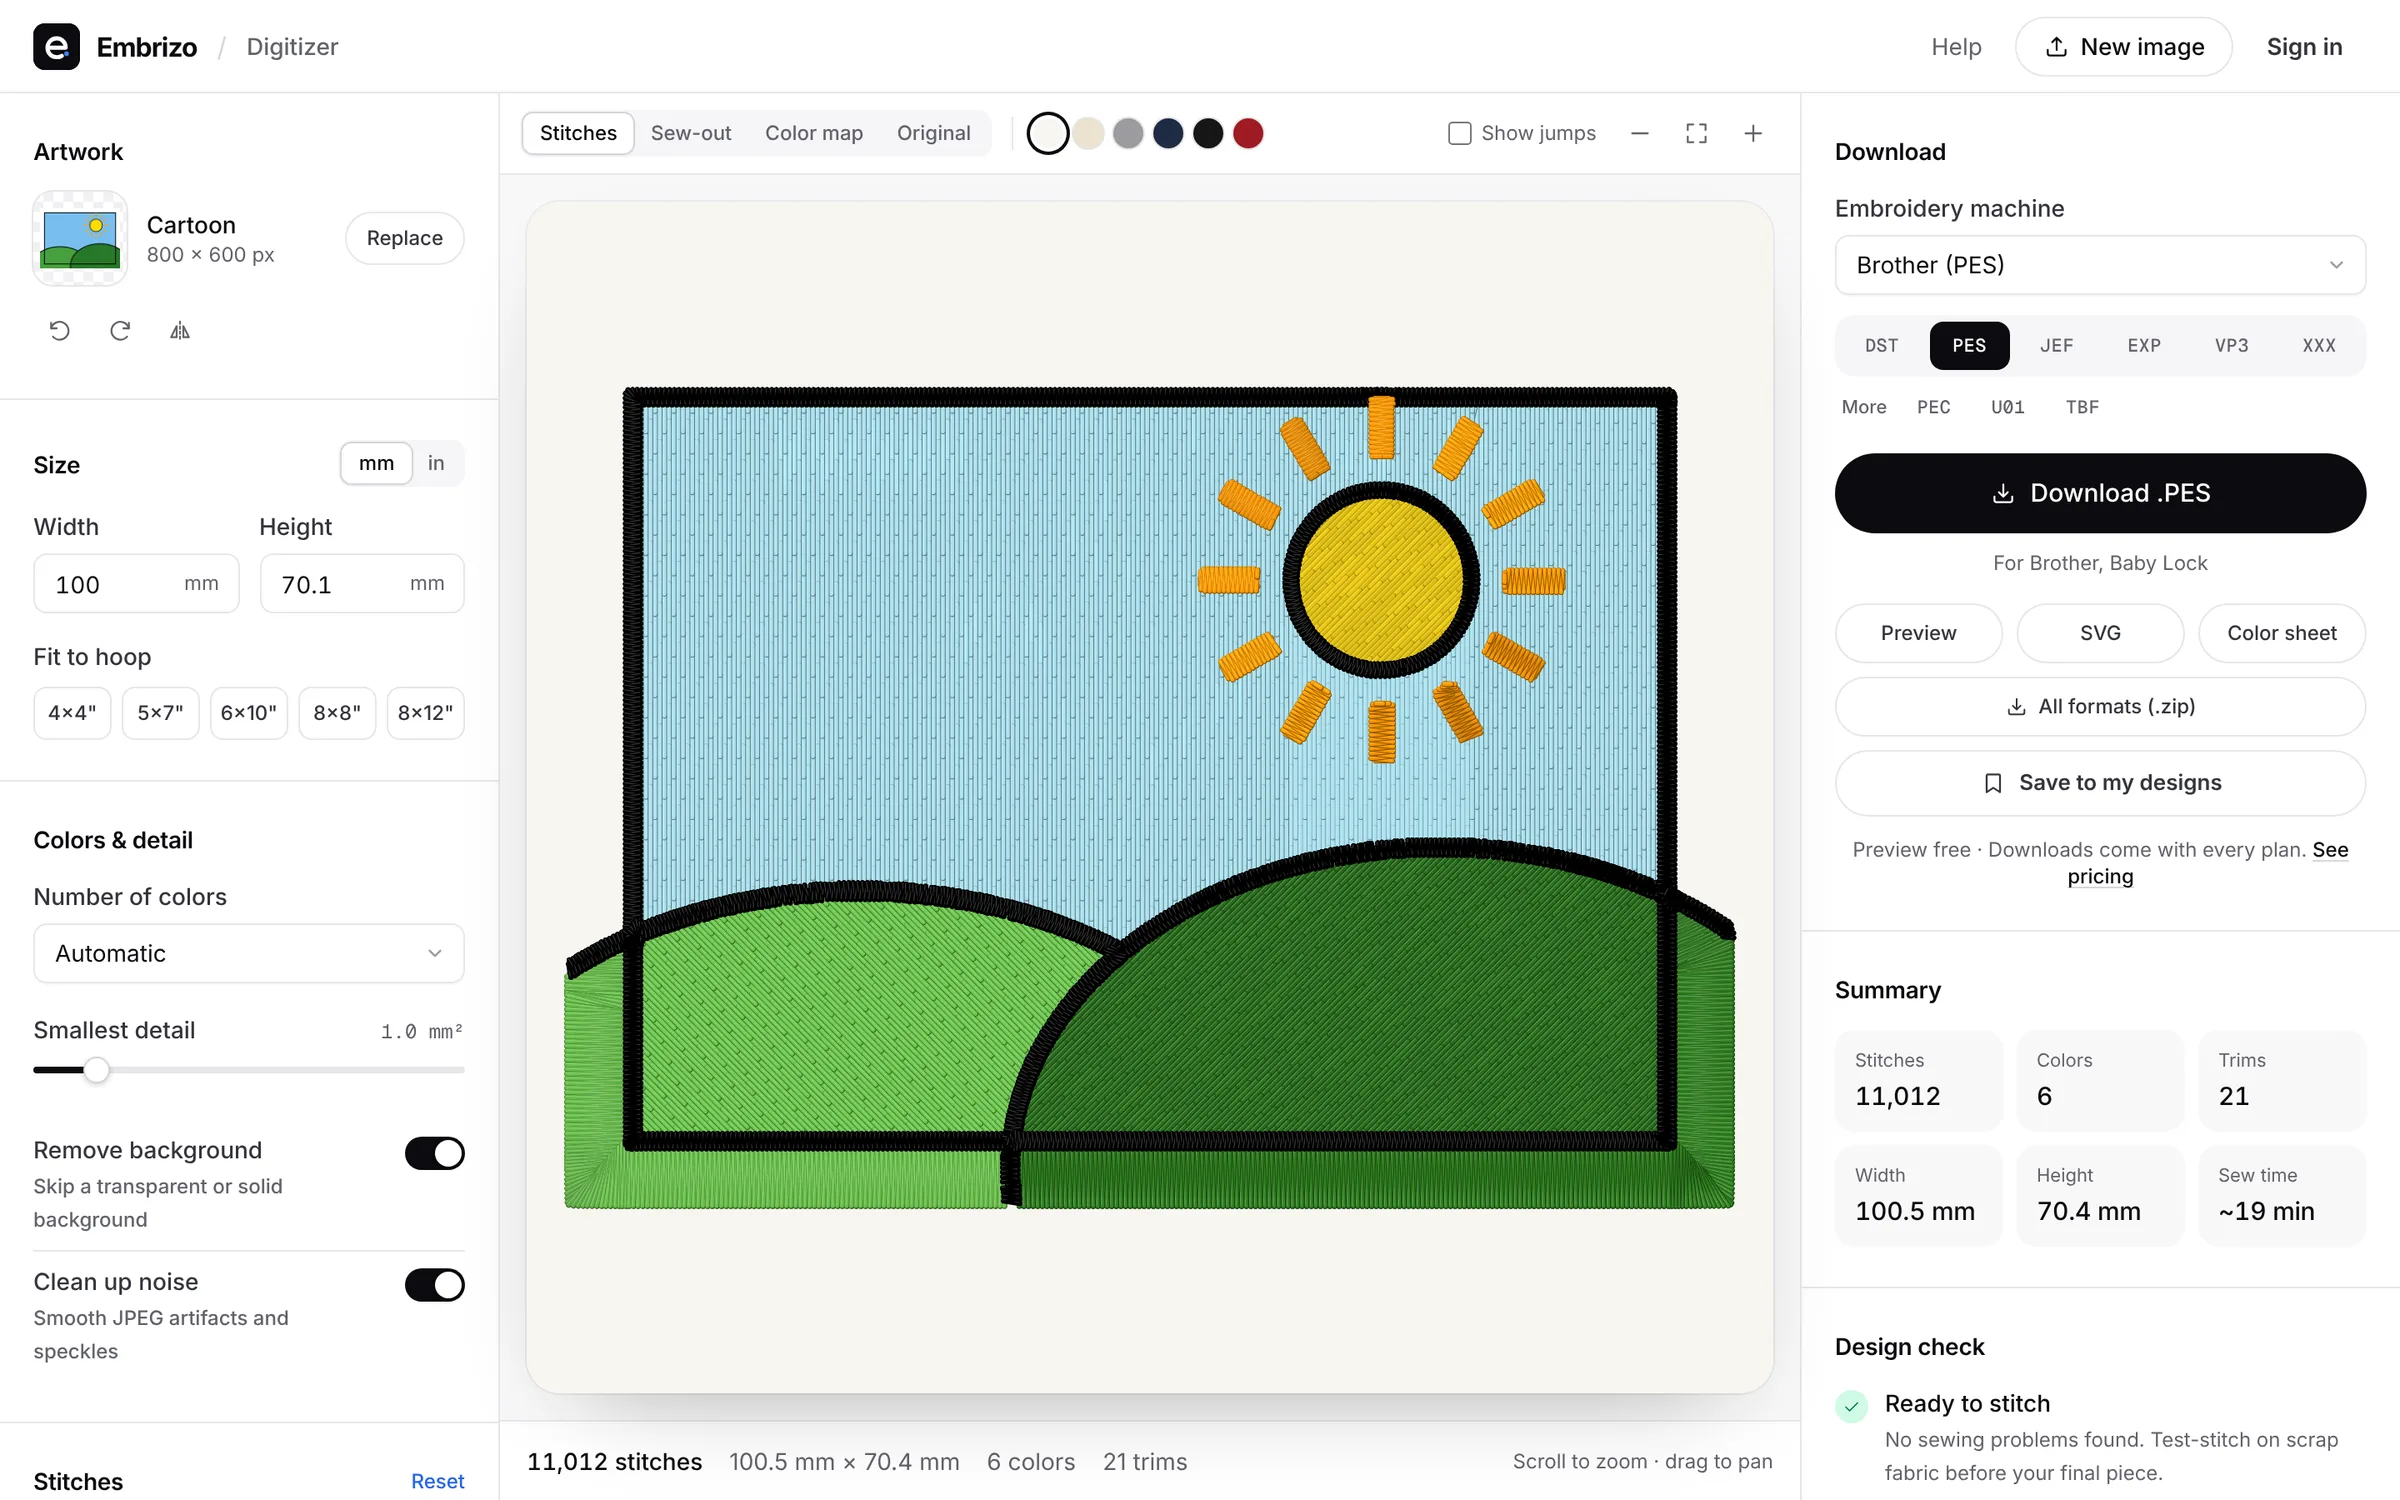
Embrizo's digitizer runs in the browser on Windows, Mac, Chromebook, Linux or iPad, so it works on the same computer you use for Canva. It removes the background, separates the colors and chooses satin, fill or running stitch for each shape automatically, which makes it the quickest way to get from a Canva PNG to a file your machine reads.
- Upload the PNG, or the SVG if you exported one.
- Set the size to match your Canva canvas, such as 3.5 in wide for a left chest logo, or fit it to your hoop: 4 × 4, 5 × 7, 6 × 10, 8 × 8 or 8 × 12.
- Choose the fabric preset: knit for T-shirts and polos, fleece for sweatshirts and hoodies, woven for twill, denim and canvas.
- Set the number of colors to the number you used in Canva, so stray edge pixels don't become extra threads.
- Check each color's stitch type: satin for text and borders, fill for large areas, outline for thin lines. Change any that look wrong.
- Look at the realistic stitch preview and the sew-out simulation, and check the stitch count and the thread list, matched to Brother or Janome threads.
- Save the file in your machine's format: PES for Brother and Baby Lock, JEF for Janome, VP3 for Husqvarna Viking and Pfaff, EXP for Bernina, XXX for Singer and DST for commercial machines.
The digitizing takes about a minute. Embrizo adds underlay, pull compensation and tie-ins and tie-offs, splits stitches longer than 7 mm and drops any under 0.3 mm. A free account digitizes and previews as many images as you like; saving machine files needs a plan. Test-stitch the first file on a scrap of the same fabric with the same stabilizer before you sew the real garment.
Practice on a free design
167 ready-to-sew designs in every machine format, free with an account.

Canva elements and commercial use
Shapes you draw and text you type are yours to stitch. Canva's stock graphics, photos and some fonts are covered by Canva's content license, which sets what you can do with them. It restricts some uses, such as building a trademark or logo from stock elements, or reselling elements on their own with little change.
- Selling embroidered items: check that the elements in your design are allowed on products for sale under the current license.
- Selling the embroidery file: a file built mostly from someone else's stock element is riskier to sell than a finished, stitched product. Read the license terms on redistribution.
- A logo for a business: draw it from basic shapes and your own lettering if the business may want to register it as a trademark later.
- Fonts: Canva's fonts come with their own licenses. Many popular ones are open fonts, but check before you sell.
Licenses change, so read Canva's current terms rather than relying on a summary; this isn't legal advice. Embroidery design copyright covers the wider rules for selling stitched designs.