 Free toolPhoto to embroidery patternTurn a photo into clean line art: a hand embroidery pattern or the outline for a machine file.Open the tool
Every hand embroidery project starts with lines on fabric. A bought pattern comes with them; a photo of your dog, your house or a child's drawing doesn't. Getting from a picture to clean, accurate lines on the cloth is two jobs: turning the image into a simple line pattern, then transferring that pattern to the fabric.
This guide covers both. It shows how to make line art from a photo or drawing, including with Embrizo's photo to embroidery pattern tool, then compares the main ways to transfer it: a light box or window, water-soluble, heat-erasable and air-erasable pens, transfer paper, printable water-soluble stabilizer and iron-on transfer pens, and which of them need a mirrored print.
Start with clean line art
A pattern is a guide for your needle, not a picture. It should hold only the lines you'll stitch: the outline, the main inner shapes and a few details such as eyes or petals. Shading, textures and backgrounds become extra lines that are hard to stitch and hard to remove.
- Simplify. Keep the lines that explain the shape and leave the rest. You can always add stitches; you can't easily erase traced lines.
- Trace by hand if you like: lay tracing paper over a printed photo, draw the main outlines with a fine pen, then tidy them up on a fresh sheet.
- Print at the final size. Measure the area you'll stitch and size the pattern to fit, leaving at least about 1/2 in (12 mm) between the design and the hoop on every side. Print at 100% or actual size, not fit to page, and check one measurement with a ruler.
- Mark the center and the top. A small cross and an arrow on the pattern help you line it up straight with the fabric grain.
Turn a photo into a pattern with Embrizo
Embrizo's photo to embroidery pattern tool traces a photo into clean line art, ready to print and transfer. It runs in your browser, and your photo isn't uploaded.
- Choose a photo with good light and a clear subject, and crop it close. Pets, houses, flowers and portraits with a plain background work best.
- Add it to the tool as a PNG, JPG or WebP.
- Pick the detail: Bold for simple outlines and beginners, Medium or Fine for faces and fur.
- Set the line weight to thin, medium or thick, and raise the clean-up if the background adds stray specks.
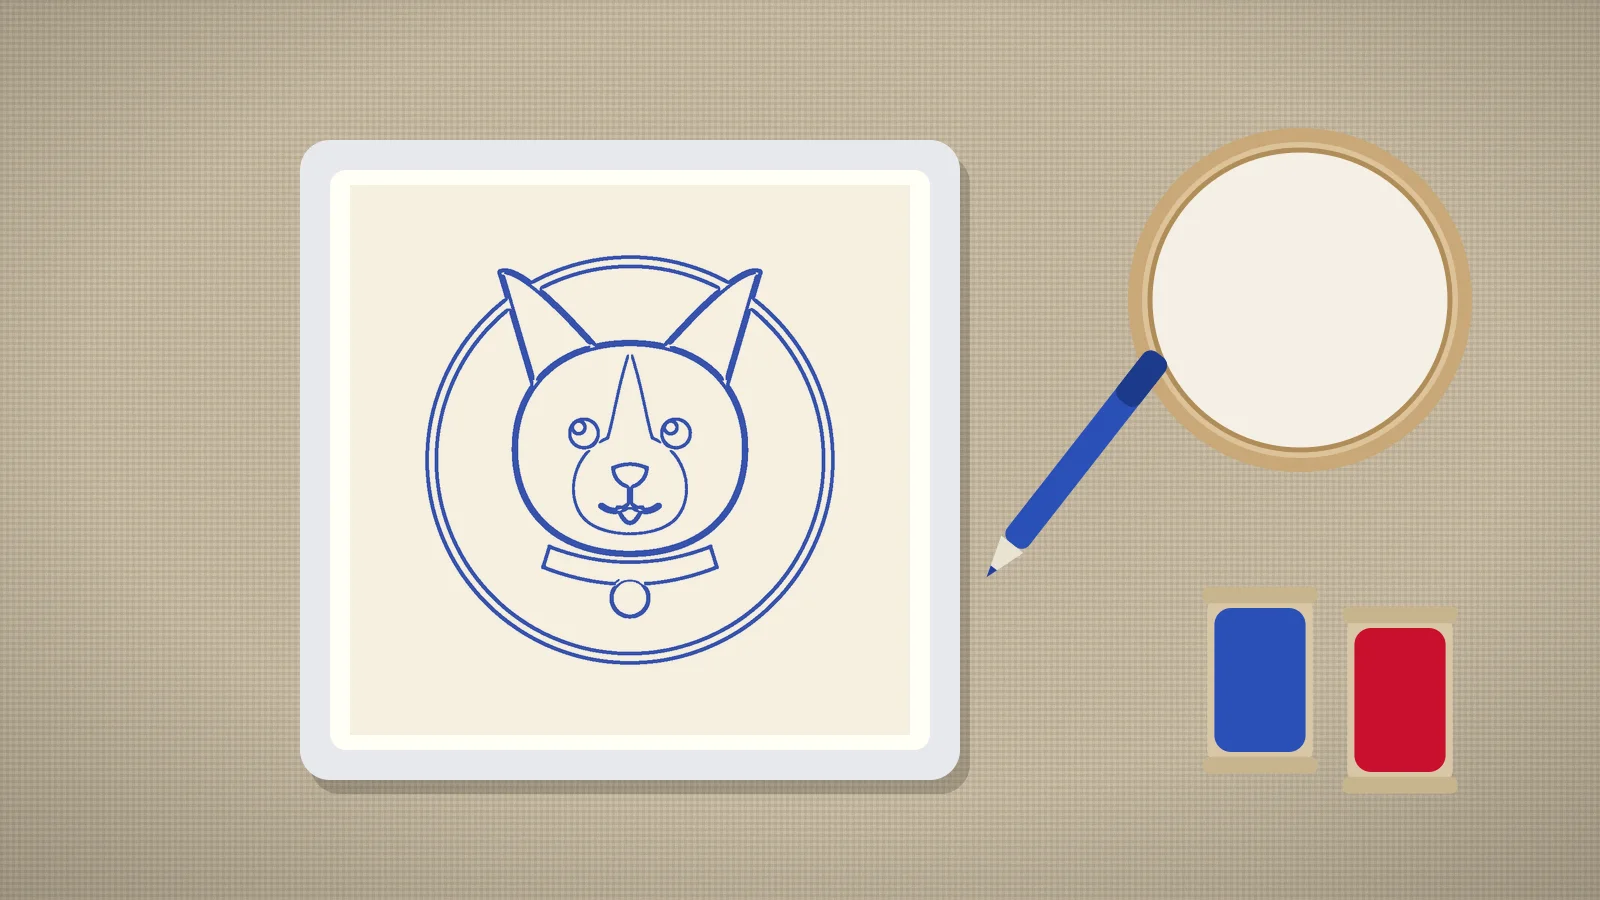
- Choose the line color: black, navy, brown, or red for redwork. The in-hoop view shows the pattern on linen in a wooden hoop.
- Turn on Mirror it if you'll transfer it with an iron-on pen, then download the pattern and print it at your stitching size.
Making patterns is free, and downloading one needs a free account. To have an embroidery machine stitch the same picture instead, the photo to line art embroidery tool makes the stitch file rather than a printable pattern; saving machine files needs a plan.
Try it with your own design
Sign up free, upload an image and get a stitch preview in under a minute.
Drop your image here
PNG, JPG, SVG, PDF or AI · stays on your device
Not sure what to expect? See real examples or how it works.
Transfer methods compared
| Method | Best for | Mirror the print? | How the lines come off |
|---|---|---|---|
| Light box or window with a pen | Light, thin fabrics: cotton, linen, muslin | No | Depends on the pen |
| Water-soluble pen | Most light fabrics | No | Rinse in cold water |
| Heat-erasable pen | Light and mid-tone fabrics | No | Heat from an iron or hair dryer; test first |
| Air-erasable pen | Small projects finished in a day or two | No | Fades on its own |
| Transfer paper | Dark or thick fabric that light won't pass through | No | Washes or brushes off on most types; some are permanent |
| Printable water-soluble stabilizer | Dark, textured or stretchy fabric: towels, knits, denim, felt | No | Dissolves in water after stitching |
| Iron-on transfer pen or pencil | Light fabrics and repeat transfers | Yes | Usually permanent, so stitches must cover the lines |
| Tissue paper or tear-away | Fabric you can't mark, such as velvet or fleece | No | Torn away after stitching |
Whatever you use, test it on a scrap of the same fabric first: mark it, leave it for as long as the project will take, then remove it the way you plan to.
Tracing on a light box or window
- Wash and press the fabric if the finished piece will be washed, so it doesn't shrink after you stitch.
- Tape the printed pattern to a light box, a bright window or a tablet screen at full brightness.
- Center the fabric over it, lining up the grain with the pattern's center marks, and tape the corners.
- Trace with light, continuous strokes in a fine-tipped fabric pen. Trace slightly inside thick lines so the stitches cover the marks.
- Lift a corner to check you haven't missed any lines before you untape it.
- Hoop the fabric and stitch.
This works for most cotton, linen and muslin in white, cream and pale colors. On darker or thicker fabric the lines won't show through, so use transfer paper or printable stabilizer instead. For more on fabrics, see can you embroider on linen.
Water-soluble, heat-erasable and air-erasable pens
- Water-soluble pens, usually blue, rinse out in cold water, which makes them the safe everyday choice. Heat can set the ink, so don't iron the piece or leave it in a hot car before the marks are gone, and rinse thoroughly rather than dabbing.
- Heat-erasable pens disappear with the heat of an iron or hair dryer. The marks can reappear in the cold, and on some dark or delicate fabrics they leave a faint pale line, so test first and avoid them on heirloom pieces.
- Air-erasable pens fade by themselves, often within a day or two, and faster in humid air. They suit a quick piece and frustrate on a slow one, when lines vanish before you've stitched them.
- Pencils and chalk. A sharp, light pencil works on cotton when the stitches will cover the lines, but graphite can smudge. Chalk pencils show on dark fabric but rub off as you handle the hoop.
Transfer paper and printable stabilizer for dark or thick fabric
Transfer paper, also called dressmaker's carbon or graphite paper, works where light can't pass through. Lay the fabric right side up, the transfer paper coated side down on top, then the pattern, and trace every line firmly with a stylus or ballpoint pen. Use white or yellow paper on dark fabric. Some types wash out and some are permanent, so check the packet.
Printable [water-soluble stabilizer](/embroidery-glossary/water-soluble-stabilizer) is the cleanest choice for towels, knits, denim, felt, sweatshirts and dark fabric. Print the pattern straight onto the sheet, then stick it on (self-adhesive kinds peel and stick; plain kinds are basted in place) and stitch through it. Afterwards, soak the piece and the stabilizer dissolves, taking the lines with it. Check the packet for which printers it suits, and wipe the needle now and then if it gets sticky.
Tissue paper or tear-away suits velvet, fleece and fabrics you don't want to mark. Trace the pattern onto it, baste it in place, stitch through it and tear the paper away carefully, using tweezers for small pieces.
Iron-on transfer pens and mirrored prints
An iron-on transfer pen or pencil draws a line that moves to fabric with heat. You draw over the pattern on paper, place it ink side down on the fabric and press. Because the paper is face down, the design comes out reversed, so mirror the pattern before you trace it. That matters most for lettering, which would otherwise read backwards, and for any design that faces a particular way.
- Print the pattern mirrored. In Embrizo's photo to embroidery pattern tool, turn on Mirror it before you download.
- Trace the lines with the transfer pen on thin paper, keeping them fine.
- Preheat the iron to the setting the pen's packet gives, without steam.
- Place the paper ink side down on the fabric, pin or tape it, and press. Press straight down and lift; sliding the iron blurs the lines.
- Lift a corner to check the transfer before you remove the paper.
Most iron-on transfer lines are permanent, so stitch along them closely and keep the line weight thin. Some pens transfer more than once, with fainter lines each time, which helps for a set of matching napkins or quilt blocks.
Practice on a free design
167 ready-to-sew designs in every machine format, free with an account.

Stitching over your traced lines
- Line stitches. Backstitch, stem stitch and split stitch suit most outlines. Two or three strands of six-strand floss work for most lines, and one or two for fine details.
- Small fills. Satin stitch suits eyes, noses and small shapes, and French knots make dots.
- Cover the marks. Stitch on or just over the line, especially with pens that don't wash out.
- Remove marks before pressing. Rinse water-soluble marks in cold water and let the piece dry before you iron it, face down on a towel.
- Prefer a machine? The same picture can be stitched by an embroidery machine: the photo to line art embroidery tool turns it into a line-art stitch file, and how to turn a drawing into embroidery covers machine files from artwork in more depth.
Photos with lots of color and shading can also become filled machine designs; how to turn a photo into embroidery explains what changes when a photo becomes stitches.


