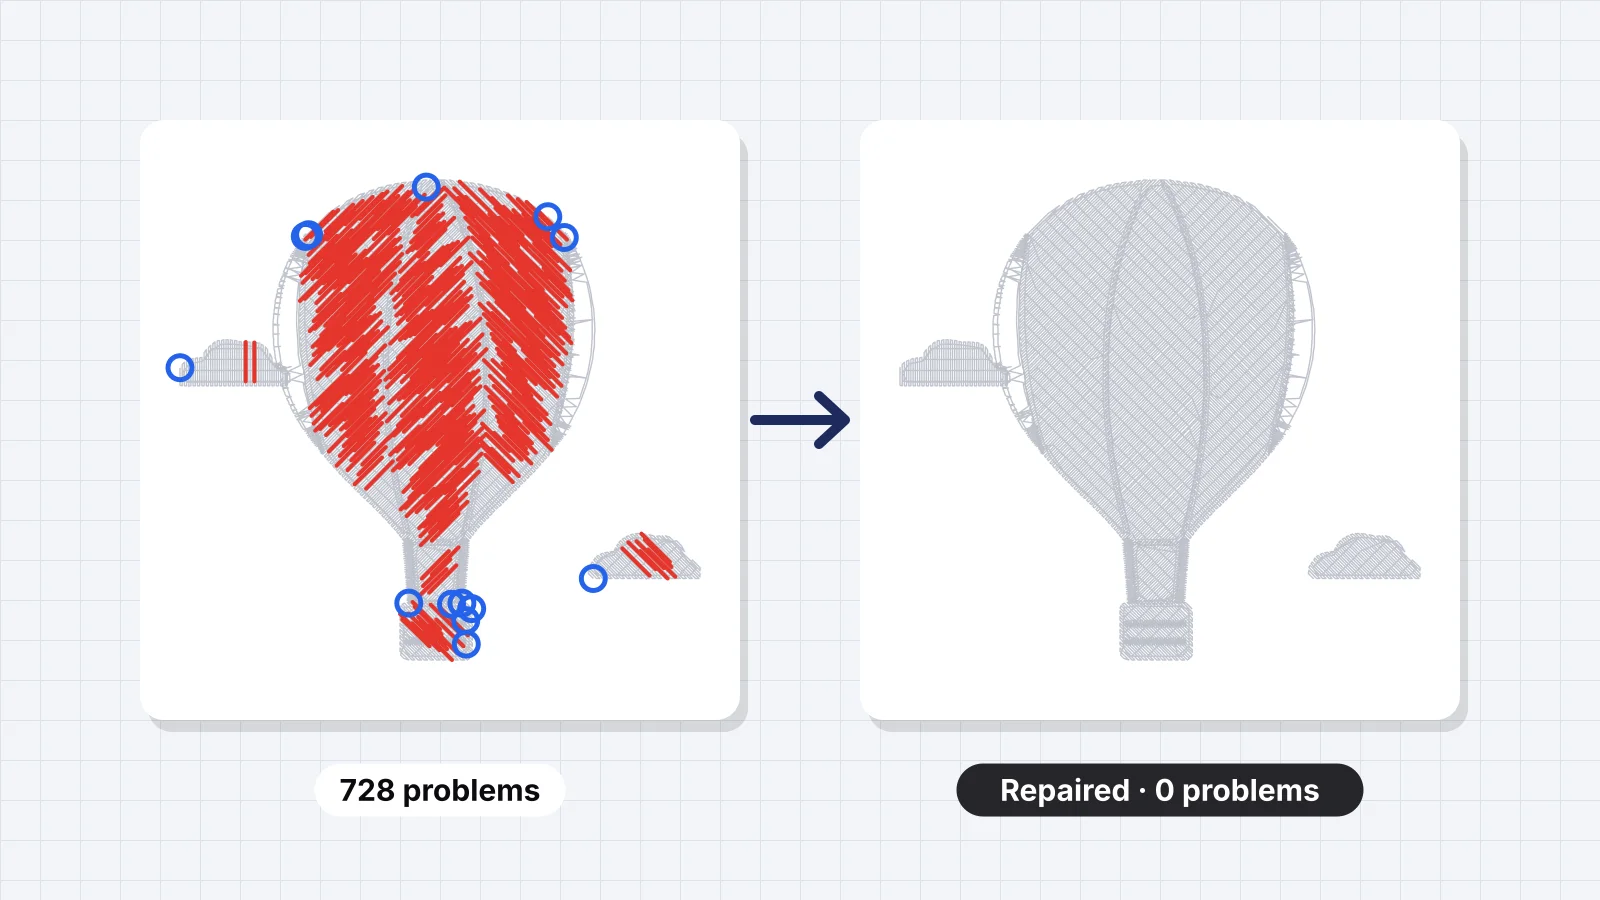
 Free previewEmbroidery file repairFix a stitch file before it breaks thread: split long stitches, remove tiny ones and add missing tie-offs.Open the tool
A design can open on the machine and still sew badly: thread snapping in the same place, a nest of thread under the hoop, long loose stitches that catch on a fingernail, or lettering that comes undone after a trim. Bought files, old files, files converted between formats and files from rough auto-digitizers often carry problems like these.
Some can be fixed in the stitch file in a few minutes. Others mean going back to the artwork. This guide shows how to tell a file problem from a machine problem, matches symptoms to causes, explains what Embrizo's embroidery file repair tool fixes, and covers checking and test-sewing the result. For a full pre-stitch checklist, see how to check an embroidery file before stitching.
Is it the file or the machine?
Thread breaks, nests and loops can come from the file, or from threading, tension, the needle and the bobbin. Rule out the machine first:
- Sew a design you trust, such as one built into the machine, on the same fabric and stabilizer. If it sews cleanly, suspect the file.
- Note where the problem happens. Trouble in the same spot every time points to the file; random trouble points to the machine.
- Rethread the top thread with the presser foot up, so the thread seats properly in the tension discs.
- Fit a new needle of the right size, usually 75/11 for most fabrics. The needle size chart covers the others.
- Check the bobbin: the right bobbin thread, wound evenly and seated in the case the right way round.
If the machine turns out to be the cause, the embroidery troubleshooter walks through the fixes in order.
Symptoms and causes
| Symptom | Likely cause in the file | Fixable in the stitch file? |
|---|---|---|
| Thread breaks or shreds in the same spot | Clusters of stitches under about 0.3 mm, or many layers stacked in one place | Tiny stitches: yes. Stacked layers: re-digitize |
| Bird nest under the hoop at the start of a color | No tie-in, or a run of very short first stitches | Yes |
| Loops on top of the design | Usually tension or threading; sometimes tiny stitches | Partly |
| Long loose stitches that snag | Satin or travel stitches longer than about 7 mm (0.28 in) | Yes: split them |
| Stitches unravel after a trim | Missing tie-offs before trims and color changes | Yes: add tie-offs |
| Stiff, bulletproof areas, needle breaks, puckering | Density too high, or fills stacked on fills | No: re-digitize |
| Gaps between colors, or outlines that miss | Too little pull compensation or underlay, or loose hooping | Rarely: re-digitize and hoop firmly |
| Slow sewing with dozens of trims and jumps | A poor sewing order | Partly |
| Design is the wrong size | Made for a different hoop or placement | Within about 10–20%; beyond that, re-digitize |
| Machine won't open it | Wrong format, too big for the hoop, or a damaged download | Yes: convert, resize or download it again |
Nests and loops are covered step by step in how to fix bird nesting. If the file won't load at all, see embroidery file won't open on machine.
Try it with your own design
Sign up free, upload an image and get a stitch preview in under a minute.
Drop your image here
PNG, JPG, SVG, PDF or AI · stays on your device
Not sure what to expect? See real examples or how it works.
What a stitch file can and can't fix
A machine file such as DST or PES is a list of needle positions, with color changes, trims and jumps. It doesn't store shapes, so the edits that work on it are edits to stitches:
| You can fix in the stitch file | You need the artwork and re-digitizing |
|---|---|
| Splitting stitches that are too long | Changing the density of a fill |
| Removing stitches that are too short | Changing fill to satin, or satin to fill |
| Adding tie-ins and tie-offs | Adding or changing underlay |
| Changing thread colors and their order | Adding pull compensation for a different fabric |
| Rotating, mirroring and small resizes | Changing stitch angles |
| Converting to another format | Resizing by more than about 20%, or redrawing a shape |
Desktop programs such as Hatch, Wilcom EmbroideryStudio and Brother's PE-Design can also edit individual stitches, but changing density or stitch type inside a stitch file is slow and rarely as clean as digitizing again. If the artwork is lost, the file to image tool renders the design as a picture you can re-digitize from.
Repairing a file with Embrizo
Embrizo's embroidery file repair tool fixes the three stitch problems behind most trouble in bought and converted files, in the browser, with nothing to install:
- Upload the file, such as a PES, DST or JEF.
- The tool splits any stitch over 7 mm into shorter stitches along the same line, so nothing hangs loose or snags.
- It removes stitches under 0.3 mm, which break thread and pile up into knots.
- It adds tie-ins and tie-offs at the start and end of each run, so stitches stay locked after trims and color changes.
- Save the repaired file in the format your machine reads, such as PES, DST, JEF, EXP, VP3 or XXX.
The repair works on the stitches the file already has. It won't lower density, add underlay or turn a fill into satin; for those, re-digitize from the artwork. As with Embrizo's other tools that write machine files, saving the result needs a plan.
Keep the original file. Save the repaired one under a new name, such as logo-fixed.pes, so you can go back if the test sew-out shows a different problem.
Check the file before and after
The embroidery file checker scores a stitch file before you sew: hoop fit, long and tiny stitches, a density heatmap, trims and colors. Run it on the original to see what needs fixing, and again on the repaired file.
| Check | Healthy file | Warning sign |
|---|---|---|
| Longest stitch | Under about 7 mm (0.28 in) | Stitches of 8–12 mm across satins or between letters |
| Shortest stitches | Few or none under 0.3 mm (0.01 in) | Hundreds of tiny stitches in curves and corners |
| Density | Fills at about 0.4 mm spacing, with even coverage | Hot spots where layers overlap |
| Tie-ins and tie-offs | At every start, trim and color change | Runs that start or end with no locking stitches |
| Trims and jumps | A handful per color | Dozens of trims in a small design |
| Size | Fits the hoop with 5–10 mm to spare | Touches or exceeds the sewing field |
The sew-out simulator plays the stitching order color by color, which makes long jumps and odd travel lines easy to spot.
When to re-digitize instead
Repairs can't save a file that was planned badly. Go back to the artwork when:
- It's too dense. Fills that feel like cardboard, needle breaks and puckering come from too many stitches overall, not from a few bad ones.
- It was made for a different fabric. A design built for twill can gap and pucker on a stretchy knit, because its pull compensation and underlay are wrong for it.
- It needs to change size by more than about 20%. Stitch length and density don't scale cleanly; see how to resize embroidery designs.
- The stitch types are wrong, such as satin columns wider than about 7–8 mm, or small text sewn as fill.
From a PNG, JPG, WebP or SVG of the design, Embrizo's digitizer makes a new file in about a minute, with fabric presets, underlay and pull compensation set for you. Its files already keep stitches between 0.3 mm and 7 mm, add tie-ins and tie-offs on every run and place needle points on the 0.1 mm machine grid, so they don't need a repair step.
Practice on a free design
167 ready-to-sew designs in every machine format, free with an account.




Test-sew the fixed file
- Use the same fabric and stabilizer as the real job, or a close scrap, hooped firm and flat.
- Fit a fresh needle and check the bobbin is full, so a run-out doesn't look like a file problem.
- Slow the machine down for the first test if it has a speed setting, and watch the first stitches of each color.
- After each trim, check the stitches stayed locked. After each color, check outlines line up with the fills.
- Turn the sample over: on satin columns, the bobbin thread should show as a center strip about a third of the column width.
- Wash and press the sample if the item will be laundered, then check for puckers and loose ends.
Write the file name and any changes on the test scrap with a fabric marker, and keep it. It saves guessing when the same design comes back for a reorder.


