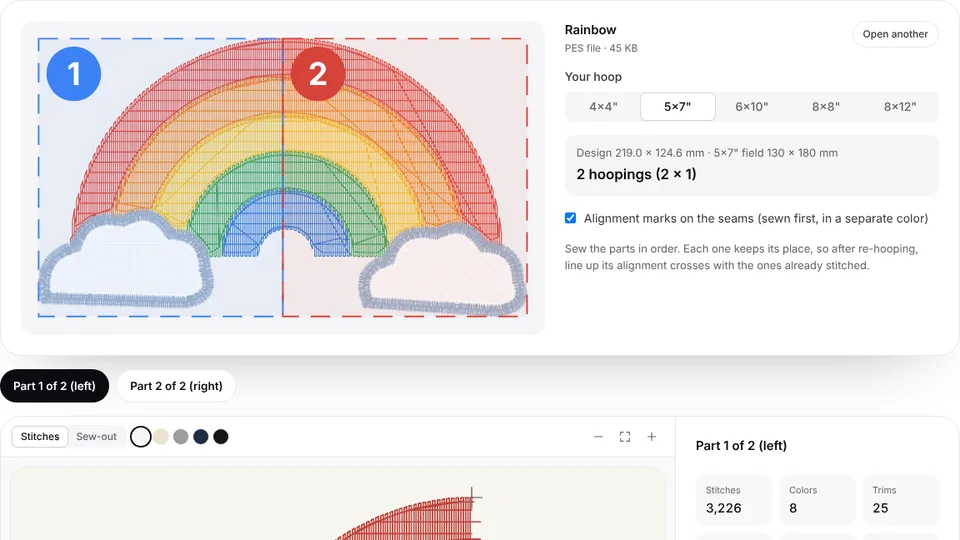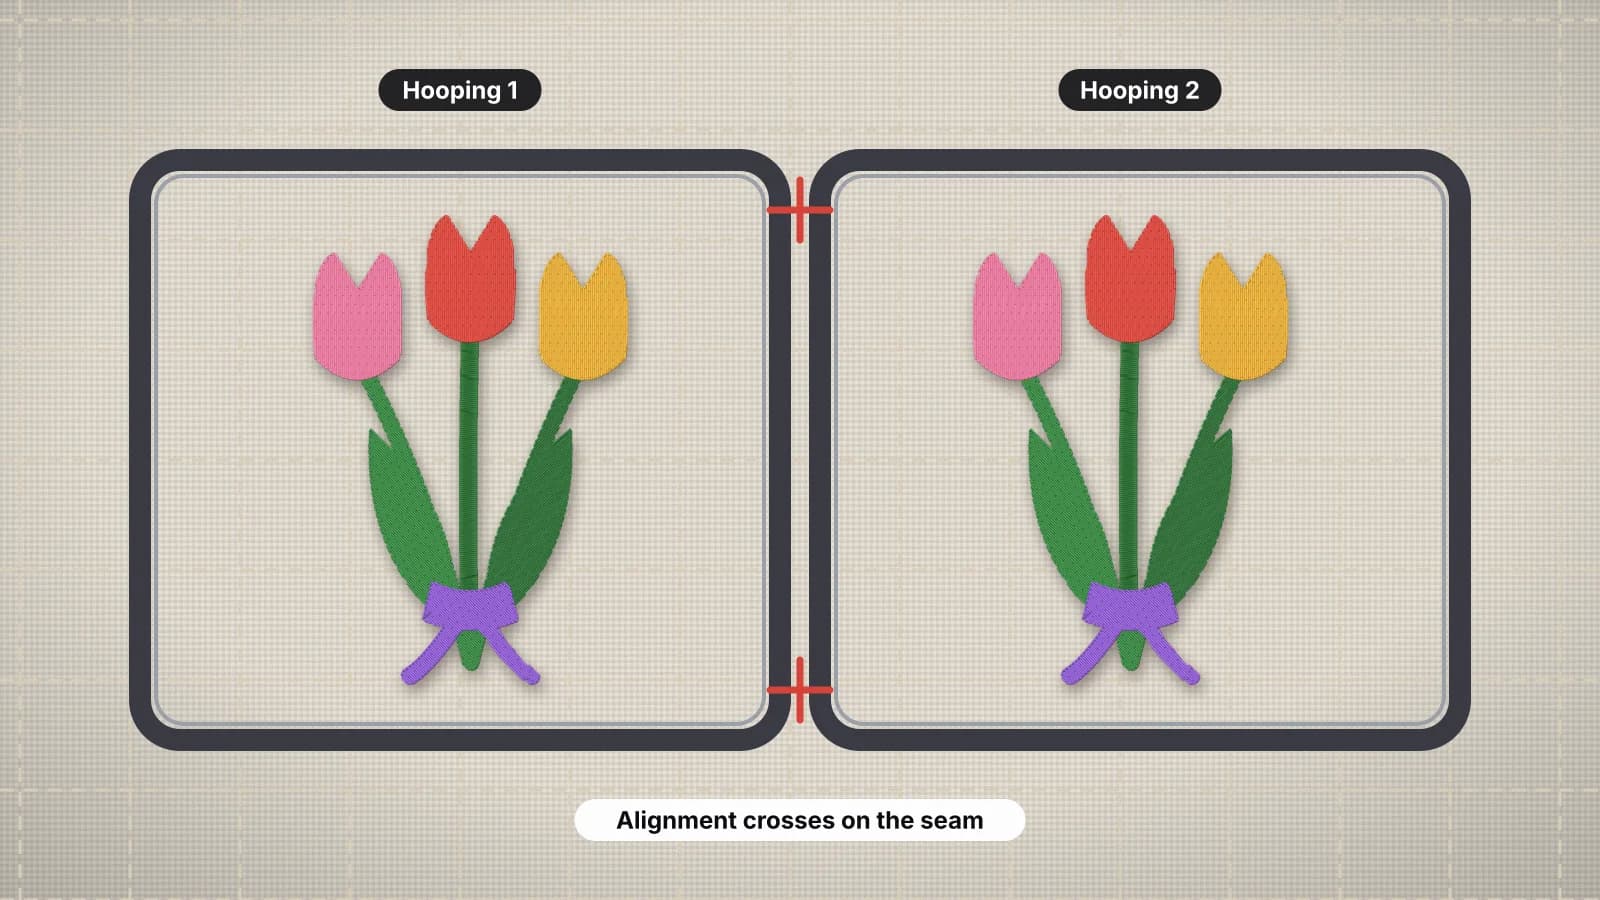
Every machine has a largest sewing field, and some designs are bigger than it: a full jacket back, a big quilt block, a long name across a banner. Splitting, also called multi-hooping, divides the design into parts that each fit the hoop, sewn one after another with the fabric moved in between.
Done well, the joins disappear. Done badly, you get gaps, overlaps and a design that wanders. This guide covers when to split at all, where to cut, the marks that line parts up, re-hooping and which designs split cleanly. The embroidery design splitter divides a stitch file into parts that fit your hoop, with alignment marks and one file per hooping.
Split, resize or re-digitize?
| Situation | Best option | Why |
|---|---|---|
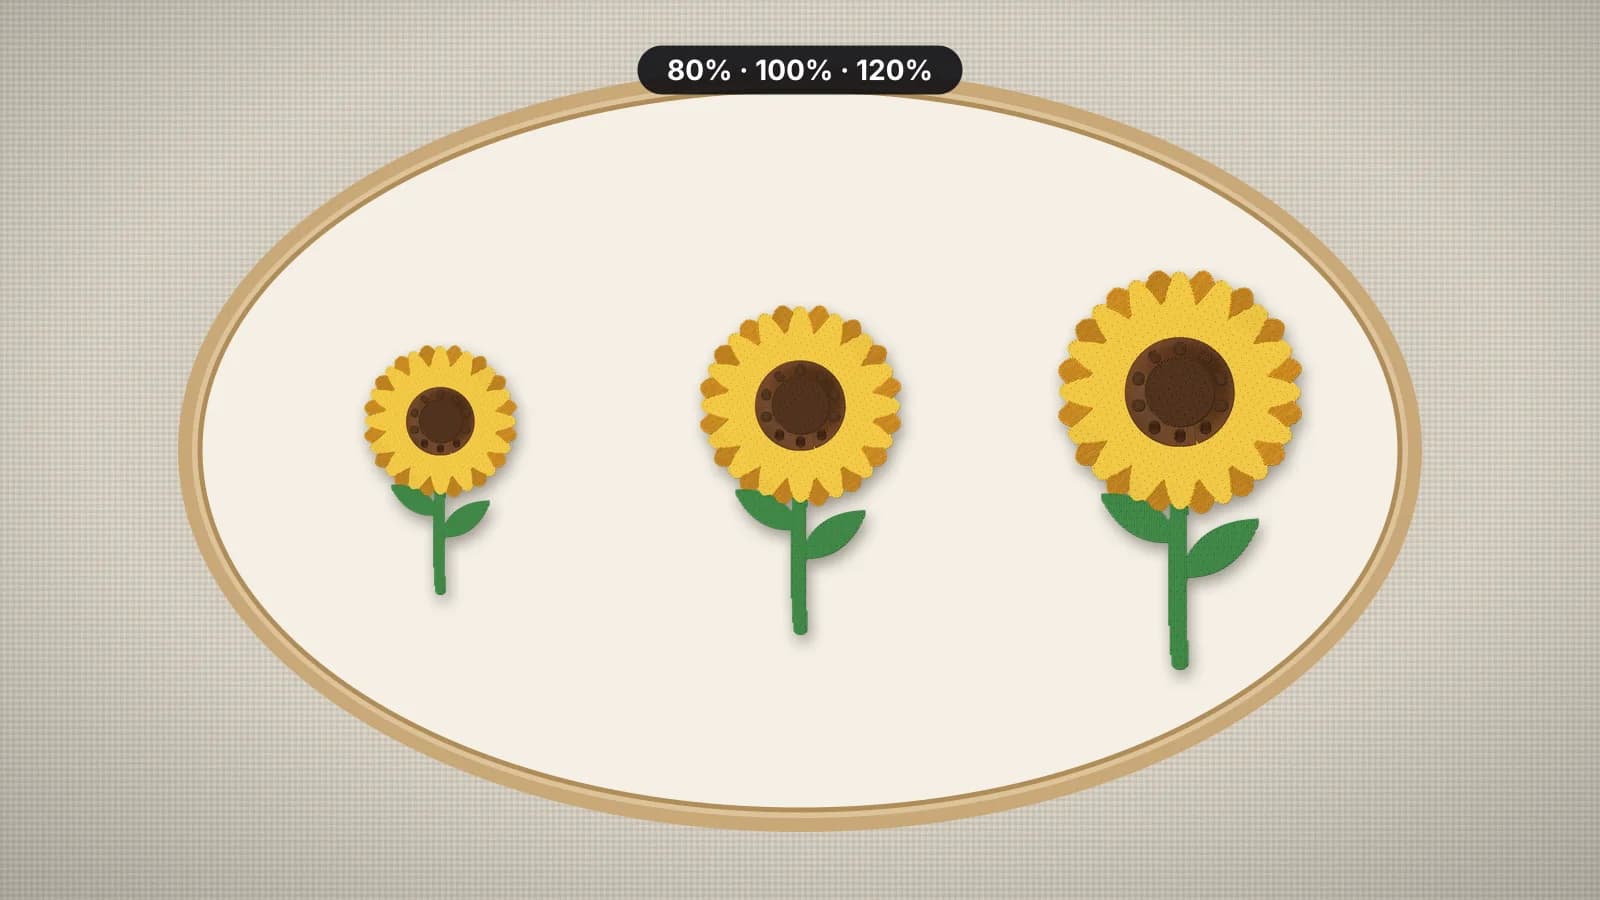
| The design is up to about 10–20% too big | Resize it | Small changes keep the density in a safe range; see the resizing guide |
| It's much too big, and you have the artwork | Digitize it again at a size that fits | A fresh file at the new size sews better than a heavily scaled one |
| It has to stay full size, and your hoop is smaller | Split it | Each part sews at the original size and density |
| A long border, name or banner | Split it | Long, narrow designs split cleanly along natural gaps |
| A dense logo or a photo-style design | A bigger hoop, or a smaller design | Joins through dense fill rarely hide |
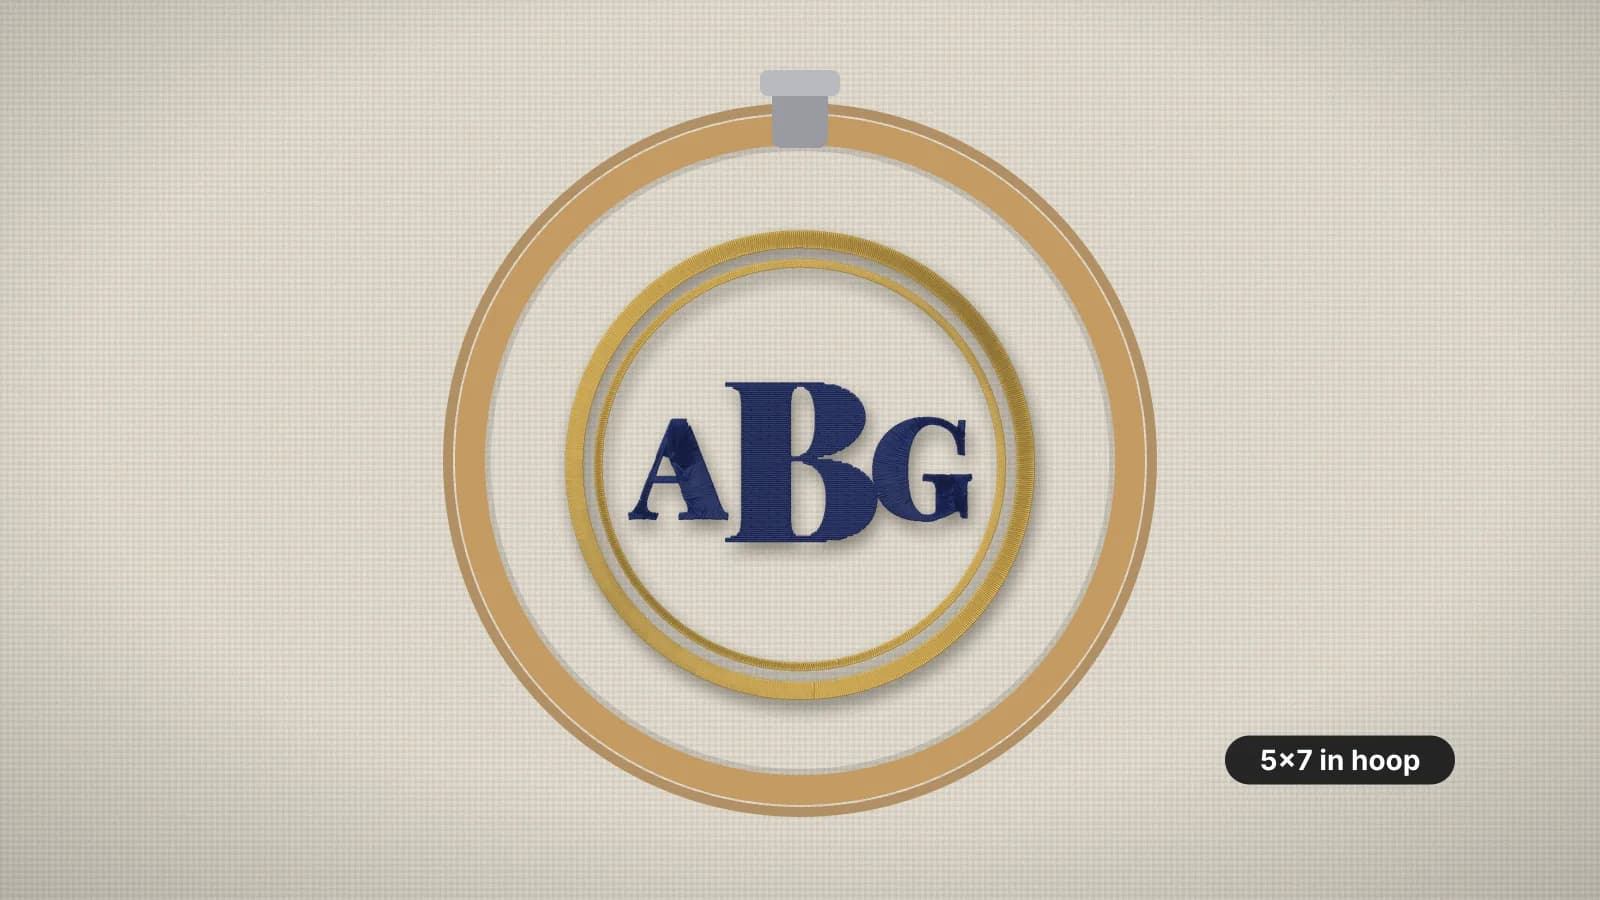
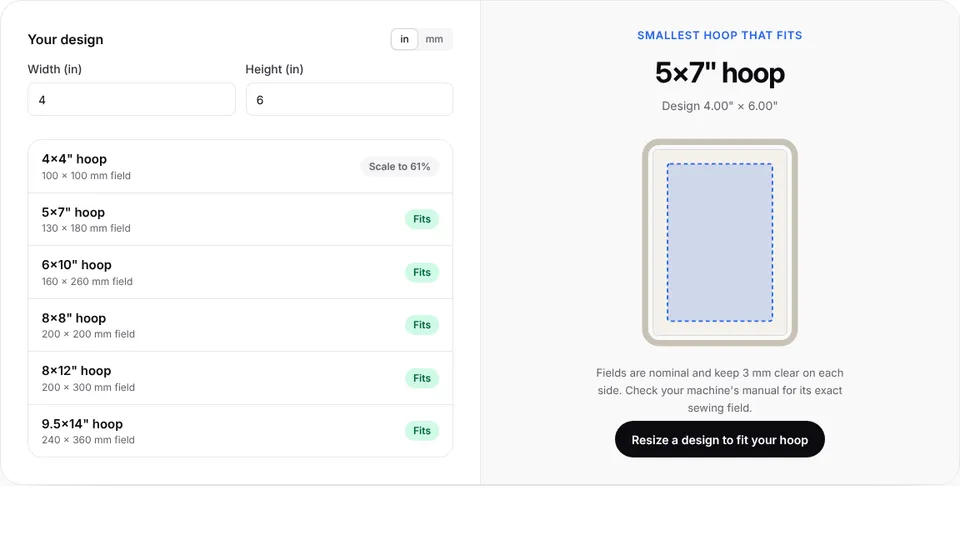
Check what fits first. A design that's too wide may fit turned 90 degrees, and the hoop size calculator checks a size against every standard hoop. The hoop sizes guide lists the sewing fields.
Where to cut a design
A split design is two or more stitch files, one per hooping, each holding the stitches for its part. Where the cut falls matters more than anything else:
- Cut along gaps between separate elements, such as between words, letters or motifs. Nothing has to meet across the join.
- Cut along color edges, where one color meets another, so the join hides in a color change.
- Keep whole elements whole. A letter, a leaf or a star goes in one part or the other, never both.
- Avoid cutting through fills and satin. A join across a fill tends to show as a line, and a satin column cut in two rarely lines up.
- Overlap slightly where you must cut through a fill. Many digitizers overlap the parts by a millimeter or two, so a small shift doesn't open a gap.
- Keep each part inside the field with a margin, so the hoop never comes close to a stitch.
Try it with your own design
Sign up free, upload an image and get a stitch preview in under a minute.
Drop your image here
PNG, JPG, WebP or SVG · stays on your device
Alignment marks
Each part needs a way to line it up with the one before. Split designs typically use one or more of these:
| Method | How it works | Good for |
|---|---|---|
| Alignment stitches | Small crosses or short lines sewn at the same points at the end of one part and the start of the next | Most split designs |
| A basting line | A long running stitch you can see on the fabric, removed afterwards | Large designs on stable fabric |
| Marked center and grain lines | Chalk or water-soluble pen lines across the whole design area, drawn before the first hooping | Every split design, as a backup |
| Machine positioning features | Some machines can move the needle to a point you choose, or use a camera to find marks | Machines that offer it; see your manual |
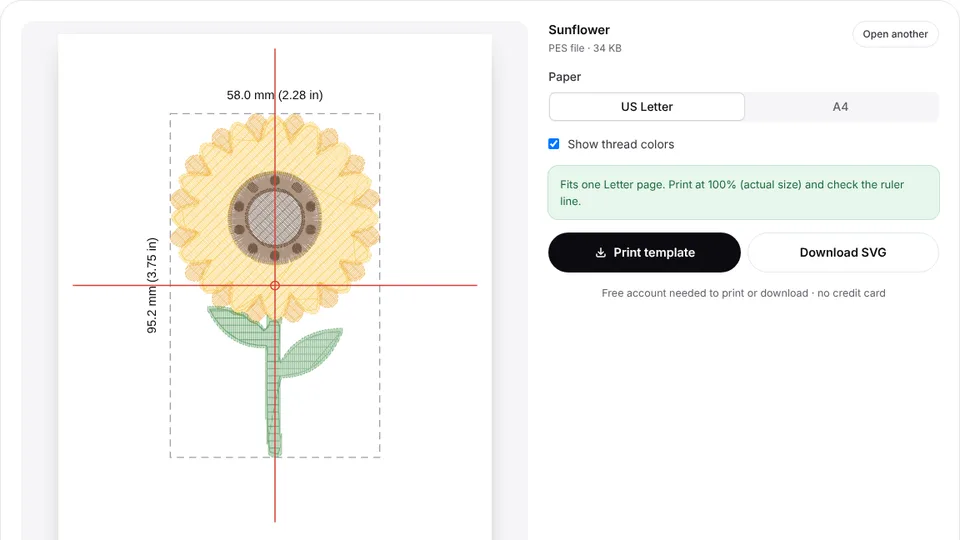
Mark the whole design area before you start. Print the design at true size with the placement template, lay it on the fabric and mark the center, the grain and each part's center.
Re-hooping and lining up each part
- Mark the fabric with the whole design's center and grain line, and the center of each part.
- Hoop the fabric and stabilizer for the first part, lining the hoop's marks up with that part's center.
- Sew the first part, including its alignment stitches.
- Unhoop and re-hoop for the next part. Keep the fabric as flat and as firm as the first time, and add stabilizer if the first piece won't reach.
- Move the needle over the first alignment mark using your machine's positioning controls, and check it lands exactly on the mark already sewn. Nudge or rotate the design until both marks line up.
- Sew the next part, and repeat. When the whole design is done, remove any alignment stitches and basting.
Use a backing that won't shift between hoopings, such as a cut-away or a firm tear-away bonded to the fabric. Stabilizer that tears along the first hoop's edge lets the next part wander.
Which designs split well
| Splits well | Splits badly |
|---|---|
| Long names, words and banners, with gaps between letters | Large solid fills, such as a filled circle or background |
| Borders and repeating motifs | Satin columns that would be cut in two |
| Separate elements, such as a scattered floral spray | Photo-style designs with many blended colors |
| Designs with clear color edges | Fine detail right where the cut falls |
| Quilt blocks and wall hangings on stable fabric | Anything on a stretchy knit |
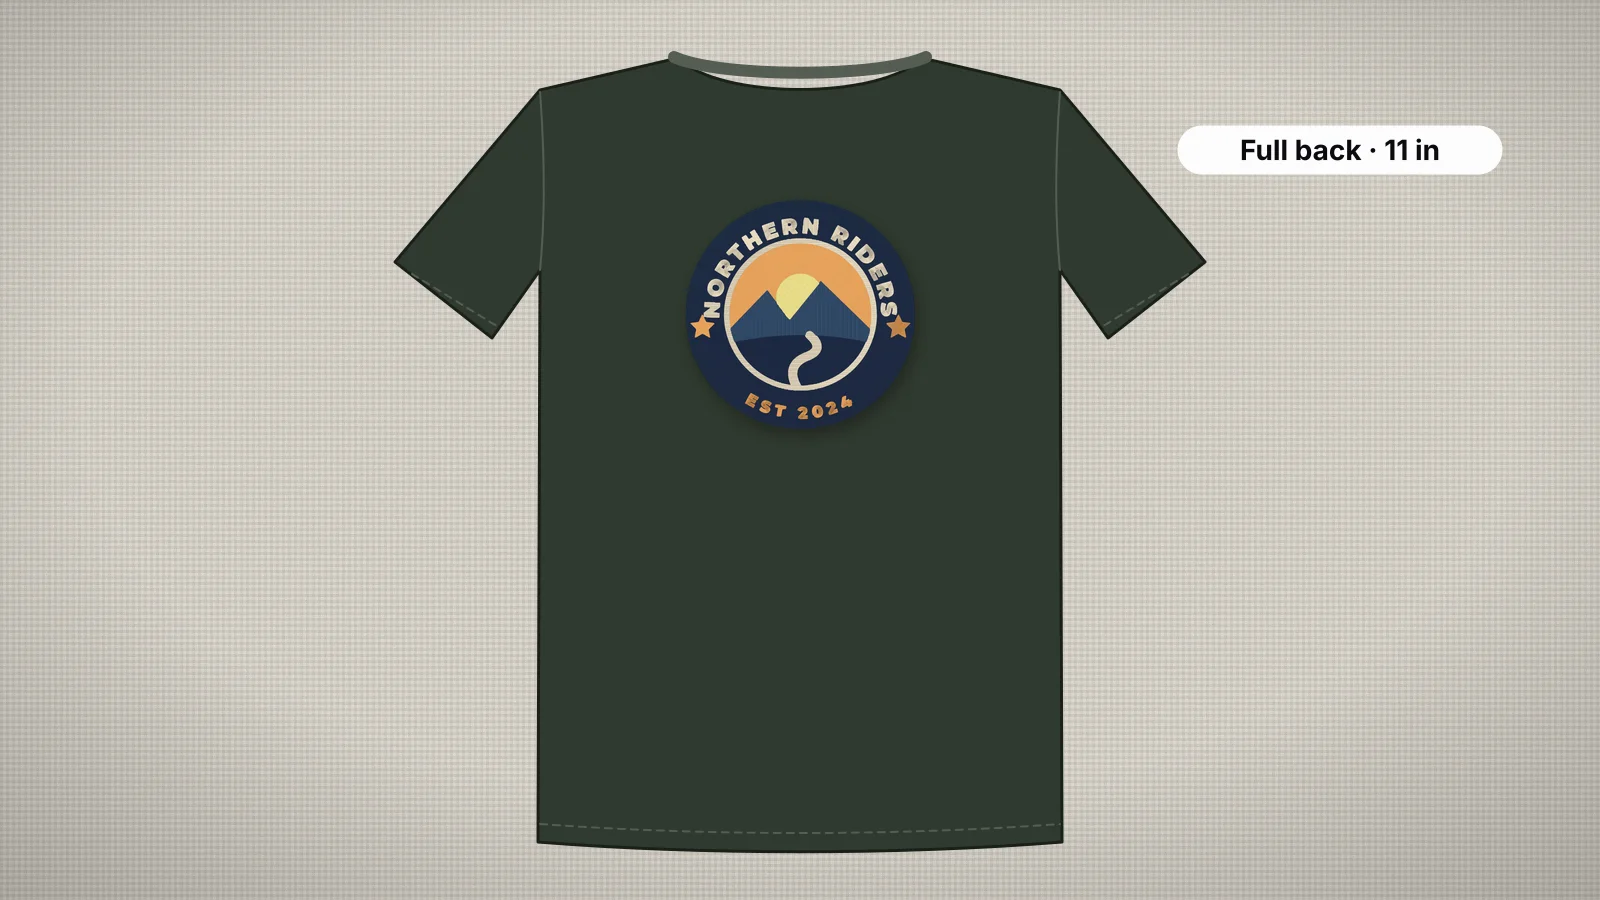
The fabric matters as much as the design. A quilt block, a canvas tote or a denim jacket keeps its shape between hoopings; a T-shirt or a hoodie stretches as you re-hoop, so the parts drift apart. For a big back design, see how to embroider a jacket back and the full back size.
Making the split file
- Split an existing file in the embroidery design splitter, which divides it into parts that fit your hoop, adds alignment marks and saves one file per hooping. Check where each cut falls before you sew.
- Use your machine or software. Some machines and desktop programs can split designs too; check the manual.
- Digitize the parts from the artwork. The digitizer itself makes one file per design without alignment marks, so this suits designs made of separate elements: cut the artwork along natural gaps and digitize each part at its full size.
- Or rethink the size. A design that fits your largest hoop sews faster and cleaner than any split. The design resizer changes a file's size with a density check.
Before you sew, open each part in the sew-out simulator to check the order and the alignment stitches, then sew the join on a scrap of the same fabric.