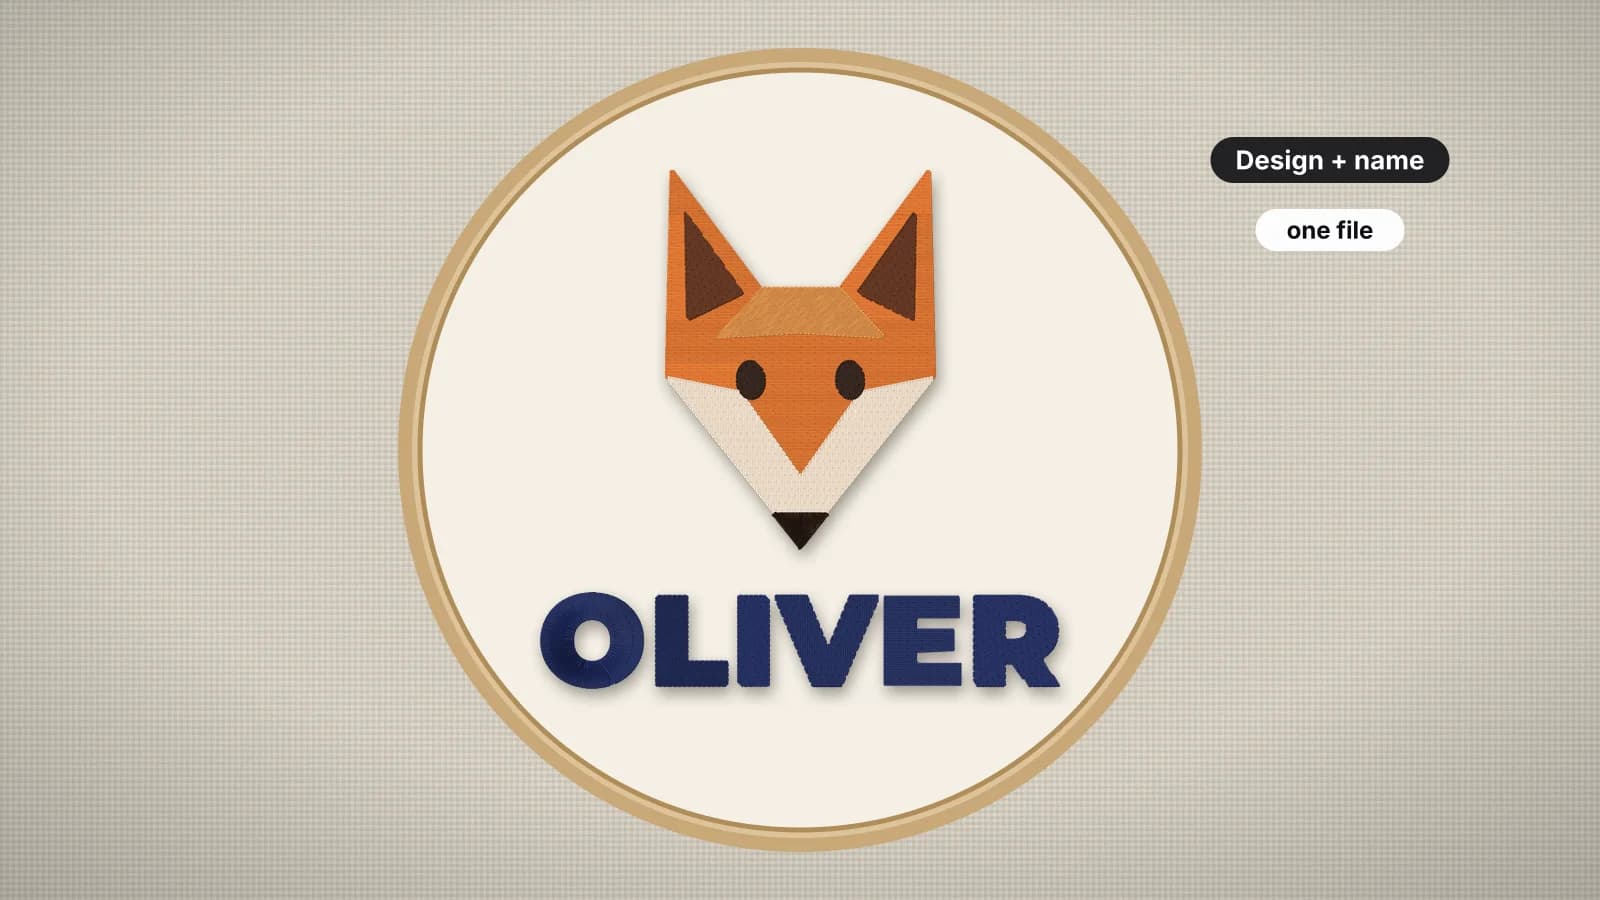
Combining designs means putting two or more stitch files into one: a motif with a name under it, two flowers side by side, a monogram with a border, or a logo with a tagline. Sewn as one file, they line up exactly and stitch in a single hooping, instead of being placed and hooped one at a time.
This guide covers layouts, how much space to leave, the sewing order, color stops and checking that the result still fits your hoop. The embroidery design combiner puts designs together in one file, and text to embroidery makes the name to add.
Common layouts
| Layout | Example | Tips |
|---|---|---|
| Stacked: motif over a name | A fox with a child's name below | Center the name under the motif, about as wide as it or a little narrower |
| Side by side | Two flowers, or a logo with a short word | Line them up on a shared center line or baseline |
| Name in a frame | A name inside a wreath or under a banner | Leave clear space inside the frame for the letters |
| A repeated motif | A row of hearts along a towel border | Keep the gaps equal, and mirror alternate motifs for a pattern |
| A monogram with a motif | A letter with a small flower | Let the monogram lead and keep the motif smaller |
Pick one item to lead and let the rest support it. Two equally big, busy designs side by side tend to fight for attention.
Gaps and spacing
- Leave a clear gap between designs, often about 5–10 mm, and more on towels and fleece, where stitches sink and spread. Designs that touch blur into each other once stitched.
- Don't overlap fills. One fill sewn over another doubles the stitches, stiffens the fabric and can break thread or needles.
- Watch borders and outlines. A satin border that lands on another design's edge pulls it out of shape.
- Center the whole group, not the first design, so the combination sits on the garment's center line.
- Check the name's size. Lettering scaled to match a small motif can end up too small to sew: capitals under about 5 mm stop reading cleanly.
The lettering size calculator shows how tall a name comes out at a given width, and the names guide has sizes by placement.
Try it with your own design
Sign up free, upload an image and get a stitch preview in under a minute.
Drop your image here
PNG, JPG, WebP or SVG · stays on your device
Keep the stitch order sensible
In a combined file each design keeps its own sewing order, and the designs sew one after another. A few rules keep it clean:
- Finish one design before the next starts, so the machine doesn't jump back and forth between them.
- Sew larger designs and backgrounds first, then smaller motifs and lettering that sit beside or over them.
- Order them to keep moves short: left to right or top to bottom, so each move to the next design is one short jump with one trim.
- Put a name last in most layouts, so its satin columns sit crisply on top.
The sewing order and jump stitch entries explain why the order matters.
Color stops
Every design brings its own color stops. Combine a three-color motif with a one-color name and you get four stops, even if the name is in the same black as the motif's outline.
- Merge matching colors where the order allows. If the motif's black outline sews last and the name is black too, sew the name straight after it with no stop.
- Never reorder colors inside a design to save a stop. An outline moved before its fill ends up hidden under it.
- On a single-needle machine, each stop is a rethread, so fewer stops is faster. On a multi-needle machine, set the needles from the color list.
- Check the color list after combining, and print a run sheet for formats such as DST that store no colors.
The color change entry explains how files mark each stop.
Check that it fits the hoop
A combined design is bigger than any of its parts, and that's usually when it stops fitting. Measure the whole combination, gaps included:
| Hoop | Largest design, with a 3 mm margin |
|---|---|
| 4×4 in | About 94 × 94 mm |
| 5×7 in | About 124 × 174 mm |
| 6×10 in | About 154 × 254 mm |
| 8×8 in | About 194 × 194 mm |
| 8×12 in | About 194 × 294 mm |
A stacked layout that's too tall may fit side by side, or turned 90 degrees. Still too big? Close the gap a little, resize the parts by no more than about 10–20%, or split the design across hoopings; see how to split a large design. The hoop checker shows which hoops a finished file fits. For a starting point, the free 5×7 designs page has ready-made pairings to combine, and every free 4×4 design fits the smallest common hoop on its own.
Or digitize it as one design
If you're starting from artwork, it's often simpler to combine first and digitize once. Put the motif and the name together in your artwork, upload it to the digitizer and set the size of the whole design. It plans one sewing order for everything to keep trims down, and you can merge colors in the color list. Digitizing and previewing are free with an account.
- Open the combined file in the sew-out simulator and watch the order, design by design.
- Check its size and stitch count in the file checker.
- Sew a test on a scrap of the same fabric, and check the gaps and the name size before the real piece.