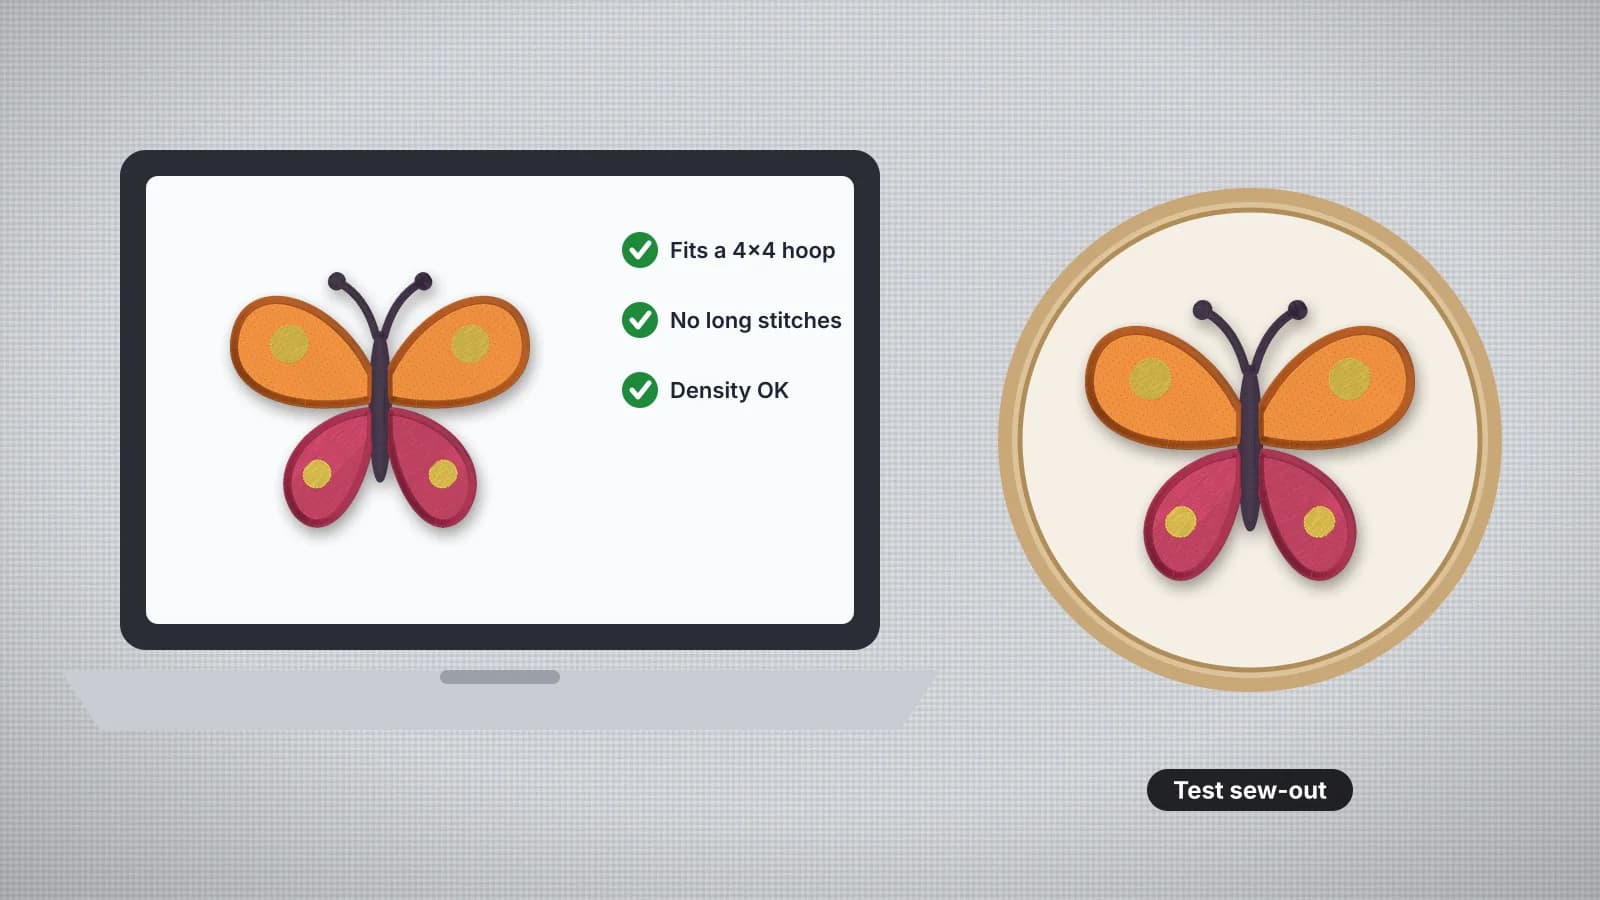
A stitch file can look fine as a thumbnail and still sew badly: too big for the hoop, far denser than it needs to be, or full of stitches that snag, shred or leave loose threads. Most of that is visible before the needle moves, if you know where to look.
This guide is a checklist for any file, whether you bought it, were sent it or made it yourself. The embroidery file checker scores a file on hoop fit, long and tiny stitches, density, trims and colors before it reaches the machine, and the sew-out simulator plays it stitch by stitch.
The pre-stitch checklist
| Check | What to look for | Why it matters |
|---|---|---|
| Size | Width and height against the hoop's sewing field, with a margin | A design too big won't load, or sews into the hoop |
| Stitch count and time | The count against similar designs, and the sew time at your speed | A count far above normal usually means it's too dense |
| Long stitches | Satin stitches over about 7 mm | They snag, loop and loosen in wear |
| Tiny stitches | Clusters of stitches under about 0.5 mm | They pile up, shred thread and can break needles |
| Density | Areas stitched over and over, or fills layered on fills | Stiff, puckered fabric and thread breaks |
| Trims and jumps | Long jumps with no trim, or dozens of trims in a small design | Loose threads to clip, or a slow sew |
| Colors and stops | The number of stops and the thread for each | Wrong colors, or more rethreading than you planned |
| Format | A format your machine reads | The wrong format won't open, or opens without colors |
The file viewer opens DST, PES, JEF and more to show the size, colors and stitch count, and the file checker goes through the rest.
Size against the hoop
Compare the design's width and height with the hoop's sewing field, not its outside size, and leave a margin: at least about 3 mm, more on thick or stretchy fabric.
- Check both orientations. A design that's too wide may fit turned 90 degrees.
- Check the real size, not the file name. A file called 4x4 can still be wider than a 4×4 in hoop's field.
- Check it's the size you need. A left chest logo is usually 3–4 in wide; the embroidery size chart lists every placement.
The hoop checker shows which hoops a batch of files fits, and the hoop size calculator checks a size against every standard hoop. Too big? See how to resize or how to split a large design.
Try it with your own design
Sign up free, upload an image and get a stitch preview in under a minute.
Drop your image here
PNG, JPG, WebP or SVG · stays on your device
Stitch count and sew time
The stitch count tells you how long a design takes and, compared with similar designs, whether it's heavier than it should be. Divide the count by your machine's speed for the sewing time, then add time for each color change and trim: a 10,000-stitch design at 700 stitches a minute sews in about 14 minutes, before stops.
- Compare it with typical counts. The stitch count chart gives counts by size and coverage; a count far above them usually means a dense fill.
- Estimate a design before you make or buy it with the stitch count calculator.
- Plan a run with the production calculator, which adds color changes, trims and hooping to the sew time.
Long stitches and tiny stitches
| Problem | Watch for | What happens | Fix |
|---|---|---|---|
| Long satin stitches | Over about 7 mm | They snag in wear, loop and lie loose | Sew the shape as fill, or digitize it again |
| Thin satin columns | Under about 0.8 mm wide | Needle holes crowd and the column breaks up | Widen the column, or use a running stitch |
| Tiny stitches | Under about 0.5 mm, especially in clusters | Thread shreds and breaks; holes weaken the fabric | Remove the detail, or make the design bigger |
Long and tiny stitches often come from scaling. Enlarging a file stretches satin stitches past a safe length, and shrinking it packs tiny stitches together, so a file made at 3 in and sewn at 4.5 in is a common culprit. The resizing guide covers safe limits, and the stitch length entry gives typical lengths for each stitch type.
Density, trims and jumps
- Density. Look for areas stitched over and over, such as a fill under a fill, or a dense fill meant for twill on a thin knit. They sew stiff and pucker. The density guide gives typical values.
- Trims. Each trim takes a few seconds and needs lock stitches, so dozens of trims in a small design slow it down.
- Jumps. Long jump stitches without a trim leave threads across the design to clip by hand. Many machines trim jumps automatically above a length you set.
- Sewing order. A design that hops back and forth between areas is slow and can throw outlines out of line with their fills.
The file checker shows a density heatmap of where stitches pile up, and the sew-out simulator plays the file color by color, so you can see the order and the jumps before it touches your machine.
Colors, stops and format
- Count the stops. On a single-needle machine every stop is a rethread, and more stops than colors means a color comes back later in the design.
- Check the thread colors. PES, JEF and VP3 store thread colors; DST and EXP don't, so you need the color sheet. The run sheet lists each stop with Brother and Janome thread matches.
- Check the format your machine reads. The machine compatibility checker tests a file against your model, and when a file won't open covers the usual causes.
The test sew-out
No screen check replaces a real sew-out. Sew the design on a scrap of the same fabric, with the same backing, needle and thread, before the real piece:
- Hoop the scrap the way you'll hoop the real piece.
- Watch the first color closely: thread breaks, loops on top and puckering usually start early.
- Check the finished test for gaps between colors, outlines that miss their fills, puckers, filled-in lettering and loose long stitches.
- Change one thing at a time and sew again. The problems and fixes guide explains what each fault means.
Making the file yourself? The digitizer runs a design check that flags details under about 0.8 mm, lettering under about 5 mm, designs larger than an 8×12 in field, more than 12 colors and high stitch counts, and shows a realistic stitch preview and sew-out. Digitizing and previewing are free with an account.