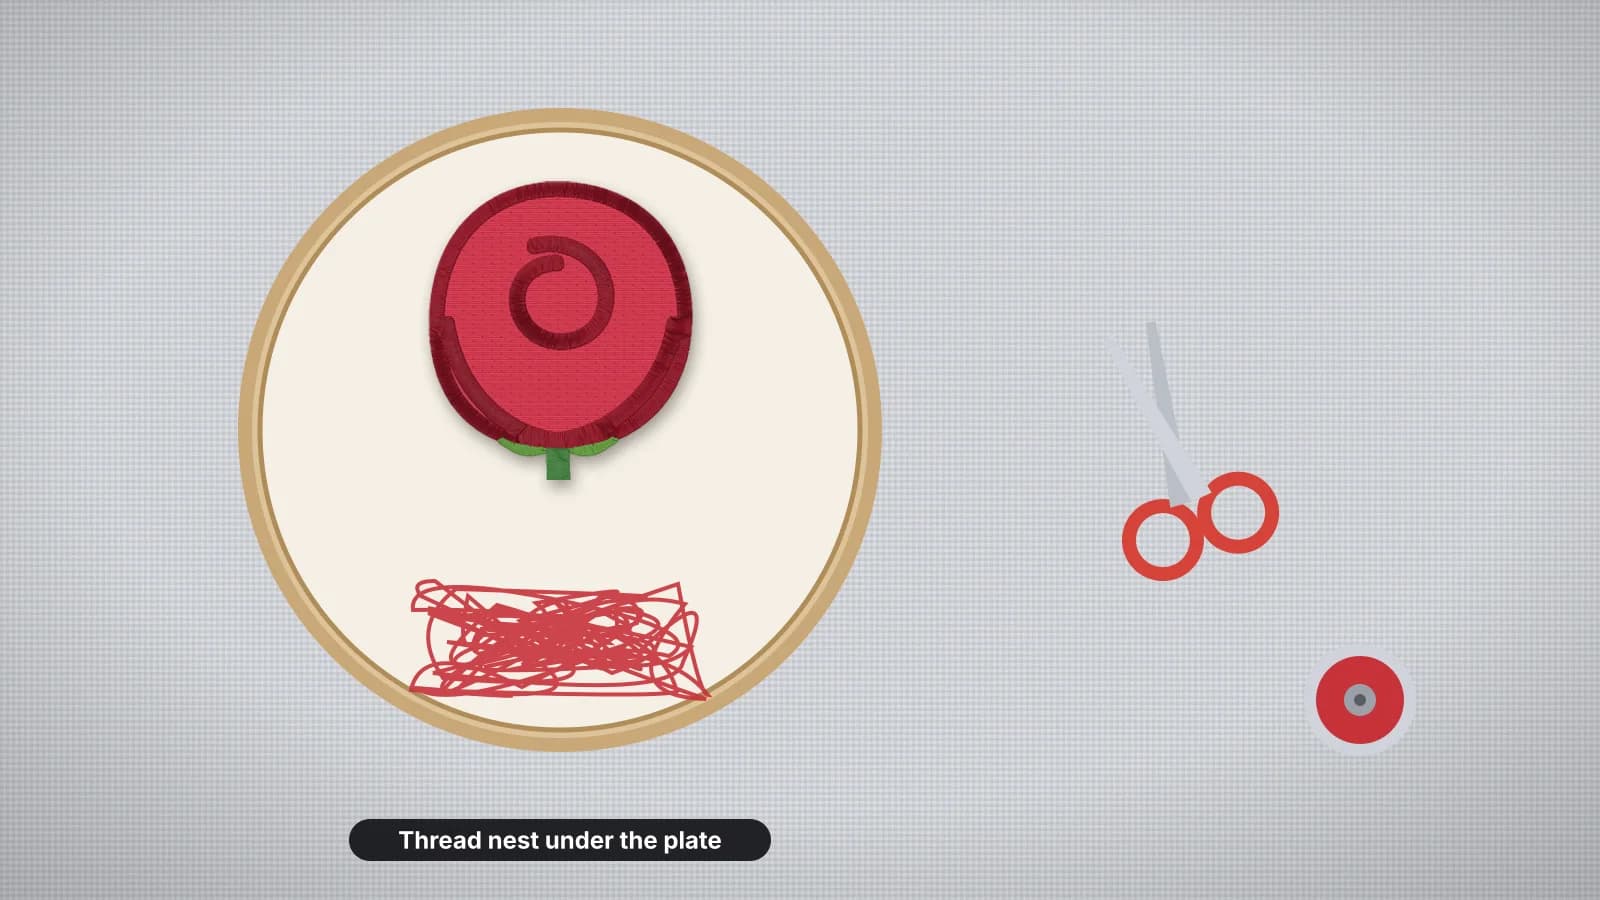
A bird nest, or birdnest, is the tangle of thread you find under the fabric when the machine jams, grinds or stops. It sits on the throat plate, also called the needle plate, and can get so thick the hoop can't move. It looks like a bobbin problem, but most of the time the cause is on top: the top thread has lost its tension, so loops pile up under the fabric faster than they can be pulled tight.
This guide covers clearing a nest without damaging the machine, then the causes in the order to check them. The birdnesting entry has the short version, and the problems and fixes guide covers other faults.
First, clear the nest safely
- Stop the machine and turn it off. Running it on makes the nest bigger and can jam the hook.
- Cut the top thread above the needle. Then, from underneath, snip the threads tying the nest to the fabric with small scissors, without cutting the fabric or the stabilizer.
- Lift the hoop off gently. If the nest still holds it down, keep snipping rather than pulling.
- Take off the needle plate if your manual shows how, and remove the bobbin and, where there is one, the bobbin case.
- Pick out every bit of thread and brush out the lint. A short piece left around the hook can start the next nest.
- Put it back together, fit a new needle if the old one may have bent, and rethread the top and the bobbin before you restart.
Look at the stitching before you restart. If the nest pulled stitches loose, many machines let you step back through the design a few stitches, so the restart overlaps the last good stitches.
Bird nesting causes and fixes
| Cause | How to tell | Fix |
|---|---|---|
| Top thread out of the tension discs | Loops on the back and a nest straight away | Rethread the top completely with the presser foot up |
| Thread missing the take-up lever | Nesting from the very first stitches | Rethread, and check the thread goes through the lever |
| Bobbin in the wrong way, or not clicked in | Nesting right after a bobbin change | Reseat it the way your manual shows |
| Lint or thread in the bobbin area | Nests that come and go | Clean the bobbin case and the hook area |
| Flagging fabric | The fabric bounces with the needle | Hoop firmer, or bond the fabric to a firmer backing |
| A bent, dull or loose needle | Skipped stitches as well as nests | Fit a new needle, pushed fully up |
| A burr on the plate, hook or bobbin case | Nests or breaks at the same place | Have it polished, or the part replaced |
| A thread tail too short at the start | A nest at the very start of the design | Leave a longer tail and hold it for the first few stitches |
Check them in this order. The first three cover most nests, and they take a minute each.
Try it with your own design
Sign up free, upload an image and get a stitch preview in under a minute.
Drop your image here
PNG, JPG, WebP or SVG · stays on your device
Rethread with the presser foot up
Most nests start here. Raising the presser foot opens the tension discs so the thread can drop between them. Thread with the foot down and the thread sits outside the discs with no tension at all, so the needle carries down loops the machine can't pull back up, and they pile up underneath.
- Raise the presser foot, and the needle to its highest point.
- Take the top thread out completely: cut it near the spool and pull the tail out through the needle.
- Rethread the full path: through the guides, down into the tension discs, up through the take-up lever and down to the needle.
- Lower the foot and tug the thread near the needle. It should feel firm. If it slides through with no resistance, it isn't in the discs.
The threading guide walks through the full path, and the thread tension entry explains how the discs work.
The bobbin and tension
- Seat the bobbin the right way. Many drop-in bobbins sit so the thread unwinds counterclockwise, but check your manual: the wrong way round can leave the bobbin thread with too little tension.
- Use the right bobbin for your machine. One of the wrong size or class wobbles in its case.
- Wind evenly. A loosely or unevenly wound bobbin feeds in jerks.
- Clean under the bobbin case's tension spring with a soft brush. Lint there loosens the bobbin tension.
- Check the top tension last. A top tension set very loose acts like a missed tension disc, so bring it back to normal before you try anything else.
The bobbin and bobbin thread entries cover bobbin types, and the maintenance guide has a cleaning routine.
Flagging fabric, the needle and burrs
Flagging is fabric bouncing up and down with the needle instead of staying flat. Each time it lifts, the stitch can't form properly and the top thread loop gets dragged under the fabric. You see it most on loosely hooped or floated knits, thin fabrics and the far corners of a big hoop.
- Hoop firmly, in the smallest hoop that fits; see the hooping guide.
- Bond the fabric to the backing with a fusible stabilizer or spray adhesive, especially when you float it.
- Add a heavier or extra layer of backing under thin and stretchy fabric.
- Fit a new needle, fully seated. A bent needle, or one not pushed all the way up, misses the loop it needs to make a stitch.
- Look for burrs. If nests or breaks keep happening in the same place, a needle strike may have nicked the needle plate, the hook or the bobbin case. Run a fingernail round the edge of the needle hole. A technician can polish or replace the part.
When the design causes it
Less often, the file is to blame. Very dense spots, several layers stacked on one small area and clusters of tiny stitches can jam thread under the plate even when the machine is fine.
- Nests at the same point in one design only? Look at that spot in a stitch preview. A tight cluster of stitches there is a file problem.
- Check the file before you stitch. The file checker maps where stitches pile up, and the sew-out simulator plays the file stitch by stitch; see how to check a file before stitching.
- Made the file yourself? In the digitizer, lower the density or make the design a little bigger, and read the design check, which flags details under about 0.8 mm.