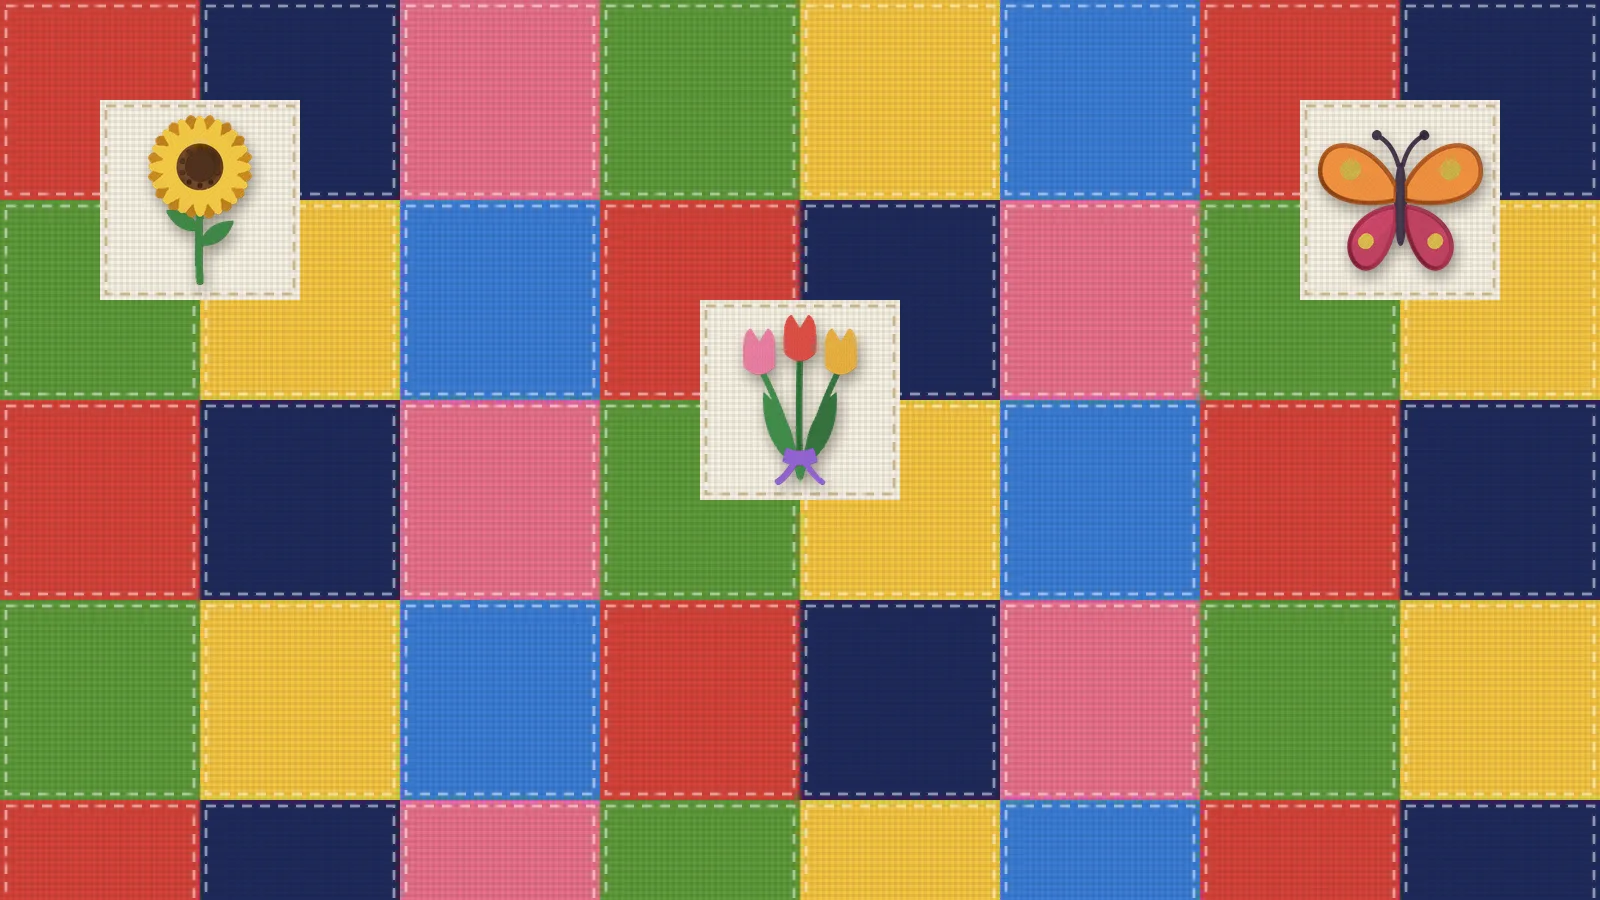
Embroidered blocks turn a quilt into a sampler, a memory quilt or a gift with names and dates stitched in. The embroidery is the easy part. The care goes into sizing each block to the hoop, keeping the design centered and the grain straight, and choosing a stabilizer that doesn't leave stiff squares in a soft quilt.
This guide covers block sizes, matching blocks to hoops, stabilizer, centering, stitching a set, pressing and trimming, and piecing and quilting round the designs. For the label on the back, see how to embroider a quilt label.
Finished size, cut size and design area
Quilt patterns give two sizes for each block. The finished size is what shows in the quilt; the cut size adds a 1/4 in (6 mm) seam allowance on every side, so a 6 in finished block is cut at 6 1/2 in. Plan the design inside the finished size, with room to spare:
| Finished block | Cut block | Design up to about | Clear round the design |
|---|---|---|---|
| 6 in (15 cm) | 6 1/2 in | 3.7 in (94 mm) | About 1 in |
| 8 in (20 cm) | 8 1/2 in | 4.9 in (124 mm) | About 1.5 in |
| 10 in (25 cm) | 10 1/2 in | 6 in (154 mm) | About 2 in |
| 12 in (30 cm) | 12 1/2 in | 7.6 in (194 mm) | About 2 in |
Those design sizes are the largest that fit common hoops with a small margin; smaller designs leave more breathing room, which many quilters prefer. A design that runs close to the seam gets lost in the seam allowance or crowded by the next block.
Matching blocks to hoops
| Hoop | Largest design, about | Good for |
|---|---|---|
| 4×4 in | 94 × 94 mm (3.7 in) | 6 in blocks, cornerstones and small motifs |
| 5×7 in | 124 × 174 mm | 8 in blocks, and taller designs in rectangular blocks |
| 6×10 in | 154 × 254 mm | 10 in blocks, and long names or dates in strips |
| 8×8 in | 194 × 194 mm | 10–12 in square blocks |
| 8×12 in | 194 × 294 mm | 12 in blocks and larger panels |
- Cut the fabric bigger than the hoop, not to the block size. A piece at least about 1–2 in (25–50 mm) larger than the hoop on every side gives the rings something to grip and leaves room to trim square.
- Stitch first, trim after. Embroidery pulls the fabric in slightly, so a block cut to size before stitching can come out small or out of square.
- Blocks bigger than your hoop? Split the design across hoopings; see how to split a large design.
Try it with your own design
Sign up free, upload an image and get a stitch preview in under a minute.
Drop your image here
PNG, JPG, WebP or SVG · stays on your device
Stabilizer that stays soft
A quilt should drape, and every stabilizer left in a block adds a little stiffness. Choose by how dense the design is:
| Stabilizer | Feel afterwards | Use it for |
|---|---|---|
| Light tear-away | Soft once torn away; a little stays under the stitches | Light outline and redwork-style designs on quilting cotton |
| Fibrous water-soluble | The softest, because it rinses out | Light designs where you want nothing left, on fabric you can rinse |
| Light fusible woven interfacing | Soft and flexible; stays in | Medium designs, and fabric that shifts |
| Light cut-away or no-show mesh | Soft, but stays in | Denser designs that would distort with tear-away |
| Medium or heavy cut-away | Stiff | Best kept out of quilts unless the design is very dense |
- Keep designs light. Outline, running-stitch and bean-stitch designs suit quilts best; large dense fills make stiff patches.
- Prewash if you'll prewash the rest. Cotton can shrink a little in the first wash, and a block that shrinks round dense stitching puckers.
- Trim the stabilizer close to the stitching before piecing, so it doesn't add bulk in the seams.
The stabilizer guide explains each type, and floating suits blocks that are already pieced.
Centering and keeping the grain straight
- Press the fabric, then fold it in half both ways and finger-press, or mark the center lines with a water-soluble pen.
- Line the marks up with the center marks on the hoop or its template, with the grain running straight along the hoop's sides.
- Hoop it taut but not stretched. Cotton pulled off-grain in the hoop springs back crooked.
- Check the design's center against the marked center before you start; some machines can move the needle to the design's center for you.
- Mark every block the same way, so a set lines up when it's pieced.
Directional designs, such as tulips or a name, all need to point the same way, so mark the top edge of each piece before hooping. The placement template prints a design at true size to lay on the fabric, and the hooping guide covers hoop tension.
Stitching a set of blocks
- Same settings for every block: the same thread brand and weight, needle, stabilizer and hoop, so the blocks match in density and feel.
- Sew a test block on the same fabric first, and wash it if the quilt will be washed.
- Trim jump threads on the back as well as the front. Dark threads on the back of light fabric can show through once the quilt is layered.
- White bobbin thread suits most blocks, because the back is hidden inside the quilt.
- Keep a list of designs, colors and positions, so a spoiled block can be remade to match.
For flower and garden quilts, the free flower designs, such as the sunflower, tulips and rose, fit a 4×4 in hoop and download free with an account. The butterfly and bumblebee round out a garden set.
Pressing and trimming
- Remove marks first. Rinse or dab off water-soluble pen before you press, because heat can set some marking pens.
- Press from the back, with the block face down on a towel, so the stitches stay raised instead of being flattened.
- Use steam gently to relax light puckers; a hot, dry iron on the front can leave a shine on the stitches.
- Trim to the cut size centered on the design, not on the fabric. Line a square ruler's center up with the design's center and cut all four sides.
- Check it's square against the ruler's lines before you cut the last side.
Find the center from the stitching, not from your marks. Fabric can shift a little as it sews, and the embroidery is what has to look centered.
Practice on a free design
114 ready-to-sew designs in every machine format, free with an account.



Piecing and quilting round the embroidery
- Sew 1/4 in seams as usual, and press the seams away from the embroidered block so the bulk doesn't sit beside the design.
- Sashing frames embroidered blocks. Strips of plain fabric between blocks give each design breathing room and make small size differences easier to hide.
- Quilt round the embroidery, not through it. Stitch in the ditch round the block, or echo quilt round the design's outline. Dense stitching is hard to quilt through and can break needles.
- Light designs can be quilted over in an open pattern, if you're happy for the quilting to cross them.
To add your own designs, such as names, dates or a child's drawing, upload the artwork to the digitizer and size it to the block. Digitizing and previewing are free with an account, and downloading the file needs a paid plan. To finish the quilt, the quilt label guide covers wording and size.