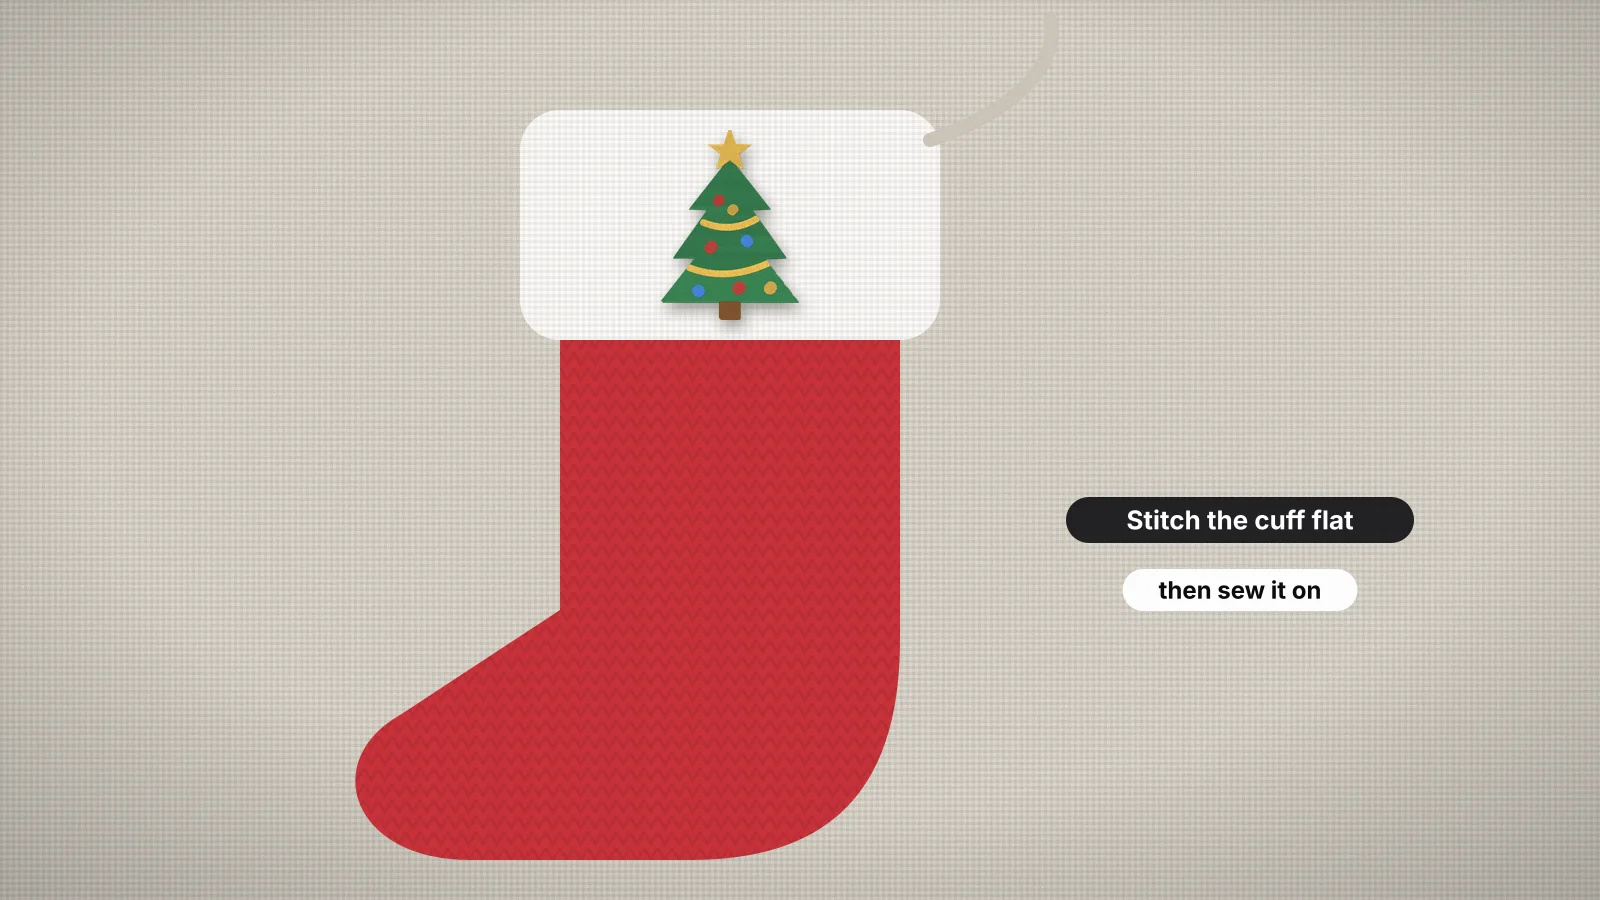
A stocking is one of the most personal things you can embroider: a name on the cuff, a snowman or a reindeer on the front, and often a whole family set that has to match. It's also awkward to hoop once it's sewn, because it's a lined tube, and the back sits right under the part you want to stitch.
This guide covers where the design goes, whether to stitch before or after sewing, how to get into a finished stocking, stabilizer for felt, velvet, knit and faux fur, and name sizes. For lettering in general, see how to embroider names.
Cuff or body: where the design goes
Most stockings have two places to stitch, and they suit different designs:
| Placement | Typical design size | Good for |
|---|---|---|
| Cuff (the band at the top) | Names about 1–1.5 in (25–40 mm) tall, no wider than the cuff less about 1 in (25 mm) | Names, initials and a year |
| Body (the front, below the cuff) | Motifs about 3–5 in (75–125 mm) tall | A snowman, a tree, a reindeer or a large monogram |
| Toe or heel | About 1.5–2.5 in (40–65 mm) | A small accent, such as a candy cane or a snowflake |
| Cuff and body together | A name on the cuff and a motif below it | A family set where every stocking shares the motif |
Measure the stocking you have: cuffs and stockings vary a lot between makers, and a mini stocking may only take a design about 2 in (50 mm) across. Keep the design at least about 1/2 in (12 mm) from the cuff's fold and its bottom edge, or it looks squeezed.
On a fold-over cuff, mark which edge ends up at the top before you hoop. Cuffs are often cut and sewn the other way up from the finished stocking, and a name stitched upside down is a common mistake.
Embroider before or after sewing?
If you're making the stocking, stitch first. Flat fabric hoops easily, the back of the design ends up hidden inside the lining, and nothing else can get caught under the needle.
| Stocking | Best approach | How |
|---|---|---|
| Sewing your own | Embroider before you cut and sew | Stitch on a rectangle larger than the pattern piece, then cut the piece out round the design |
| Ready-made with a separate cuff | Take the cuff off, or open its seam | Unpick the cuff's seam, hoop it flat, stitch, and sew it back on |
| Ready-made blank sold for embroidery | Use the maker's opening | Some blanks come with an unsewn seam or a removable cuff for hooping |
| Ready-made and fully sewn | Unpick a seam, or float it | See the next section |
- Cut out after stitching. Embroidery pulls fabric in slightly, so a piece cut to size first can come out small or skewed. A rectangle bigger than the hoop also gives the rings something to grip.
- Mark the pattern outline on the fabric before you hoop, with chalk or a water-soluble pen, so you know where the seams and the cuff fold fall.
- Keep the design clear of the seam allowance, with room to spare, so the stitching can't run into a seam.
Try it with your own design
Sign up free, upload an image and get a stitch preview in under a minute.
Drop your image here
PNG, JPG, WebP or SVG · stays on your device
Embroidering a finished stocking
A sewn stocking is a closed, lined tube, so the trick is getting only one layer under the needle. There are three common ways in:
- Unpick the lining. Open the lining or a side seam for about 6–8 in (15–20 cm), so you can slide the hoop inside and hoop the outer layer alone. Sew the seam closed again afterwards.
- Hoop the cuff flat. On a stocking with a separate cuff, unpick the cuff where it joins the top, hoop it as a flat band, then stitch it back on.
- Float it. Hoop sticky stabilizer on its own, open the stocking so the area you want lies flat on it, and press it down. The floating entry explains the method, and a basting stitch round the design stops it shifting.
Whichever you choose, roll or clip the rest of the stocking out of the way so it can't drift under the needle, and keep the hanging loop and any trim clear of the stitching area.
Before you press start, run your hand all the way round under the hoop. Sewing the front of a stocking to its back is the most common mistake on finished stockings, and the hardest to undo.
Stabilizer for felt, velvet, knit and faux fur
| Fabric | Backing | Topping | Good to know |
|---|---|---|---|
| Felt | Medium tear-away, or cut-away under dense designs | Usually not needed; use one on fuzzy wool felt | Felt doesn't fray, so it hoops and cuts cleanly |
| Velvet and velour | Cut-away or tear-away, floated if you can | Water-soluble topping | A hoop can crush the pile; floating avoids a hoop mark |
| Knit (sweater-style stockings) | Cut-away | Water-soluble topping | Hoop without stretching; a chunky knit is easier to stitch on a flat cuff |
| Faux fur and plush cuffs | Cut-away or tear-away | Water-soluble topping, sometimes two layers | Long pile swallows stitches; brush it away from the design area first |
| Quilted cotton, canvas and burlap | Tear-away on cotton and canvas; cut-away on loosely woven burlap | Not usually needed | Use an 80/12 or 90/14 sharp needle through quilted layers |
On velvet and faux fur, keep to bold designs: big lettering, solid fills and motifs without fine detail. Hairline details disappear into pile even with a topping. The topping entry explains how it works, the stabilizer guide covers each backing, and how to embroider a sweater has more on knits.
Names and sizes
Cuff names are read from across a room, so they can be bigger and bolder than a name on a shirt:
| Stocking | Name height | Fonts that work |
|---|---|---|
| Mini stocking | About 12–20 mm, for a short name or an initial | Block or Rounded |
| Standard stocking, plain cuff | About 25–40 mm (1–1.5 in) | A bold script, Block or Rounded |
| Large stocking or deep cuff | About 40–50 mm (1.5–2 in) | Script or a classic serif |
| Velvet, knit or faux fur cuff | At the top of the range | Bold fonts with wide strokes |
- Long names grow wide. Check the width against the cuff and your hoop. Hooped with its long side across the cuff, a 5×7 in hoop takes a name up to about 174 mm (6.9 in) wide with a margin.
- Script names need height. Thin joins vanish below about 10–12 mm, and sooner on pile. The best fonts guide lists minimums by font style.
- A family set should match. Use the same font, height and thread on every stocking, and center each name on its cuff rather than starting them all at the same edge.
For a set, the batch name embroidery tool turns a list of names into lettering files in the same font, height and thread, with width checks; saving the files needs a paid plan. For a single name, text to embroidery uses the same fonts.
Motifs and free Christmas designs
A motif on the body, or a small one either side of the name on the cuff, finishes a stocking. The free Christmas designs fit a 4×4 in hoop and download free with an account:
- Classic motifs for the body: Christmas tree, snowman, reindeer and gingerbread man.
- Small accents beside a name or on the toe: candy cane, holly and snowflake.
- On theme: a stocking, an ornament, a Santa hat or a wreath, and the rest of the Christmas designs.
To put a motif and a name in one file, the combining guide covers gaps and stitch order. For more seasonal projects, see the Christmas embroidery ideas.
Practice on a free design
114 ready-to-sew designs in every machine format, free with an account.


Your own design and a test sew-out
For a child's drawing, a family pet or a crest, upload the artwork to the digitizer and set the size to fit the cuff or the front. Pick the preset closest to the fabric: Fleece, towel, sweatshirt for velvet and plush, Knit for knitted stockings, and Woven for cotton, canvas and other stable fabrics such as felt. Digitizing and previewing are free with an account; downloading the file needs a paid plan.
- Test on a scrap of the same fabric, with the same backing and topping, before the real stocking.
- Trim the back after stitching: clip jump threads and cut the stabilizer close, so nothing snags inside the stocking.
- Lift hoop marks on velvet and faux fur with a little steam from the back, or by brushing the pile.