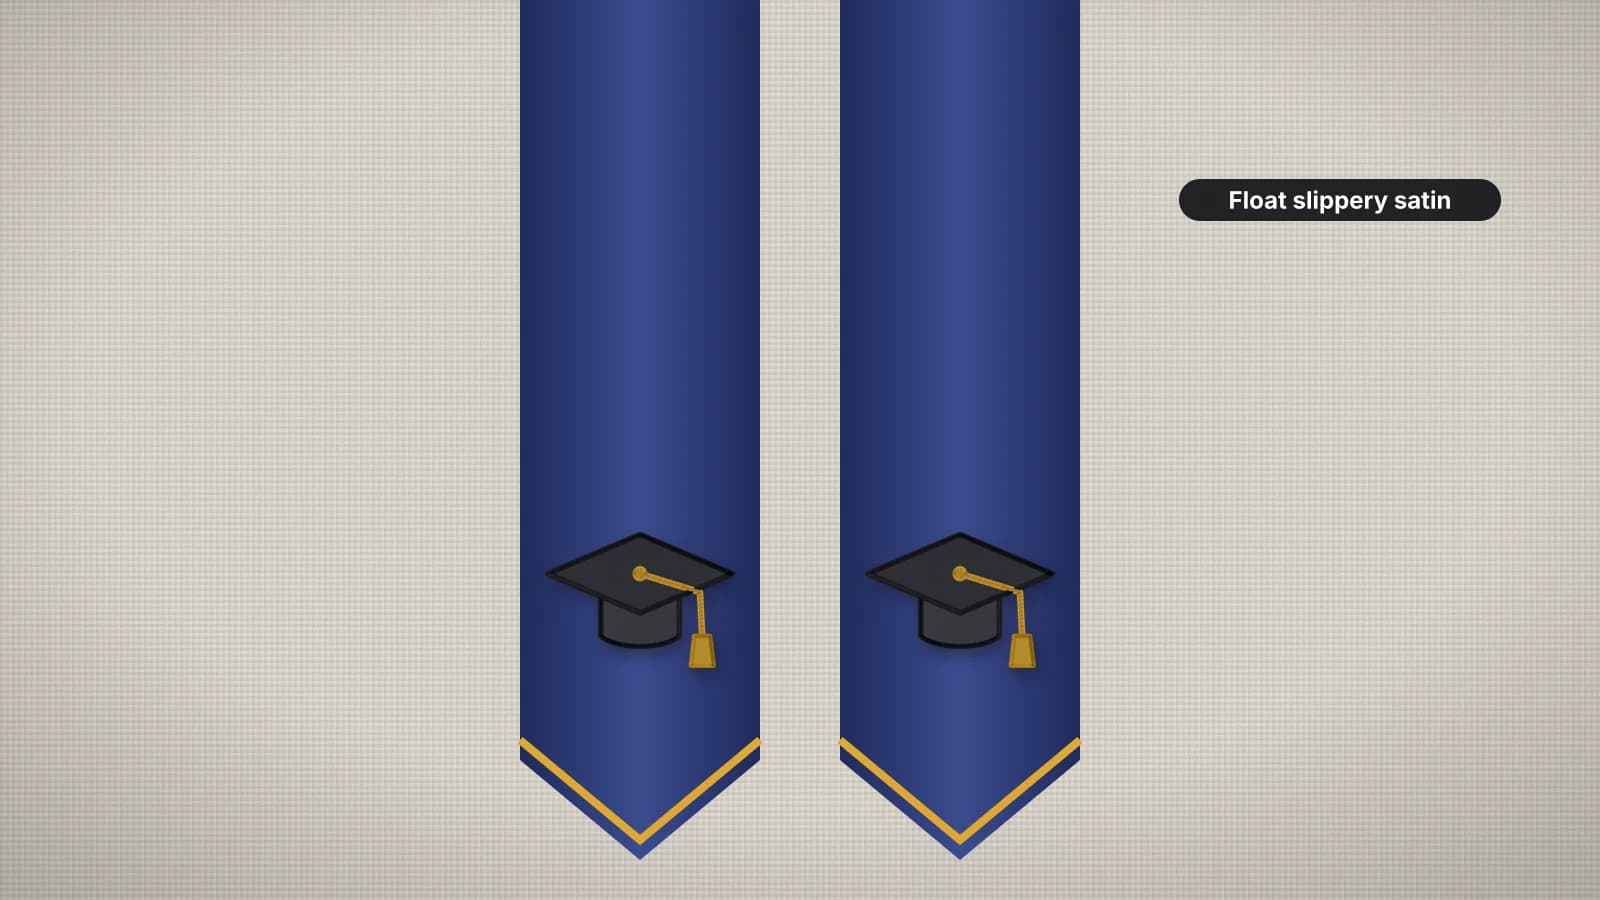
A graduation stole or sash is a keepsake that gets photographed from every angle: a name down one side, the year on the other, sometimes a school, a degree or a club. Most are made of shiny polyester satin, which looks great embroidered but slips in the hoop, puckers under dense stitching and shows hoop marks more than most fabrics.
This guide covers stoles and sashes, placement, letter sizes, lined stoles and blanks, stabilizer for slippery satin, avoiding hoop burn, and the files. For more graduation projects, see the graduation embroidery ideas.
Stoles, sashes and how they hang
| Item | How it's worn | Where designs go |
|---|---|---|
| Stole | Round the back of the neck, with both ends hanging down the front | Near the bottom of each end, facing out |
| Sash | Over one shoulder and across the body to the opposite hip | Along the front, centered where it crosses the chest |
| Stole with pointed or angled ends | As a stole | Keep the design clear of the point and its seams |
| Stole with fringe or trim | As a stole | Keep the design above the trim, with room to spare |
Put the stole on someone, or hang it round the neck of a hanger, and mark where each end falls before you plan anything. The two ends hang side by side, so text on each must read the right way up when worn.
Where the name, school and year go
- One end each: a common layout puts the name or school on one end and the year, a motif or the degree on the other.
- Low on each end: the bottom of the design about 3–6 in (75–150 mm) above the bottom edge or the point, so it sits low on the front without crowding the edge.
- Centered across the width, with at least about 1/2 in (12 mm) clear of each edge seam.
- Running down the stole for names and long words: the letters run along its length, usually reading from top to bottom. Short words and the year can sit across it.
- Level on both ends: line up the bottoms of the two designs so they sit at the same height when worn.
Mark the top of each end with tape before you hoop. Stoles are easy to stitch upside down, especially when the text runs down the length.
Try it with your own design
Sign up free, upload an image and get a stitch preview in under a minute.
Drop your image here
PNG, JPG, WebP or SVG · stays on your device
Letter sizes for names and years
| Text | Letter height | Notes |
|---|---|---|
| Year, across the stole | About 25–40 mm (1–1.5 in) | Bold block numbers read well from a distance; check the width fits |
| Name running down the stole | About 20–40 mm (0.75–1.5 in), measured across the stole | Long names need a long hoop |
| Short name or school across the stole | About 12–20 mm | Only short words fit across a narrow stole |
| Stacked letters (initials or Greek letters) | About 25–40 mm each | Stack them down the stole with even gaps |
| Script | At least about 10–12 mm, and bigger reads better | Bold scripts suit names running down the stole |
Stoles are often only about 4–5 in (100–125 mm) wide, so measure yours and take off about 1/2 in each side. For text running down the stole, the hoop sets the length: about 174 mm (6.9 in) in a 5×7 in hoop and 254 mm (10 in) in a 6×10 in hoop.
Lined stoles and blanks
- Through both layers. Many stoles, including blanks sold for embroidery, are lined, and many embroiderers stitch straight through both layers. The back of the stitching shows on the lining, which lies against the gown, so fill the bobbin with thread that matches the lining.
- Top layer only, for the neatest finish: unpick the end seam, stitch the outer layer with its stabilizer, then sew the seam closed again.
- Make your own from satin and lining, and embroider the pieces before you sew them together. It's the easiest to hoop, and the back is hidden inside.
- Add body if it's flimsy. A light fusible interfacing on the back of thin satin, if the stole doesn't already have one, helps stop puckers.
Stabilizer and hooping for slippery satin
| Stole | Stabilizer | Hooping |
|---|---|---|
| Unlined stole or a single satin layer | No-show mesh or a light cut-away, ideally fusible so the satin can't shift | Float on sticky stabilizer, or use a magnetic hoop |
| Lined or interfaced stole, through both layers | Medium tear-away | Float it; two slippery layers are hard to clamp evenly |
| Very thin satin | Two layers of no-show mesh, or mesh with tear-away | Float it, and keep the design light |
- Hold it still. A light mist of temporary spray adhesive on the stabilizer, away from the fabric, or a basting stitch round the design stops satin creeping.
- Use a new fine needle, a 70/10 or 75/11 sharp. A worn or blunt needle snags satin and leaves pulled threads.
- Choose the Woven preset in the digitizer: satin is a woven fabric, even though it's slippery.
Embroidering on satin covers the fabric in more depth, and the floating entry explains the method.
Avoiding hoop burn and puckers
- Don't clamp satin in a standard hoop by force. The rings crush a shiny ring into the surface, known as hoop burn. Floating or a magnetic hoop avoids it.
- If a mark appears, steam it gently from the back with the iron at a low setting and a pressing cloth, testing on a hidden spot first. Polyester satin can glaze or melt under a hot iron, and some marks never fully lift.
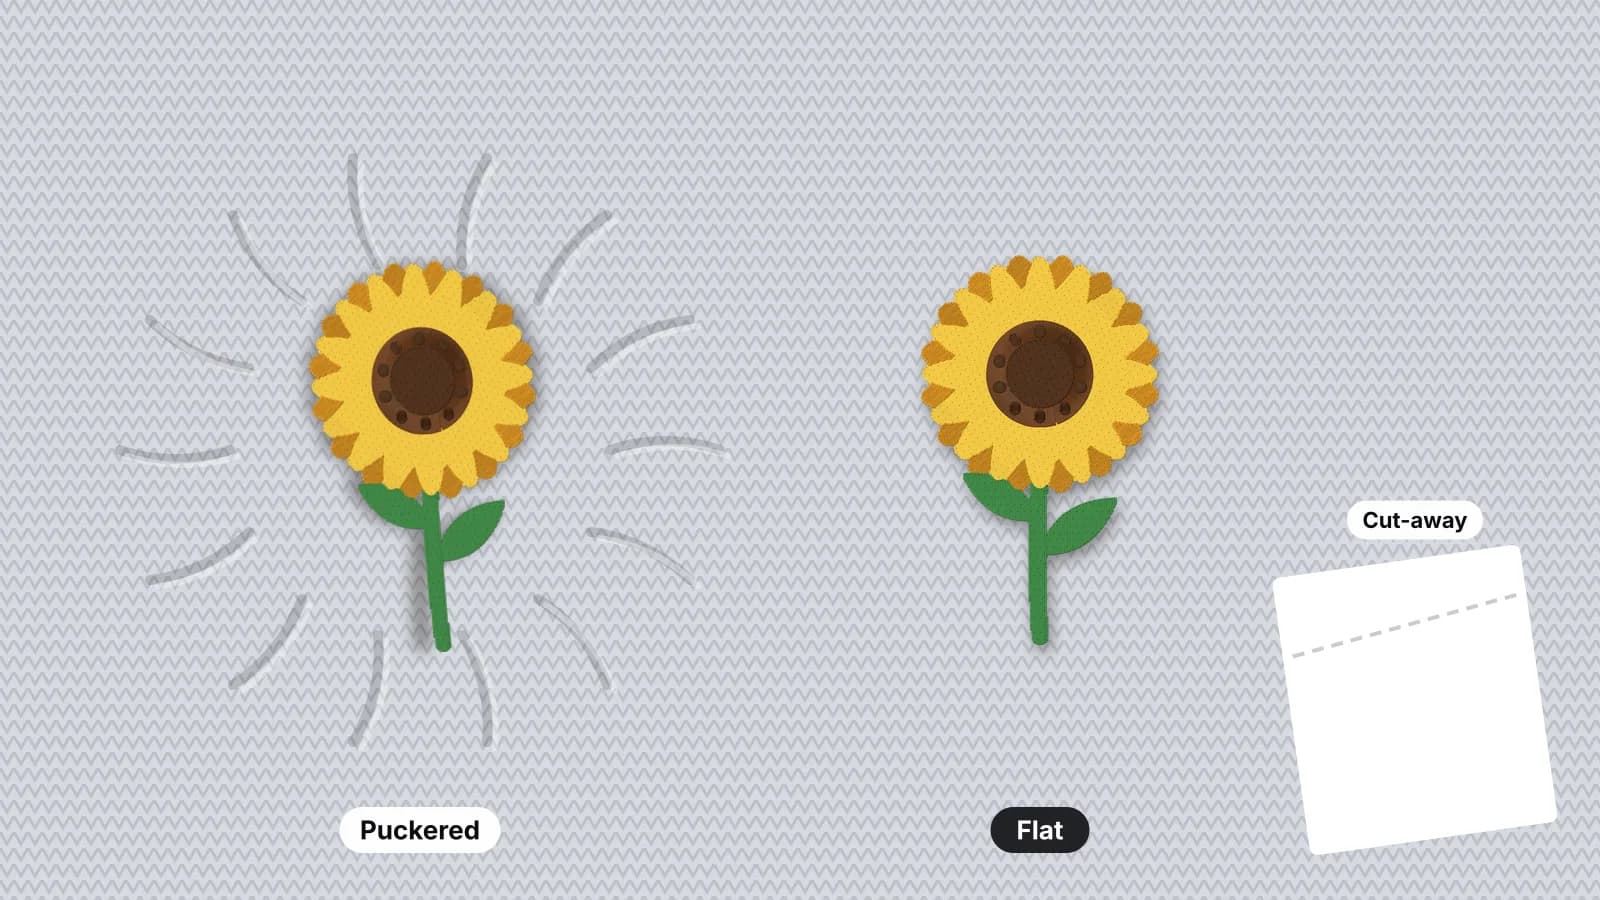
- Keep the design light. Big, dense fills pucker satin. Satin-stitch lettering and outlines sit much more smoothly.
- Don't pull the satin tight in the hoop; smooth and flat is enough. Stretched satin springs back and puckers round the design.
If puckers do appear, how to fix embroidery puckering covers the causes and fixes.
Practice on a free design
114 ready-to-sew designs in every machine format, free with an account.




Thread, motifs and making the files
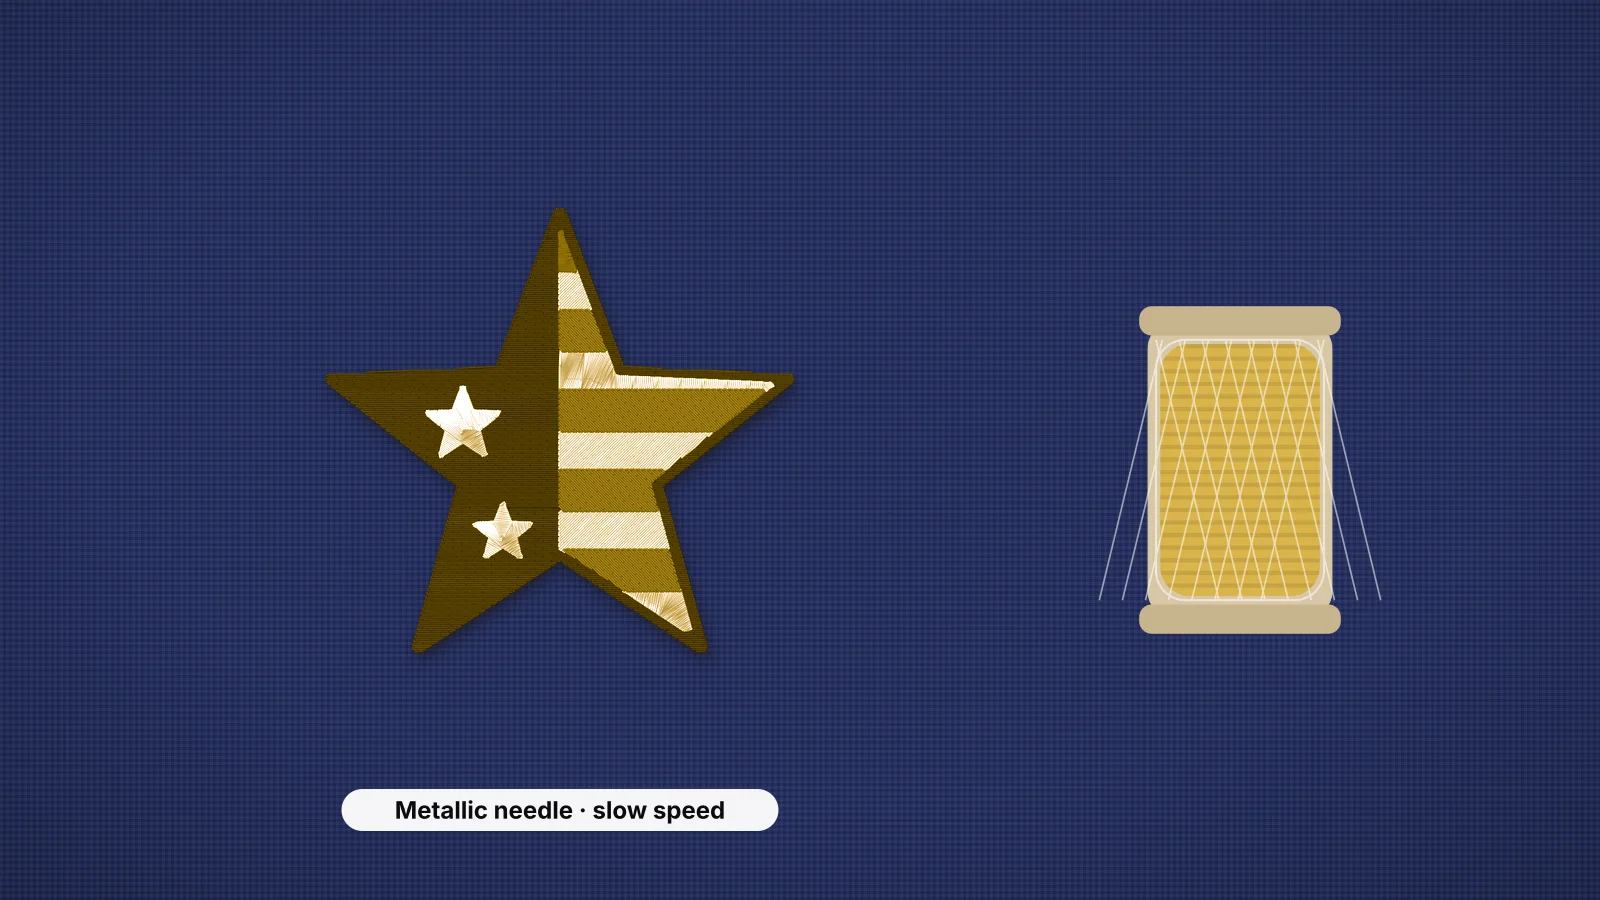
- Gold and silver thread are favorites on stoles. Metallic thread needs a slower speed and a suitable needle, so see the metallic thread guide, or use a gold or silver polyester thread for an easier sew-out.
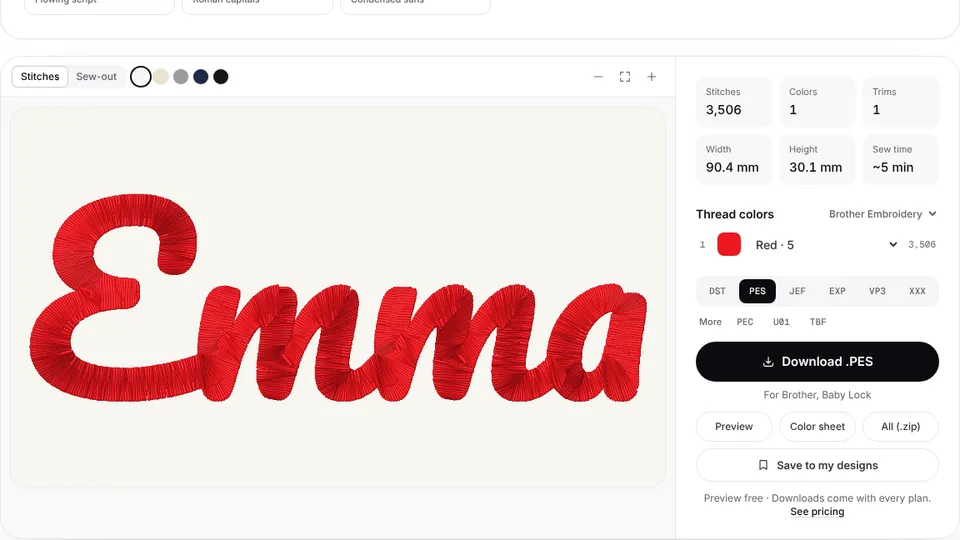
- Names and years: text to embroidery makes a lettering file from a choice of fonts, and batch name embroidery makes a class's names in one font and height. Saving the files needs a paid plan.
- A motif: the free graduation cap design fits a 4×4 in hoop and downloads free with an account.
For a school crest, a club emblem or your own artwork, upload it to the digitizer, set the width to fit the stole and check the stitch preview for anything too dense for satin. Digitizing and previewing are free with an account; downloading the file needs a paid plan. School logos usually belong to the school, so check you have permission to stitch them.