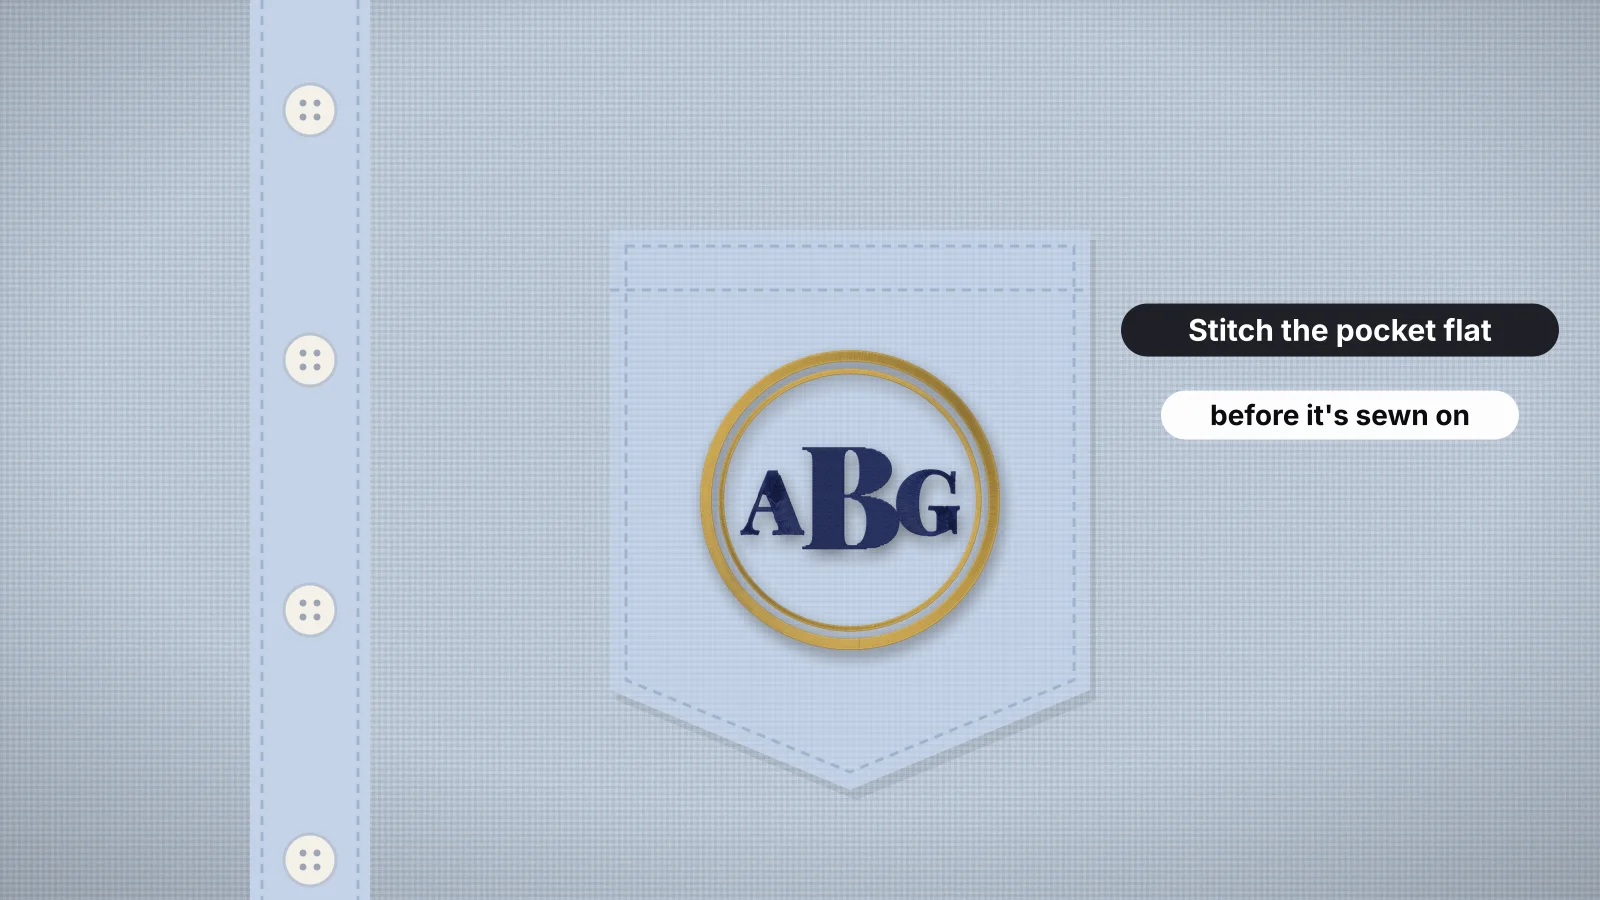
A pocket is a classic spot for a monogram on a dress shirt, a small logo on a work shirt or a tiny motif on a pocket tee. The catch is that a patch pocket is two layers: the pocket and the shirt behind it. Stitch through both and the design sews the pocket closed.
This guide covers stitching before or after the pocket is sewn on, pocket sizes, getting into a finished pocket, keeping the opening free, monograms and logos, and stabilizer. For the rest of the shirt, see how to embroider a T-shirt and the placement guide.
Before or after the pocket is sewn on
| Situation | Best approach | How |
|---|---|---|
| Sewing the shirt yourself | Embroider the pocket piece first | Stitch on a rectangle of fabric bigger than the pocket, then cut the pocket out round the design and sew it on |
| Finished shirt with a patch pocket | Unpick the pocket | Pick out the stitching on the sides and bottom, embroider the pocket flat, then sew it back along the old holes |
| Finished shirt you'd rather not unpick | Embroider above or beside the pocket | A name or logo just above the pocket is common on work shirts |
| A decorative pocket nobody uses | Stitch through both layers on purpose | The design closes the pocket where it sews, so keep it small and central |
Some commercial shops use small clamp frames that reach inside a sewn pocket, so only its front layer is stitched. On most home machines, unpicking is the reliable route, and it only takes a few minutes with a seam ripper.
Mark the pocket's top fold before you hoop. The top edge is usually folded over into a hem, and the design has to sit below that fold, not across it.
Pocket sizes and the design area
| Typical pocket width | Design size | |
|---|---|---|
| Pocket tee | Often about 3.5–4.5 in (90–115 mm) | About 1.5–2.5 in (40–65 mm) wide |
| Dress shirt | Often about 4.5–5 in (115–125 mm) | A monogram about 1–2 in (25–50 mm) wide, often smaller |
| Work or uniform shirt | Often about 5–6 in (125–150 mm) | A logo about 2–3 in (50–75 mm) wide |
| Kids' shirt | Often about 3–3.5 in (75–90 mm) | About 1–2 in (25–50 mm) wide |
| Jacket or chore coat | Often about 5–6.5 in (125–165 mm) | About 2.5–3.5 in (65–90 mm) wide |
Measure the pocket you have, then take off about 1/2 in (12 mm) on each side, at the bottom and below the top hem. That's your design area. A dress shirt monogram is traditionally small and quiet, and often looks best well under the maximum.
Try it with your own design
Sign up free, upload an image and get a stitch preview in under a minute.
Drop your image here
PNG, JPG, WebP or SVG · stays on your device
Embroidering the pocket on a finished shirt
- Mark the pocket's position on the shirt with chalk or a water-soluble pen at each corner, and take a photo, so it goes back exactly where it was.
- Unpick the pocket with a seam ripper. The stitching runs down both sides and across the bottom, often with small reinforcing triangles or bar tacks at the top corners. Leave the top hem as it is.
- Press the pocket flat and mark its center and the line where the hem folds.
- Float it on hooped sticky stabilizer, or baste it to hooped tear-away, since a pocket is usually too small for the hoop rings to grip. The floating entry explains how.
- Stitch the design, then tear or trim the stabilizer close so the pocket doesn't get stiff or bulky.
- Sew the pocket back on along the old needle holes in matching thread, and reinforce the top corners again.
If you'd rather not unpick, put the design just above the pocket or on the other side of the chest instead. Hoop the shirt as usual and keep the design clear of the pocket's top edge.
Keeping the pocket opening free
- Stay below the hem. Keep the top of the design at least about 1/2 in (12 mm) below the pocket's top edge, so it clears the folded hem and the opening.
- Stay inside the stitching lines. Leave about 1/2 in at each side and at the bottom too, so the design doesn't crowd the seams when the pocket goes back on.
- Clear the pocket from above. A design above the pocket should end at least about 1/2 in (12 mm) above its opening.
- Check underneath before you press start on anything near a pocket that's still sewn on: run a hand between the pocket and the shirt, and make sure only the layer you mean to stitch is in the hoop.
Sewn a pocket shut by accident? The design can come out by cutting the bobbin threads from inside the shirt, though you'll lose it. How to remove embroidery explains the method.
Monograms, names and logos on pockets
- Dress shirt monograms are usually small: letters about 1/4–1/2 in (6–12 mm) tall, in a classic block, serif or script, centered on the pocket. On a shirt without a pocket, the same monogram often goes where the pocket would be, or on the cuff.
- Three-letter monograms follow a set order; monogram letter order explains which initial goes in the middle.
- Framed monograms, such as initials in a circle, suit pocket tees and casual shirts at about 1.5–2 in (40–50 mm). The frame maker adds the border; saving the file needs a paid plan.
- Names and titles on work shirts usually sit above the pocket rather than on it. The right chest size page covers name sizes.
- Small logos need simplifying for a pocket: drop the tagline and tiny text, and keep lines at least about 1 mm wide.
Script letters need more height than block capitals: below about 10–12 mm, thin script joins fill in. For a very small pocket monogram, a block or serif font holds up better. The monogram maker lays out classic one- and three-letter styles; saving the file needs a paid plan.
Stabilizer and needles
| Shirt fabric | Backing | Needle | Good to know |
|---|---|---|---|
| Cotton poplin or oxford (dress shirts) | Light tear-away, or no-show mesh under denser designs | 70/10 or 75/11 sharp | Thin shirting puckers easily, so keep the design light |
| Twill or poly-cotton (work shirts) | Medium tear-away or cut-away | 75/11 sharp | Cut-away holds up better on shirts washed often |
| Jersey (pocket tees) | Cut-away or no-show mesh | 75/11 ballpoint | Float the pocket without stretching it |
| Denim or canvas (jackets and chore coats) | Medium tear-away | 80/12 or 90/14 sharp | Pocket edges are thick, so keep the design well away from them |
The woven shirt stabilizer page and the T-shirt stabilizer page have the full setups.
Practice on a free design
114 ready-to-sew designs in every machine format, free with an account.


Making a pocket-sized file
Upload the logo, monogram or motif to the digitizer, set the width to fit the design area and choose the fabric preset: Woven for poplin, oxford and twill, Knit for pocket tees. Check the stitch preview at the real size, and the design check, which flags lettering under about 5 mm. Digitizing and previewing are free with an account; downloading the file needs a paid plan.
- Digitize at the final size rather than shrinking a bigger stitch file, which packs the stitches too tightly. The resizing guide explains how far a file can go.
- Keep it light on thin shirting: fewer stitches mean less puckering. Line art, satin lettering and small fills suit pockets best.
- Test on a scrap of similar shirting, with the same backing and needle, before the real pocket.