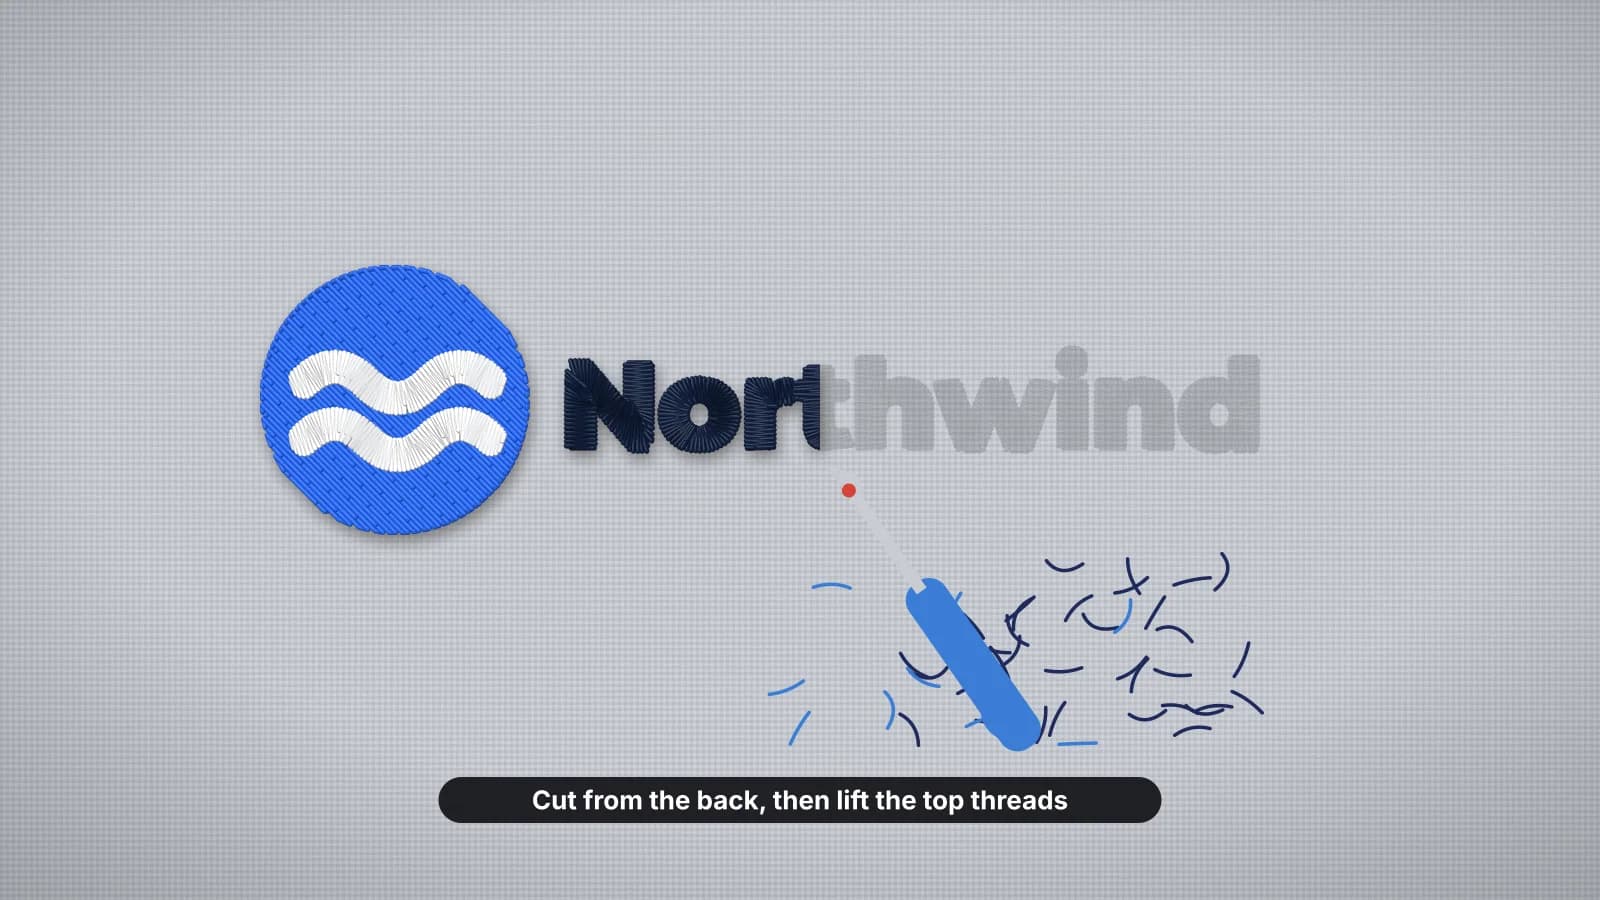
Sooner or later you'll need to take embroidery out: a misspelled name, a logo that's changed, a secondhand jacket with someone else's company on it, or a design that went wrong halfway through. Machine embroidery comes out more easily than it looks, because every top stitch is held by the bobbin thread on the back. Cut that, and the top thread lifts out.
This guide covers the tools, the steps, satin, fill and lettering, hats and jackets, closing up the needle holes, fabrics that won't recover and stitching a new design over the spot.
Seam ripper, stitch eraser and other tools
You need very little, but the right tool depends on how much stitching there is:
| Tool | Best for | Watch for |
|---|---|---|
| Seam ripper | Small designs, lettering and satin columns; cutting the bobbin threads a few at a time | Slow on big fills; the point can catch the fabric if you push it in too deep |
| Stitch eraser | Large logos and dense fills; it shaves the bobbin threads off the back in passes | It's a blade: it can cut thin knits and fine fabric, so test it on a hidden spot first |
| Small curved scissors | Trimming threads close and cutting jump stitches | Keep the points facing away from the fabric |
| Tweezers | Pulling out short top threads and the underlay | Pull gently, along the line of the stitch |
| Lint roller or tape | Picking up the fluff of cut threads | Use low-tack tape on delicate fabric |
| Steam iron and a soft brush | Closing up the needle holes afterwards | Check the fabric's heat setting first |
A stitch eraser is a small electric trimmer with a narrow blade, sold for removing embroidery. It's the quickest way through a dense logo, but many embroiderers stick to a seam ripper on T-shirt knits and thin fabric, where a slip costs the garment.
Removing embroidery step by step
- Turn the garment inside out and find the back of the design. Tear or trim off any loose stabilizer round the edges so the stitches are easy to see.
- Find the bobbin thread. On the back of a satin column it's a narrow strip, usually white, running down the middle; in a fill it shows as rows of short stitches.
- Cut the bobbin threads a small section at a time: slide the seam ripper under them along the strip, or run the stitch eraser lightly over the back. Don't cut the whole design at once.
- Turn it to the front and pull the top threads. Once the bobbin threads are cut, the top thread lifts out in loops or long pieces. Pull gently, in the direction the stitches lie.
- Repeat, working across the design from one edge, until the top stitches are gone. Then pick out the underlay, the short stitches that sat underneath.
- Remove the stabilizer. With the stitches gone it comes away on its own; a fusible one peels off more easily with a little heat from the iron.
- Clean up the fluff with a lint roller or tape, then close the needle holes, as below.
If a thread won't come out, cut its bobbin side again rather than pulling harder. Tugging a stuck thread is how needle holes get stretched and knits start to run.
Try it with your own design
Sign up free, upload an image and get a stitch preview in under a minute.
Drop your image here
PNG, JPG, WebP or SVG · stays on your device
Satin, fill and small lettering
| Part of the design | How it comes out | Tips |
|---|---|---|
| Satin columns and borders | Easily: cut the bobbin strip down the middle and the long top stitches pull out from the front | On sturdy fabric you can also slide the seam ripper under a column from the front and cut it, carefully |
| Tatami fill | In patches: cut or shave the bobbin rows, then pull the top thread out a section at a time | A stitch eraser saves a lot of time on big fills |
| Small lettering | Slowly: the stitches are short and close together | Use a seam ripper and tweezers, one letter at a time; a stitch eraser can catch the fabric between letters |
| Running and bean stitch lines | One line at a time: cut every few stitches and pull from the front | A bean stitch sews each stitch three times, so expect more thread |
| Underlay | Last, once the top stitches are gone | It's short and loose by then; tweezers lift it out |
Dense designs take longest and leave the most holes. The density guide explains why some logos are so tightly packed, and the bobbin thread entry explains how it holds each stitch.
Hats, jackets and lined garments
- Structured caps. Work from inside the crown, folding the sweatband out of the way. The stiff backing behind the front panel holds the cap's shape, so cut only the threads and leave the backing in place.
- Beanies and knit caps. Turn them inside out and cut gently with a seam ripper: a blade that catches the yarn can start a run.
- Lined jackets. Open the lining seam, often at the hem or inside a sleeve, so you can reach the back of the design, then sew it closed again afterwards.
- Fleece and sweatshirts. The pile hides needle holes well, so these usually recover best of all.
- Patches. A sewn-on patch comes off by cutting its edge stitching from the inside. An iron-on patch usually loosens with heat through a pressing cloth, and can leave glue behind.
Check what's behind the embroidery before you start. A logo may be stitched through an interfacing or a lining as well as the outer fabric, and those threads need cutting from the inside too.
Closing up the needle holes
Once the threads are out, you're left with the design's outline in tiny holes. On most woven and knit fabric they close up with a little work:
- Steam the area from the back, with the iron just above the fabric or pressing lightly through a cloth.
- While the fabric is warm, rub across the weave with a fingernail or a soft toothbrush, in both directions, to nudge the threads back into place.
- On knits, stretch the area gently in each direction, then let it relax.
- Wash and dry the garment as usual. Many fabrics close up further in the first wash.
Two things can still show. Dense stitching sometimes leaves a flattened or shiny patch, which steam and a brush usually lift. And on an older garment, the fabric under the design may have faded less than the rest, leaving a shadow of the old logo that no amount of steaming removes. That's where re-embroidering helps.
When the fabric won't recover
| Fabric | What happens | Better option |
|---|---|---|
| Leather and faux leather | Every needle hole stays, so the old design's outline is permanent | Cover it with a new design or a patch at least as big |
| Vinyl and waterproof fabrics | Holes stay, and a waterproof jacket may no longer keep water out at that spot | Cover the area with a patch, or leave the old design alone |
| Thin knits and performance fabric | Holes can stretch into runs, and blades snag the yarn | Use a seam ripper only; cover any holes that show |
| Velvet and pile fabrics | The pile is crushed and the outline shows as a flattened area | Steam and brush the pile; some marks never fully lift |
| Silk and satin | Holes and pulled threads show on the smooth surface | Work slowly with a seam ripper and plan to cover the area |
Test on one small part of the design first, such as a single letter, and look at the holes before you commit to the rest. On leather and vinyl, think twice: once the thread is out, the only fix is to cover the holes. See embroidering on leather and the leather guide.
Practice on a free design
114 ready-to-sew designs in every machine format, free with an account.

Re-embroidering over the area
A new design is the neatest way to hide holes, or a shadow the fabric won't lose. Plan it to cover the old footprint:
- Measure the old outline and make the new design a little bigger on every side, at least about 3–5 mm, so no holes peek out at the edges.
- Use fill where the holes are. A tatami fill covers holes far better than open line work or thin satin, so a badge, a crest or a filled shape suits the job.
- Hoop with fresh stabilizer, the type the garment needs: cut-away for knits, tear-away for stable wovens. The old area is weaker, so it needs the support.
- Use a patch instead on leather, vinyl and waterproof jackets, or anywhere you'd rather not add more needle holes. How to make embroidered patches covers sewn-on and iron-on backs.
To make a cover design from a logo or your own artwork, upload it to the digitizer, set the width to cover the old footprint and choose the fabric preset. Check the stitch preview to see how the fill covers the area. Digitizing and previewing are free with an account; downloading the file needs a paid plan.