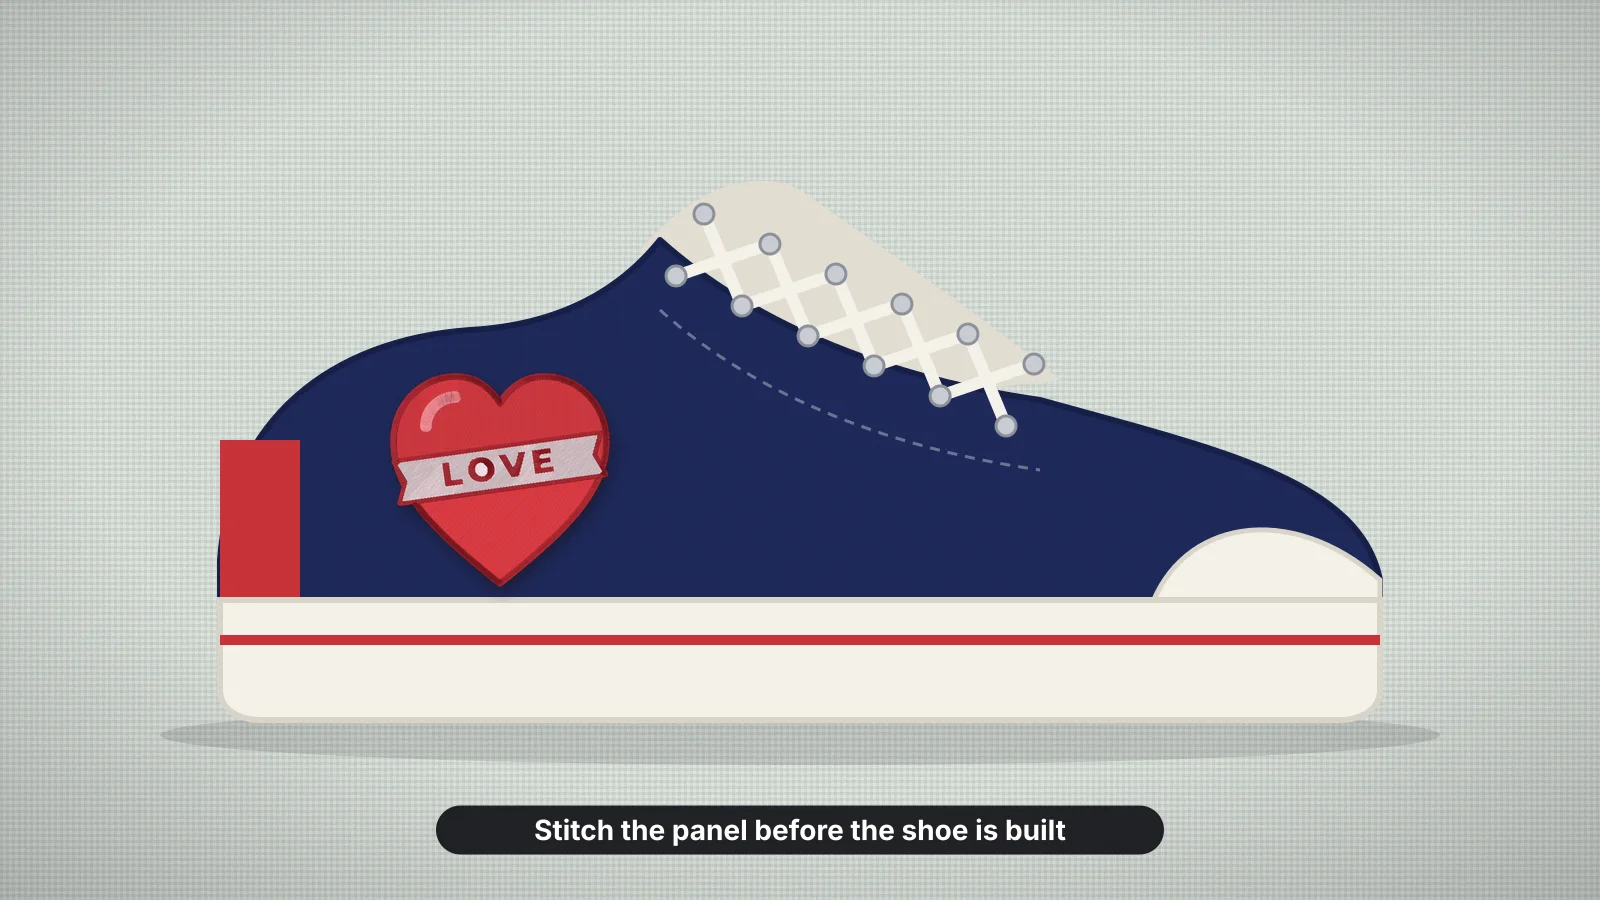
Custom sneakers make a popular gift and a fun way to show off a monogram, a pet's paw print or a tiny logo. Embroidery looks great on them, but they're among the hardest things to stitch by machine: a shoe is closed, curved and built on a stiff sole, and an embroidery machine needs one flat layer of material in a hoop.
This guide is honest about what works: what you can and can't stitch, canvas vs leather, embroidering pieces before a shoe is made, finished shoes, patches, tiny designs and the file. For leather in general, see how to embroider leather.
What you can and can't embroider
| Shoe or part | On a home machine | Other options |
|---|---|---|
| Finished low-top sneaker | Not practical: no panel lies flat enough for a hoop | A patch, or hand embroidery |
| Finished canvas high-top | Not usually; the outer ankle panel is the most reachable spot | A multi-needle machine with a small clamp frame may reach it |
| Finished leather sneaker | No: hooping marks leather, and the panels are stiff and curved | A patch glued on, or a specialist shop |
| Shoe pieces before assembly | Yes, stitched flat like any other fabric or leather | Shoe-making kits and patterns give you flat upper pieces |
| A hook-and-loop strap | Sometimes, if the strap opens out flat away from the shoe | Float the strap on sticky stabilizer, clear of the hook-and-loop |
The problem isn't the needle getting through: canvas and leather both stitch well. It's the hoop. An embroidery machine moves a hoop under the needle, and the machine's bed has to sit under the one layer being stitched. A shoe can't lie flat, and its sole, toe and lining surround every panel.
Canvas vs leather shoes
| Material | Needle | Stabilizer | Good to know |
|---|---|---|---|
| Cotton canvas | 75/11 or 80/12 sharp | Medium tear-away, or cut-away under dense designs | Stitches cleanly and hides needle holes well; the easiest shoe material |
| Leather | 75/11 or 80/12 sharp, or a leather needle | Medium tear-away, floated | Every hole is permanent, so keep designs light and test on a scrap |
| Faux leather and synthetic uppers | 75/11 sharp | Sticky tear-away, floated | Marks like leather, and dense stitching can perforate it |
| Suede | 75/11 sharp | Tear-away, floated, with a water-soluble topping | The nap hides fine detail; brush it after stitching |
| Knit uppers | 75/11 ballpoint | Cut-away | Soft and stretchy, and built into the shoe, so a patch is usually easier |
On leather and synthetics, choose a light design with open spacing, because closely packed holes can cut through the material. The leather guide, embroidering on leather and embroidering on canvas cover each in more depth.
Try it with your own design
Sign up free, upload an image and get a stitch preview in under a minute.
Drop your image here
PNG, JPG, WebP or SVG · stays on your device
Embroidering the pieces before the shoe is made
Shoemakers sew the upper from flat pieces before it's shaped and joined to the sole, and that's the stage where embroidery is easy. If you're making your own sneakers from a pattern or a shoe-making kit, embroider the pieces first:
- Trace the pattern piece onto canvas or leather larger than the piece, marking the seam allowances and where the eyelets go.
- Hoop the canvas with stabilizer, or float leather on sticky stabilizer, and stitch the design inside the marked shape.
- Keep the design at least about 1/4–1/2 in (6–12 mm) clear of seam allowances, eyelets and anywhere the upper will be glued to the sole.
- Trim the stabilizer, then cut the piece out and build the shoe as the pattern says.
Stitch both shoes at once. For a motif that should face forward on both feet, mirror it for the second shoe in the digitizer or on the machine, but never mirror text.
Don't cut the piece out before you stitch. Embroidery pulls fabric in slightly, so a piece cut to size first can end up too small for the pattern.
Getting at a finished shoe
Stitching a finished canvas shoe takes patience and the right machine. The usual approach:
- Take out the laces and the insole, and pull the tongue forward, so you can see and reach the inside of the panel.
- Pick the flattest panel, usually the outer ankle panel of a high-top. Low-tops rarely have enough flat area clear of the sole and the toe.
- Use a small frame. On a multi-needle machine, a small clamp frame or a small hoop on the tubular arm may reach the panel. On a flatbed home machine the bed can't get under one layer of a shoe, so this usually isn't possible.
- Back the panel with a piece of tear-away inside the shoe, and keep eyelets, seams and the rubber edge of the sole well clear of the needle.
- Go slowly and watch the first stitches: thick seams nearby and a stiff heel can deflect the needle.
Some shops decline finished shoes, because one stray stitch through a seam ruins the pair, so ask before you send them. If no machine can reach the panel, a patch is the practical answer.
Patches: the easy way onto any shoe
- Stitch a small patch on twill or felt with a satin border, then trim it. How to make embroidered patches and the patch designer cover borders and backings.
- Sew it on by hand on canvas shoes: take out the insole so you can reach inside, and stitch just inside the border with strong thread and a curved needle.
- Glue it on leather and synthetics with a flexible adhesive made for shoes, so you don't add needle holes, and leave it to cure for as long as the maker says.
- Keep patches small and flat, about 1–2 in (25–50 mm), on the side panel or the heel, away from the crease across the toe where the shoe bends.
Patches can be stitched in a 4×4 in hoop on any home machine, and they let you swap designs later.
Tiny designs and sizes
| Spot | Typical design size | What fits |
|---|---|---|
| High-top ankle panel | About 1.5–2.5 in (40–65 mm) | A small motif, a monogram or a short word |
| Side panel of a low-top, before assembly | About 1.5–3 in (40–75 mm) long | A motif or a word along the side |
| Heel tab | About 0.5–1 in (12–25 mm) | An initial or a number in bold satin |
| Tongue, before assembly | About 1–1.5 in (25–40 mm) | An initial, a small logo or an icon |
| Patch | About 1–2 in (25–50 mm) | Anything bold: a paw print, a star or a monogram |
- Keep letters at least about 5 mm tall in bold block capitals, and more on suede and textured canvas. The small text guide explains why.
- Use few colors and simple shapes. Tiny designs with lots of color changes get messy and slow.
- Measure the shoe. Panels vary a lot with shoe size and style, so measure the flat area you have before you size the design.
The free bee, paw print and patriotic star designs are bold enough for shoes and download free with an account. They're sized for a 4×4 in hoop, so the resizing guide explains how far a file can shrink.
Practice on a free design
114 ready-to-sew designs in every machine format, free with an account.




Making the file
Upload your artwork, such as initials, a pet's paw or a small logo, to the digitizer and set it to the size of the panel. For leather and synthetic uppers, choose the Leather, vinyl preset: it spaces the stitches wider, with light underlay and less pull compensation, so there are fewer holes. Use Woven for canvas. Check the stitch preview at the real size. Digitizing and previewing are free with an account; downloading the file needs a paid plan.
- Digitize at the final size rather than shrinking a bigger file, so the density stays right.
- Test on a scrap of the same canvas or leather, with the same needle and backing.
- Trim the back closely so nothing rubs once the lining and insole go back in.