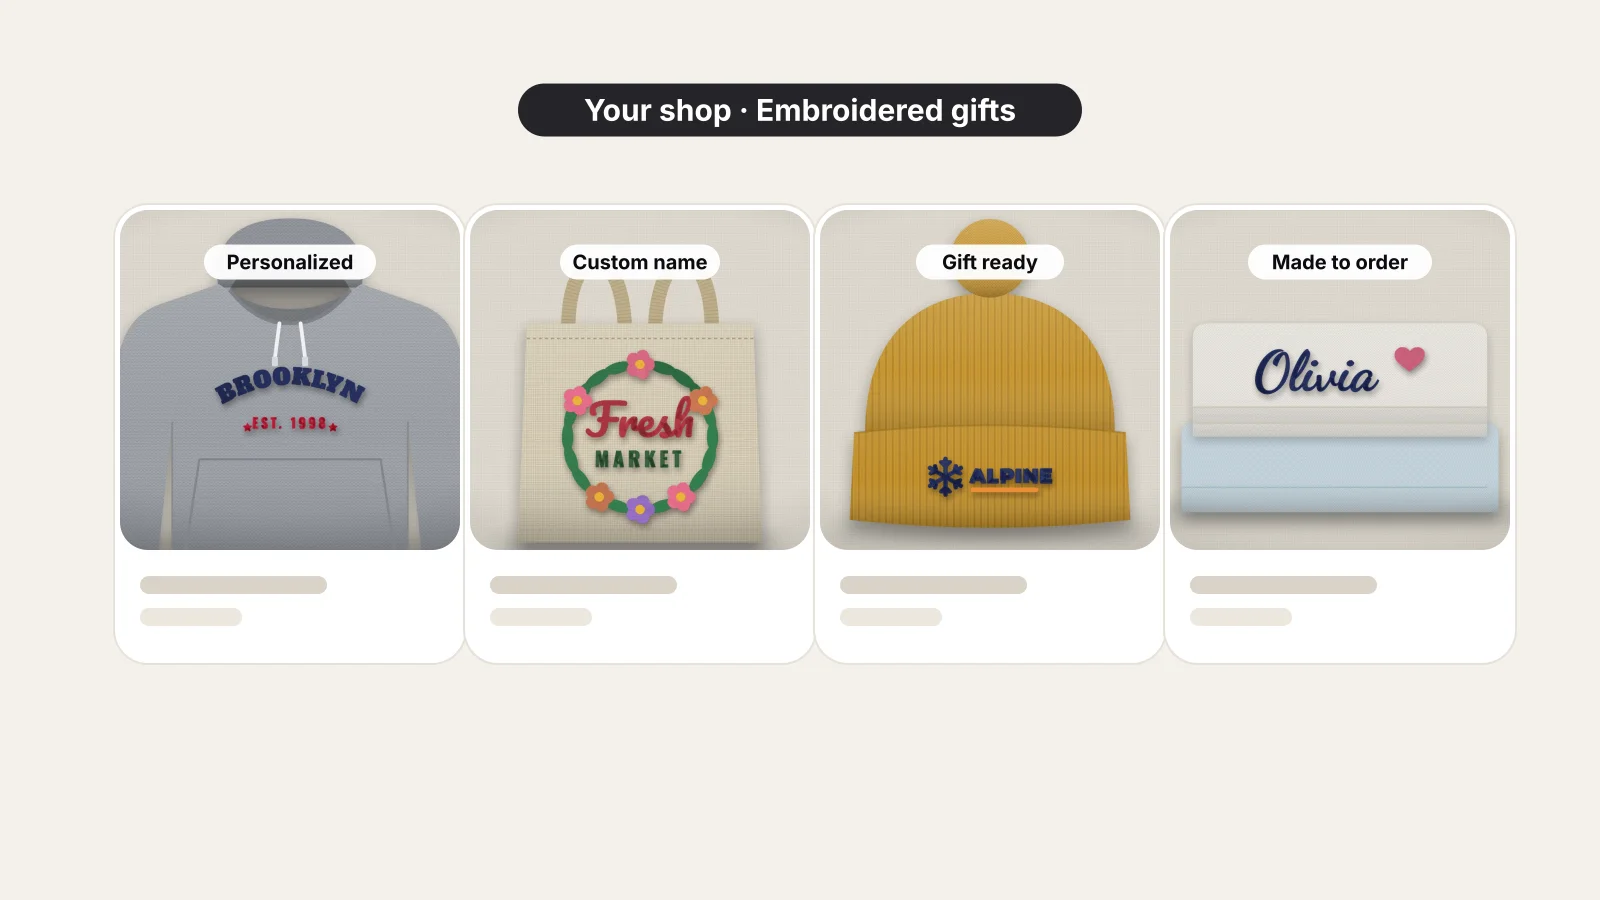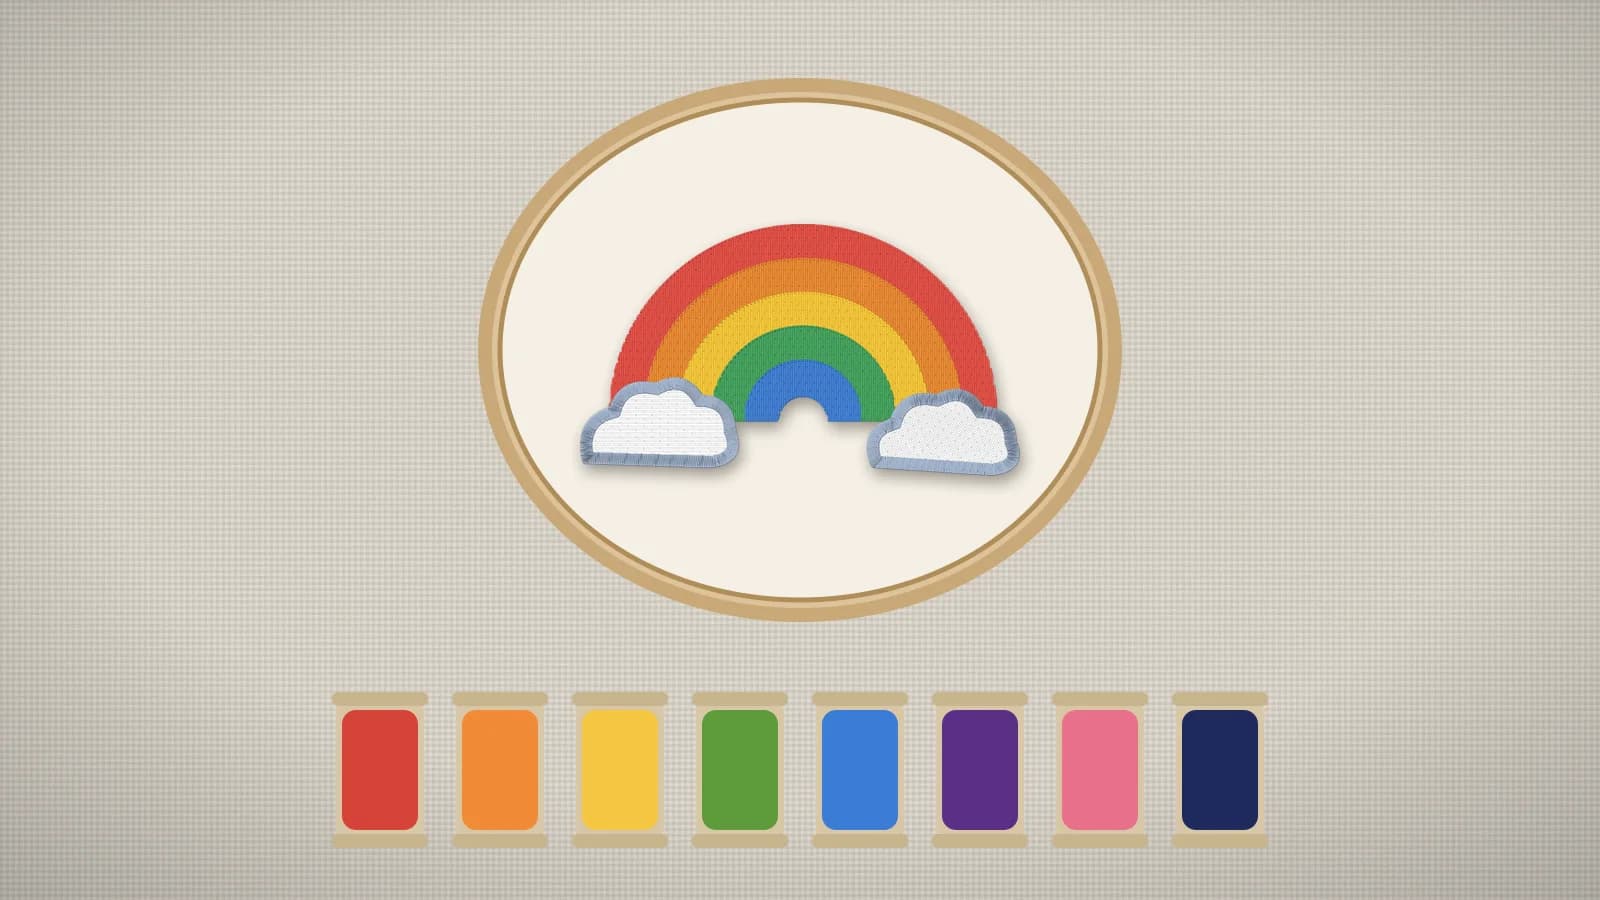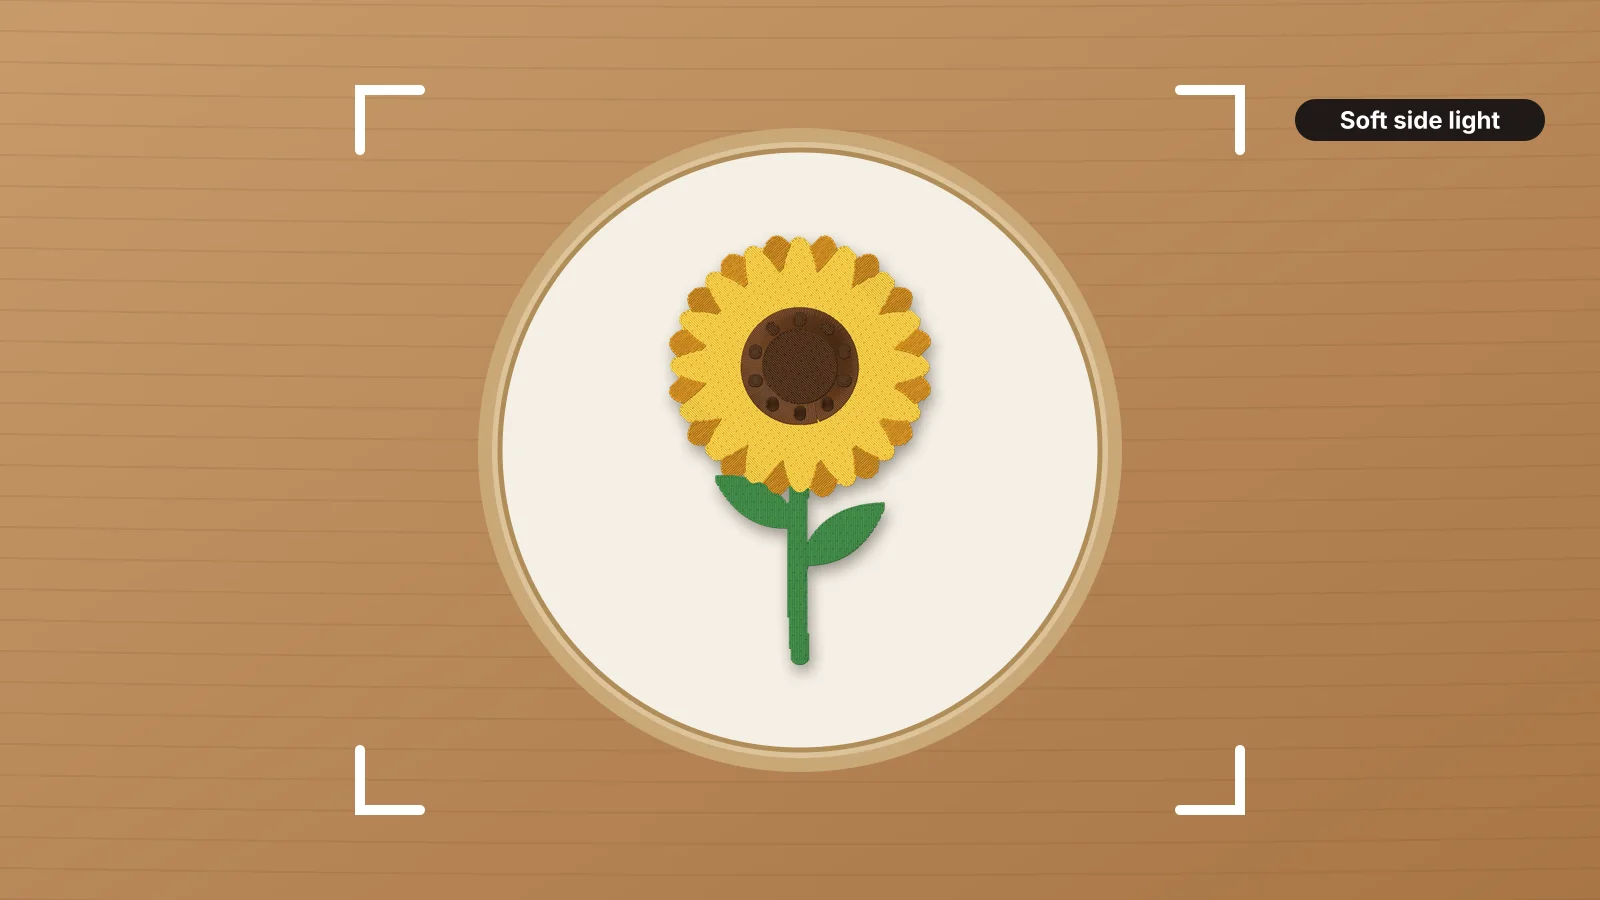
Embroidery is hard to photograph well. The things that make it appealing in person flatten out under the wrong light: raised stitches, the sheen of satin, the texture of a fill. Thread colors drift toward yellow or blue on a phone, too. For a shop on Etsy or a feed on Instagram, the photo is what sells the piece.
This guide covers light, the shots to take, hoop flat-lays and props, white balance, showing the size, phone settings and mockups. For pricing, listings and the rest of selling online, see how to sell embroidery on Etsy.
Light that shows the stitches
The best light for embroidery is soft and comes from one side. It skims across the surface, so each stitch casts a tiny shadow and the texture shows.
- Use a window, not the ceiling light. Set up beside a window with the light coming from the left or right of the piece, not from behind the camera.
- Avoid direct sun. It makes hard shadows and blows out the shine on satin. An overcast day, or a sheer curtain over the window, softens it.
- Bounce light into the shadows. A sheet of white card or foam board on the side away from the window lifts the dark side without flattening the texture.
- Turn off the room lights. Mixing daylight with warm bulbs gives patchy color casts that are hard to fix later.
- Skip the flash. It lights the stitches head on, which flattens them and puts glare on satin and metallic thread.
Side light shows flaws as well as texture. Trim jump threads and loose ends, and lift any hoop marks with steam, before you photograph; they're far more visible in a close-up than in person.
The shots to take
| Shot | How | What it shows |
|---|---|---|
| Straight-on | Camera parallel to the piece, the whole design in frame | The design as a whole, true to its shape |
| Angled close-up | About 30–45° from the side, close in on part of the design | The raised texture of satin and fill |
| Detail | As close as your camera focuses sharply, on lettering or a small area | Stitch quality: clean edges and crisp letters |
| Scale | On a person, on a hanger or next to a familiar object | How big it really is |
| In use | A towel in a bathroom, a cap on a head, a tote on a shoulder | What the buyer is getting and how it looks in use |
| Options | A row of thread colors or a font chart | What a buyer can choose for a personalized order |
On Etsy and similar marketplaces, the first photo is the one buyers see in search results, so make it the clearest straight-on or in-use shot. Save the close-ups for the photos after it.
Try it with your own design
Sign up free, upload an image and get a stitch preview in under a minute.
Drop your image here
PNG, JPG, WebP or SVG · stays on your device
Hoop flat-lays and props
A finished piece shown in a wooden embroidery hoop reads as embroidery instantly, even as a small thumbnail. It suits hoop art, samples and designs sold as files.
- Tighten the fabric so it's drum-flat, with the design centered and the grain straight. Fold the excess behind the hoop, or trim and glue it for a finished hoop.
- Shoot from directly above for a flat-lay, with the camera parallel to the table so the hoop stays round, not oval.
- Pick a quiet background: white, pale wood, linen or a single color that suits the design. Use the same one across your shop so the listings look like a set.
- Add two or three props, not ten: a thread spool in a matching color, small scissors, a sprig of flowers or the fabric it was stitched on. Keep them near the edges of the frame.
- Leave space round the hoop, so you can crop square for one platform and portrait for another without cutting into it.
Garments can be shot as flat-lays too: steam out the creases, smooth the fabric and fold the sleeves in neatly. A hanger or a model usually shows the fit and the placement better.
True color and white balance
Buyers choose thread colors from your photos, so the colors need to match what arrives.
- Set the white balance on something white. In most photo editing apps, the white balance picker corrects the whole photo when you tap a white or neutral gray area, such as the fabric or a card in the frame.
- Shoot one reference photo with a plain white or gray card beside the piece, then match the rest of the set to it.
- Compare the screen with the thread. Hold the spool next to your screen, especially for reds, purples and navy, which cameras often get wrong.
- Go easy on filters and saturation. A filter that makes a photo pop also shifts thread colors. Brightness, contrast and a crop are usually enough.
- Name the colors in the listing as well, with the thread brand's names or numbers.
The thread color chart lists Brother and Janome threads with their codes, and the color matching guide covers choosing threads for a design.
Showing the size
- Put it on a person or a dress form for clothing and caps. A left chest logo looks very different on a model than on a shirt lying flat.
- Add a ruler or a tape measure in one photo, laid beside the design, for buyers who need exact sizes.
- Use a familiar object, such as a coin, a mug or a hand, for small pieces like patches and ornaments.
- Give the dimensions in the text too, in inches and millimeters, for both the design and the item.
Typical sizes, such as about 3–4 in (75–100 mm) wide for a left chest logo, help buyers picture a piece before they order. The embroidery size pages list them by placement.
Shooting on a phone
- Wipe the lens. A smudged lens softens fine stitches before anything else does.
- Use the main lens, or the 2x lens if your phone has one, rather than the ultra-wide, which bends straight edges and stretches hoops near the edges of the frame.
- Keep the phone still on a small tripod or a stack of books, and use the timer so tapping the screen doesn't shake it.
- Tap to focus on the stitches, then slide the exposure down a little so white thread and satin highlights don't turn into blank white.
- Skip digital zoom. Move closer instead, or crop afterwards.
- Take care with portrait mode. Its background blur can smear the edges of a hoop or a garment.
Each platform crops and sizes photos differently, and its recommendations change, so check the current guidance in your marketplace's seller help rather than relying on numbers from an old post.
Practice on a free design
114 ready-to-sew designs in every machine format, free with an account.


Mockups when you haven't stitched it yet
A mockup is a digital preview of a design on a product. It's useful for custom orders, extra colors and fonts, and designs sold as files, and it lets you try an idea before you stitch a sample.
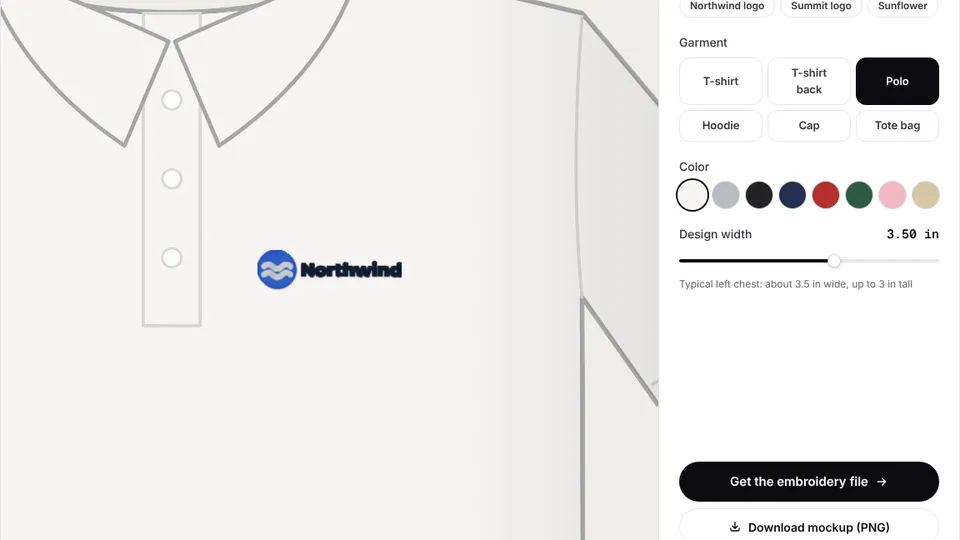
- On a garment: the embroidery mockup generator puts your logo on a T-shirt, polo, hoodie, cap or tote, digitized and stitched at its real size.
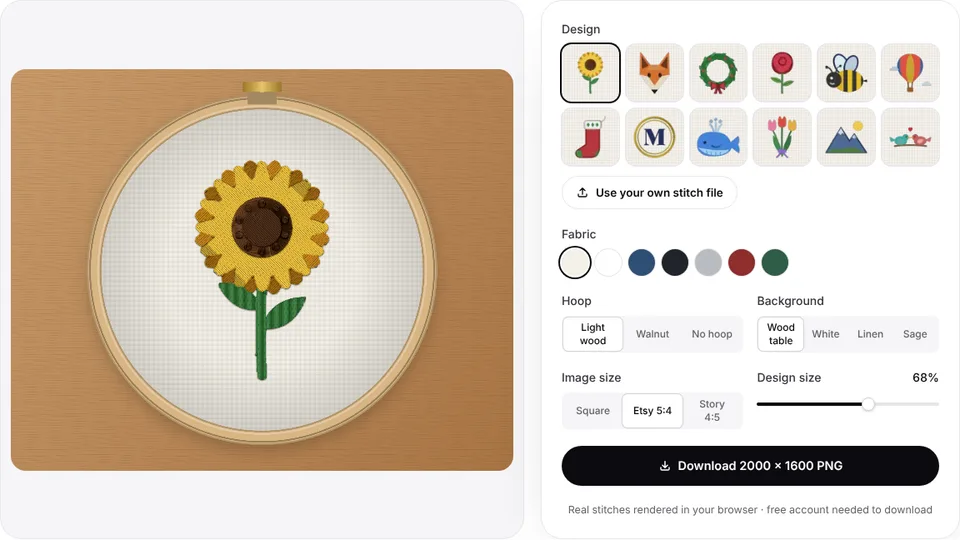
- In a hoop: the embroidery hoop mockup shows a stitch file or a design in a wooden hoop on fabric, for listing photos on Etsy and social media.
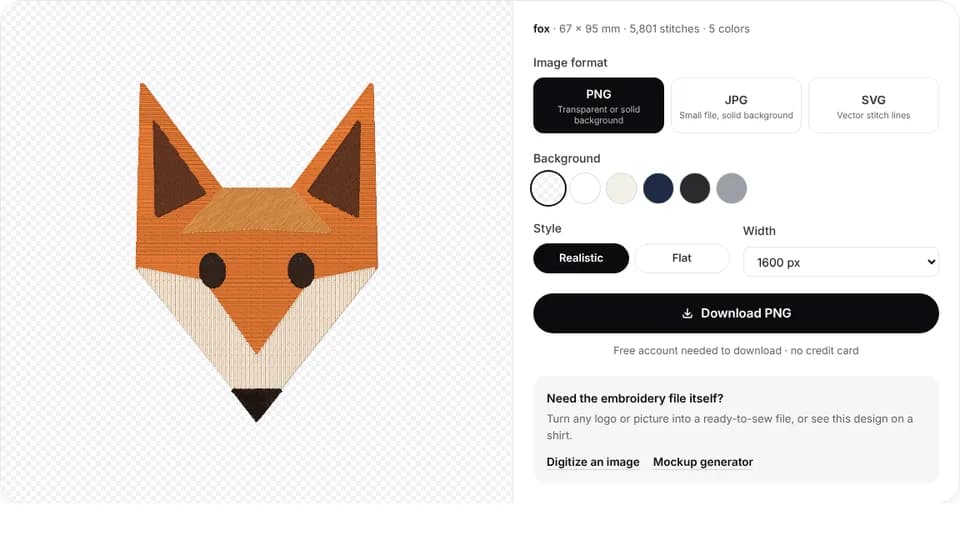
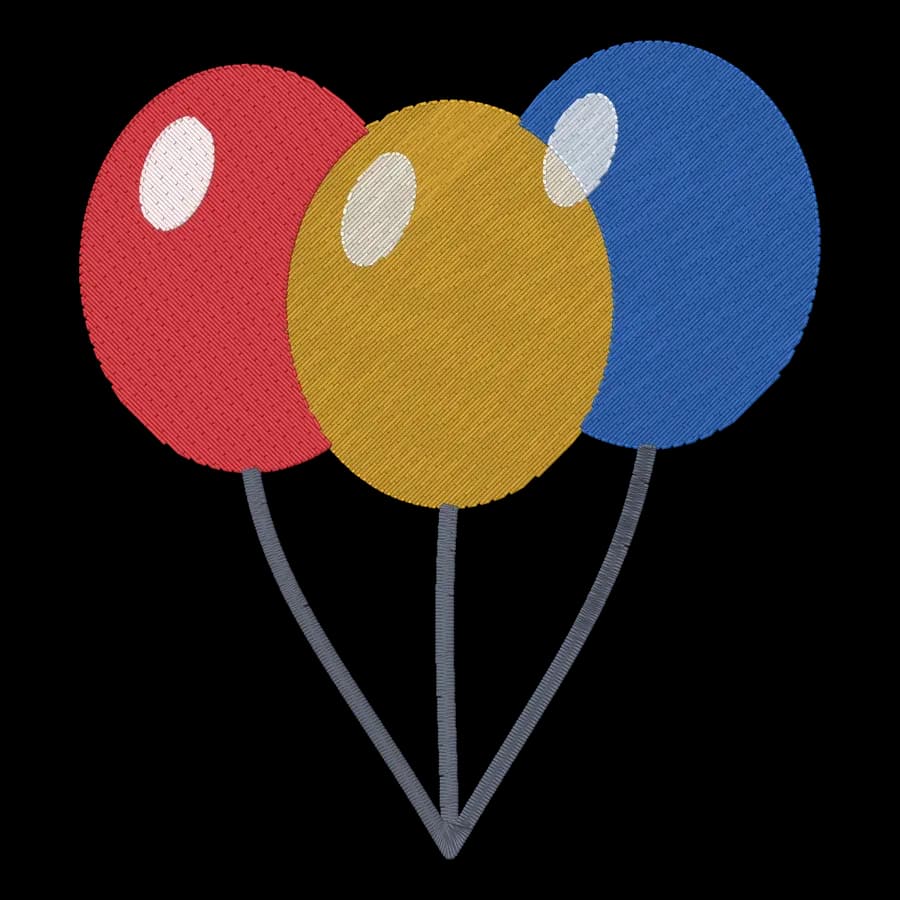
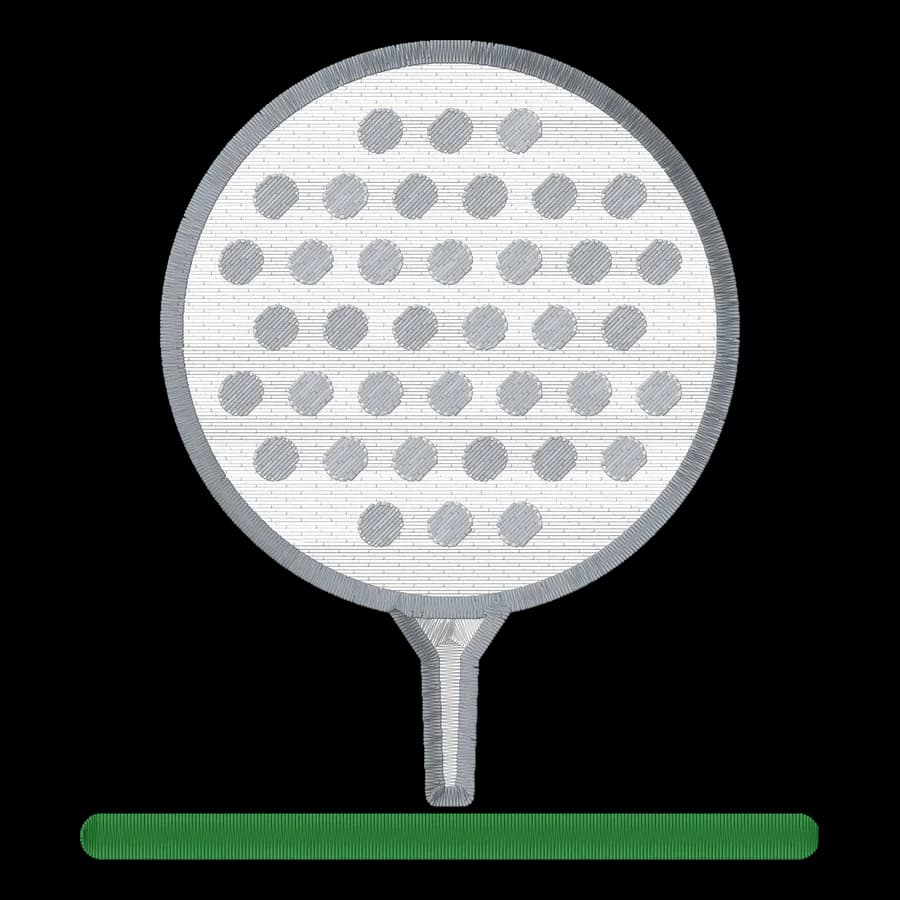
- From artwork: the embroidery effect turns a photo, logo or drawing into a realistic embroidered image, stitched on fabric in a hoop.
- From a stitch file: embroidery file to image turns a DST, PES or JEF file into a picture of its stitches for listings and proofs.
- Say it's a preview. Mark mockups as previews in the photo or the description, lead with real stitched samples where you have them, and swap in real photos once you've stitched the item.
For your own artwork, upload it to the digitizer and check the realistic stitch preview, then stitch one sample to photograph. Digitizing and previewing are free with an account; downloading the file needs a paid plan.