 Free toolEmbroidery patch designerDesign a round, oval, shield or rectangle patch with arched text, an icon and a border, then digitize it.Open the tool
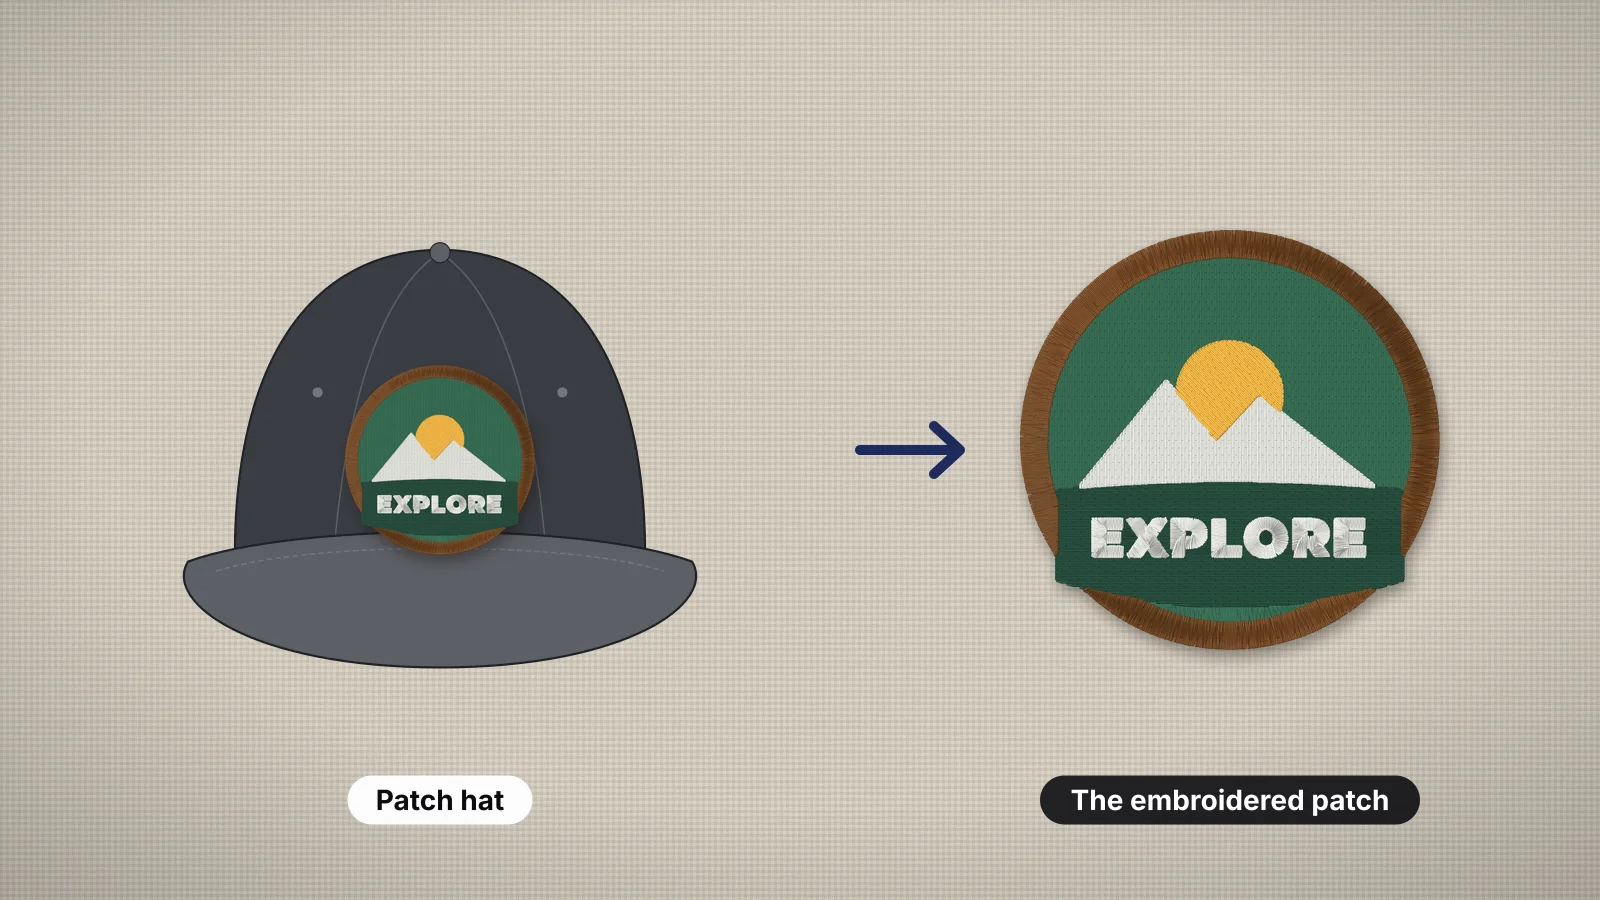
Patch hats are trucker caps, dad hats and snapbacks with an embroidered patch on the front instead of a logo stitched into the cap. Breweries, outdoor brands, teams and hat bars at events sell them, and you can make them on almost any embroidery machine, because the patch is stitched flat in a normal hoop and attached afterwards.
This guide covers which hats work, the patch sizes that fit a cap front, designing and making the patch, the ways to attach it and which ones last, and how to price and sell the finished hats. How to make an embroidered patch goes deeper on the patch itself, and the hat embroidery guide covers stitching straight onto caps.
Which hats work best for patches?
Structured trucker hats and snapbacks work best, because their stiff, flat front panel holds a patch flat and takes heat or stitches without collapsing. Soft dad hats work too, with a smaller, flexible patch that's sewn on.
| Hat | Front | Patch tips |
|---|---|---|
| Trucker, such as the Richardson 112 | Structured twill front, mesh back | The classic patch hat. Put the patch on the front panels, never on the mesh |
| Foam-front trucker | Foam front panel | Heat can flatten or mark foam, so sew the patch or test the press on a spare |
| Structured six-panel snapback | Stiffened front with a center seam | Center the patch over the seam so it hides it |
| Five-panel or rope hat | One wide front panel | Good for wide rectangle patches |
| Unstructured dad hat | Soft front with no lining | Use a smaller, lighter patch and sew it on; adhesive lifts as the front flexes |
| Low-profile cap | Shorter crown | Keep the patch smaller; one patch maker gives 2.25 in as the largest round patch for a low-profile Richardson trucker |
Leather and PVC patches are common on trucker hats too, but they aren't embroidered; this guide is about embroidered ones. Buy one or two spare hats of each style for test pressing and sewing, because fronts differ between makers.
What size patch fits on a hat?
Most cap fronts take a patch about 2–3.5 in (50–90 mm) wide and up to about 2.25 in (57 mm) tall, so a 3 × 2 in rectangle or a 2.5 in round patch fits most structured hats. Patch makers put the ideal size for most cap fronts at about 2.25–2.75 in; bigger patches can warp over the curve or overpower the hat.
| Shape | Typical size | Good on |
|---|---|---|
| Rectangle | 3–3.5 × 2–2.25 in (75–90 × 50–57 mm) | Structured truckers, snapbacks and five-panels |
| Round | 2.25–2.75 in (57–70 mm) | Most hats; 2.25 in on low-profile fronts |
| Oval | About 3 × 2 in (75 × 50 mm) | Truckers and dad hats |
| Shield or badge | About 2.5 in (65 mm) wide, up to 2.75 in tall | Mid- and high-profile structured caps only |
| Small accent patches | 1–2 in (25–50 mm) | Two or three on one front, or on a side panel, as at hat bars |
| Dad hat patch | About 2.5 × 1.75 in (65 × 45 mm), or 2–2.25 in round | Soft, unstructured fronts |
Measure the hat before you design: the flat width across the front, and the height from just above the brim seam to where the crown curves away. Leave a small gap, about 1/4–1/2 in (6–12 mm), above the brim. The cap front size page shows the same area for logos stitched straight onto a cap.
Try it with your own design
Sign up free, upload an image and get a stitch preview in under a minute.
Drop your image here
PNG, JPG, SVG, PDF or AI · stays on your device
Not sure what to expect? See real examples or how it works.
How do you design a patch for a hat?
Keep it bold: one icon, one or two short words, two to five colors and text at least 5 mm tall, because the patch is only 2–3 in across. Detail that works on a 4 in jacket patch disappears on a cap.
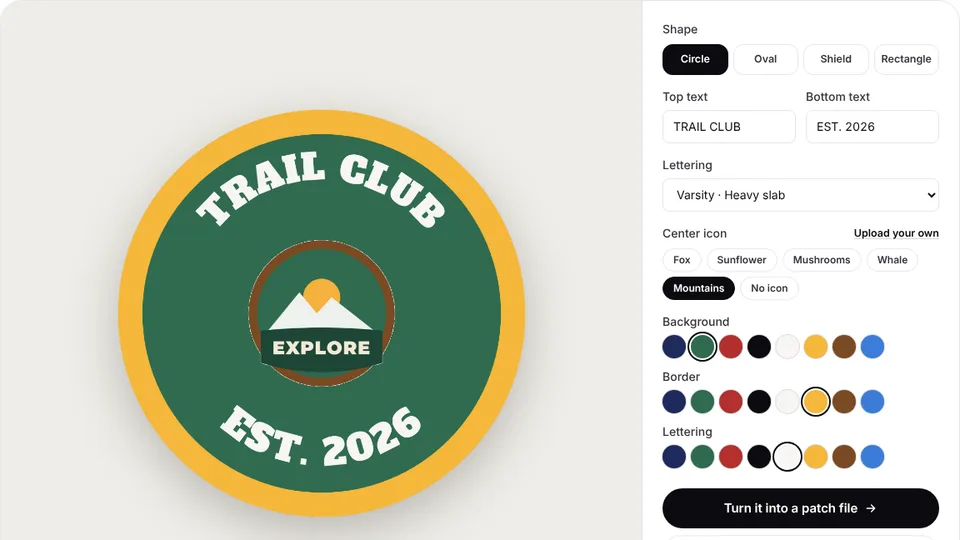
- Start in the patch designer. The embroidery patch designer builds a circle, oval, shield or rectangle patch with a border, top and bottom text in 12 lettering fonts, and an icon from the free designs or your own upload. Text arches around circles and ovals and runs straight on shields and rectangles. Save a PNG or send it straight to the digitizer.
- Or bring your own artwork. Put a filled background shape behind the design and an outline ring about 3–4 mm wide at the final size for the satin border. The patch embroidery file page turns that artwork into a stitch file.
- Contrast with the hat, not just within the patch. A cream patch with a navy border reads on a navy or khaki hat; a black patch disappears on a black hat unless the border is a bright color.
- Check it at size. The embroidery image checker has a 3 in patch setting that flags details too fine to sew, and the mockup generator shows a design on a cap.
Vintage-style outdoor patches, town names, small business marks and simple illustrations sell well on hats. Only stitch logos and characters you own or have permission to use; embroidery design copyright explains the rules.
How do you make the embroidered patch?
Digitize the patch at its final size, stitch it on twill or felt over firm stabilizer, cut close to the satin border and seal the edge. A hat patch is made exactly like any other embroidered patch, just small.
- Digitize the design at the final size in the digitizer with the woven fabric preset. Check the preview: every part of the patch should be covered by stitches, with the border around the outside.
- Hoop polyester or cotton twill, or felt, with a firm cut-away or heavy tear-away. Use a fabric color close to the patch background, so a slightly short fill doesn't show.
- To make several at once, fill the hoop with copies using the hoop layout tool. With 8 mm gaps, 4 copies of a 3 × 2 in patch fit a 5 × 7 in hoop and 10 fit an 8 × 12 in hoop, sewn color by color.
- Stitch, unhoop and cut close around the border without nicking the satin. Seal polyester twill with a hot knife and cotton twill with seam sealant; felt needs nothing.
- For heat pressing, fuse a heat-seal adhesive sheet to the back and trim it to the patch shape.
A fully filled 3 × 2 in patch comes to roughly 4,000–5,000 stitches, about 6–7 minutes of sewing at 700 stitches a minute. For dad hats, a lighter fill and a thinner backing keep the patch flexible enough to follow the soft front.
What's the best way to attach a patch to a hat?
Sewing the patch on lasts longest. A heat-seal backing pressed with a hat press is faster and holds well on structured caps, while iron-on and glue are the least durable. Many shops do both: press the patch to hold it in place, then sew around the edge.
| Method | How | How well it holds | Best for |
|---|---|---|---|
| Sewn by hand | Strong polyester thread and a sturdy needle, with small stitches just inside the satin border, through the front panel | Best | Dad hats, one-offs and any hat |
| Sewn with the embroidery machine | The cap on a cap frame, or an unstructured cap hooped flat, with a running or triple-run tack-down line just inside the patch edge | Best, with a neat factory look | Shops with a cap frame |
| Heat-seal and hat press | A heat-seal backing pressed with a hat press or a heat press with a cap platen | Good on structured caps; can lift on soft fronts, foam and sweaty, often-washed hats | Hat bars and batches |
| Household iron | The same backing, with a rolled towel or tailor's ham inside the cap, firm pressure and no steam | Fair; even heat is hard on a curve | A single hat |
| Fabric glue or peel-and-stick | Adhesive on the back | Weakest | Samples and one-day events |
| Hook and loop | Hook side on the patch, loop panel on the cap | Swappable | Tactical caps that have a loop panel |
Press settings depend on the backing and the press, so start with the backing maker's numbers. Vendor guides for dual-platen hat presses use about 275–290°F on top and 315–325°F below for 15–20 seconds at medium pressure, while top-heat-only presses need longer, up to about 45–60 seconds. Hold the patch with heat tape, cover it with a Teflon sheet or foam pad, and let the hat cool before you peel the tape. For a household iron, one patch maker gives the hottest setting, firm pressure and 20–25 seconds with no steam.
For a machine tack-down, the embroidery frame maker makes a running or triple-run circle, oval or rounded square, set to any width and height. Make it about 4–6 mm smaller than the patch so the line lands just inside the border.
Press a spare hat of the same style first. Synthetic and foam fronts can shine, shrink or flatten under heat, and one test shows the right time and pressure before you press a whole order.
How do you price and sell patch hats?
Price a patch hat from the blank, the patch, your time and any fees, plus a margin. Custom hats commonly sell for about $15–$35 each in small orders, and hat bar suppliers suggest about $35–$45 for a hat with two or three patches.
| Cost per hat | Typical amount | Notes |
|---|---|---|
| Blank trucker | About $7–$10 | A Richardson 112 in small quantities; less by the case from a distributor |
| Patch materials | About $0.50–$1 | Twill, stabilizer, thread and heat-seal backing |
| Sewing the patch | About 6–7 minutes of machine time | Gang hooping saves hooping and thread changes, not stitching |
| Cutting, sealing and backing | A few minutes | Faster in a batch with a hot knife |
| Attaching | About a minute in a press, plus taping and cooling; longer by hand | Add stitching for hats that get heavy wear |
| Etsy fees, if you sell there | Roughly 10% of the sale | In the US: $0.20 a listing, 6.5% of the order and 3% + $0.25 for payment processing |
A worked order: 24 patch hats for a brewery at $25 each bring in $600. With $8 hats and $0.75 of patch materials, about $390 is left before your time, which is roughly 4–5 hours of sewing, cutting and pressing.
- Hat bars at events. Guests pick a blank and two or three patches and you press them on the spot, at bachelorette parties, birthdays, markets, brand pop-ups and corporate events. Make the patches ahead in batches.
- Local businesses. Breweries, coffee shops, outdoor stores and trades order 24–48 hats with their patch, and reorder for merch.
- Etsy and your own shop. Town names, outdoor designs and custom name or initial patches; selling embroidery on Etsy covers listings and pricing.
- Patches on their own, for customers who want to add them to their own hats and jackets.
The hat price chart shows what direct cap embroidery costs at 1 to 250 pieces, a useful comparison when a customer can't decide between a patch and stitching into the cap. The pricing calculator works out your own price from stitches, blanks and quantity, and starting a custom hat business covers machines and customers.
Practice on a free design
167 ready-to-sew designs in every machine format, free with an account.

Making patch hat files with Embrizo
Embrizo turns a patch design into a stitch file for your machine, ready to sew flat in an ordinary hoop: design it in the patch designer or upload your own artwork, then download the format your machine reads.
- Patch artwork to stitches. The digitizer fills the background in tatami, sews narrow borders and lettering in satin, and adds underlay, pull compensation and lock stitches. Set the width to the patch size before you download.
- Formats for any machine: DST, PES, JEF, EXP, VP3, XXX, PEC, U01 and TBF.
- Batches and tack-downs. The hoop layout tool repeats one patch across a hoop, and the frame maker makes the tack-down outline for machine-sewing patches onto caps.
- Stitching into the cap instead. For a logo sewn straight onto the hat, start from hat logo embroidery file, which sizes the design for a cap front.
What it doesn't do: it doesn't make merrowed edges, which need a merrow machine after cutting, and it doesn't add the heat-seal backing, so you finish the patch by hand. Digitizing and previews are free with an account; downloading files needs a plan. The free design library has motifs to practice patches with.


