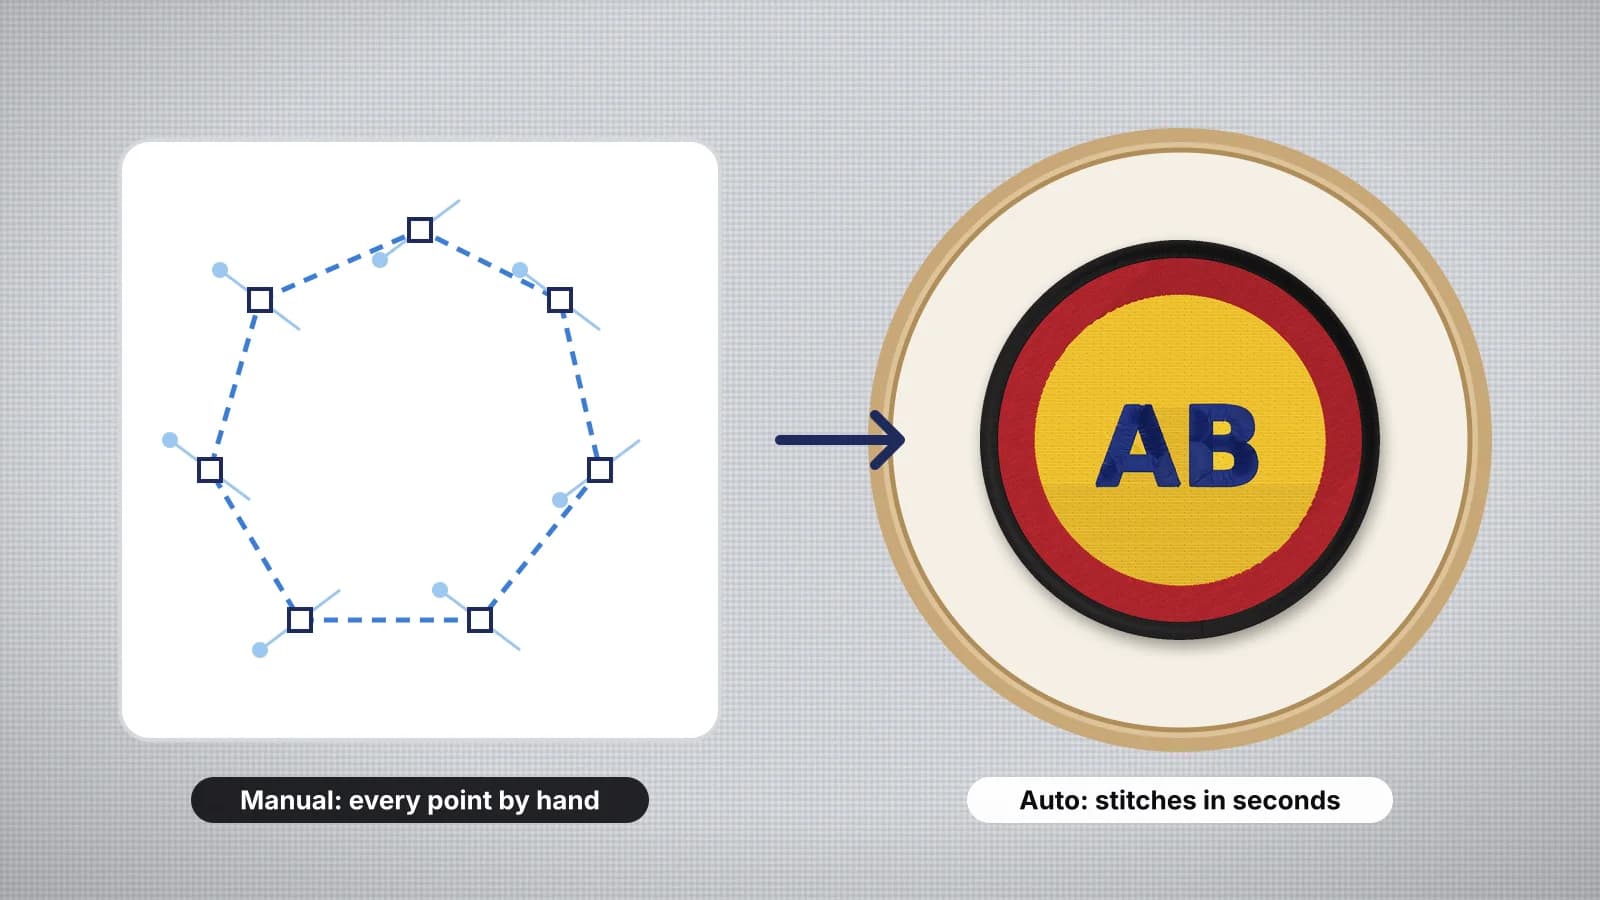
Every embroidery file starts as artwork, and something has to decide where each stitch goes. That job is called digitizing, and there are two ways to do it: let software work it out from the image, or build the design yourself, shape by shape, in digitizing software.
Both produce the same kind of machine file. The difference is in how long it takes, what it costs and how much control you have over each object. This guide compares them honestly and shows where each one earns its place. For a ranked list of auto-digitizers, see the best AI embroidery digitizer guide.
What auto-digitizing and manual digitizing are
Auto-digitizing reads an image's colors and shapes and plans the stitches for you: which shapes become satin, which become fill, the angles, the underlay and the sewing order. Manual digitizing, or hand digitizing, has a person draw each stitch object over the artwork, a satin column here, a fill area there, and set its angle, density, underlay, compensation and entry and exit points.
| Compared | Auto-digitizing | Manual digitizing |
|---|---|---|
| Starting point | An image: PNG, JPG, WebP or SVG | The same artwork, used as a backdrop to draw over |
| Who plans the stitches | The software, from the shapes and colors it finds | A person, object by object |
| Time for a typical logo | Seconds, plus a few minutes of checks | Often from tens of minutes to several hours, depending on the detail and the digitizer |
| Skill needed | Knowing what good artwork and a good sew-out look like | Training and practice in stitch types, angles, underlay and sequencing |
| Control | Settings: colors, stitch type per color, size, density, underlay | Every object, angle, entry and exit point |
| Where it's done | AI digitizers such as Embrizo, and the auto tools in desktop suites | Desktop digitizing software, or a digitizing service |
The auto-digitizing entry sums up the term, and how to digitize a logo walks through the decisions either way involves.
Quality: where each one wins
| Design | Auto-digitizing | Manual digitizing |
|---|---|---|
| A logo with bold shapes and 2–6 colors | A strong fit: fast and clean | Works, but slower |
| Lettering 5 mm tall or more | A good fit | A good fit |
| Lettering under about 5 mm, especially on caps | Often needs enlarging or simplifying | Better: each letter can be tuned by hand |
| Patches, badges, clip art and cartoons | A good fit | A good fit |
| Photo-realistic portraits with blended shades | Simplified to flat colors, a bold poster look | Better: thread painting with blended layers |
| 3D puff, sequins and free-standing lace | Not a fit: they need stops and custom underlay planned by hand | The way to do it |
| Appliqué shapes and letters | Embrizo's appliqué maker builds the placement, tack-down and cover steps | The way to do it inside complex designs |
The biggest quality gap usually isn't the shapes. It's the structure underneath: underlay, pull compensation, stitch angles and sewing order. A basic auto-digitizer traces the outline and fills it; a good one plans that structure for the fabric. That's why two automatic files made from the same logo can sew very differently, and why a hand-digitized file is only as good as the person who made it.
Try it with your own design
Sign up free, upload an image and get a stitch preview in under a minute.
Drop your image here
PNG, JPG, SVG, PDF or AI · stays on your device
Not sure what to expect? See real examples or how it works.
Speed and cost
- Auto-digitizing gives you a file in seconds, and you can change the size, colors or fabric and get a new version straight away. Costs range from a free account and a plan for downloads with an online digitizer to the auto-digitizing levels of desktop software; the comparison pages list current prices.
- Hand digitizing it yourself costs the software plus the time to learn it. Full manual tools usually sit in the upper levels of desktop programs, such as Hatch's Digitizer level, Wilcom EmbroideryStudio or Embrilliance StitchArtist.
- A digitizing service charges per design and usually takes one to a few business days, and changes often mean another request. Embroidery digitizing cost explains what drives the fees.
Size changes show the difference most. A stitch file shouldn't be scaled more than about 10–20% (see how to resize embroidery designs), so a left chest logo and a jacket back are really two digitizing jobs. Auto-digitizing makes each new size from the artwork in seconds; by hand or through a service, each one takes more time or another fee.
What Embrizo's auto-digitizer plans for you
The Embrizo digitizer runs in your browser and makes the decisions a hand digitizer would otherwise make:
- Colors become threads. The image is reduced to the number of colors you choose, each matched to a Brother or Janome thread or kept as the exact color.
- Each shape gets a stitch type. Narrow shapes up to about 6.5 mm wide become satin, wider areas get tatami fill, and very fine lines become running or bean stitch.
- Fabric presets set the structure. Woven, Knit, Stretch, fleece and towel, and leather and vinyl each set the density, underlay and pull compensation for how that fabric moves. Woven adds 0.2 mm of pull compensation per side with standard underlay; Knit and Stretch add 0.3 and 0.35 mm with heavy underlay.
- Overlap and order. Lower colors run 0.3 mm under the ones on top so a small shift doesn't open a gap, small details sit on top of the fill beneath them, and the sewing order keeps trims down.
- Checks before you sew. A realistic stitch preview, a sew-out you can play color by color, the stitch count, colors, trims and sew time, and a design check that flags fine detail, very small sizes and high stitch counts.
You adjust settings rather than single stitches: the size, colors, stitch type of any color, fill and satin density, underlay level, pull compensation and fill angle, plus rotation and mirroring. Every change recalculates the stitches. Digitizing and previewing are free with an account; downloading the file needs a plan.
When hand digitizing is still worth it
- Thread painting. Portraits and wildlife with blended shades need layered, hand-angled stitches. Auto-digitizing turns a photo into a few flat colors instead; see how to turn a photo into embroidery.
- Specialty techniques. 3D puff, appliqué, free-standing lace and in-the-hoop projects need stops, placement lines and custom underlay planned by hand.
- Tiny lettering on caps. Text under about 5 mm tall on a structured cap benefits from letter-by-letter tuning; the small text guide has the minimum sizes.
- Brand-critical logos. When a logo will be stitched thousands of times, a skilled digitizer's judgment on every object can be worth the fee.
- Production tuning. Shops sewing one design on hundreds of caps sometimes hand-tune the sewing order and trims to save time on every piece.
Hand digitizing takes time to learn well. If you need files a few times a month, it's usually quicker to auto-digitize most jobs and send the occasional specialty design to a service.
How to choose for each job
| If the job is | Use |
|---|---|
| A customer logo, team crest or business name for apparel | Auto-digitize, check the preview and test-stitch |
| A drawing, clip art or AI illustration with flat colors | Auto-digitize |
| The same logo at several sizes | Auto-digitize each size from the artwork |
| A photo you want to look like a photo | A hand digitizer for thread painting, or accept a bold, simplified look |
| 3D puff, appliqué, lace or in-the-hoop | Hand digitizing or a digitizing service |
| Lettering under about 5 mm on caps | Enlarge it, or have it hand-tuned |
Many shops use both: auto-digitize most work the same day and send the few specialty jobs out. The digitizing service comparison sets the options side by side, and the embroidery digitizing software page shows what Embrizo's editor covers.
Practice on a free design
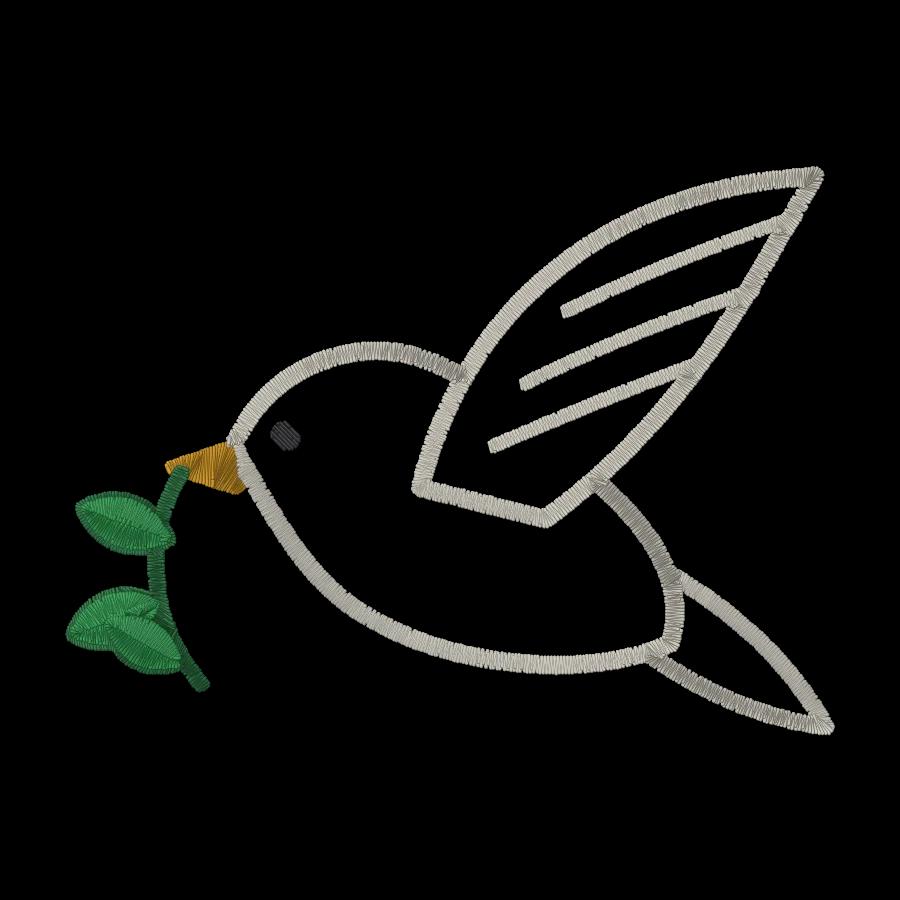
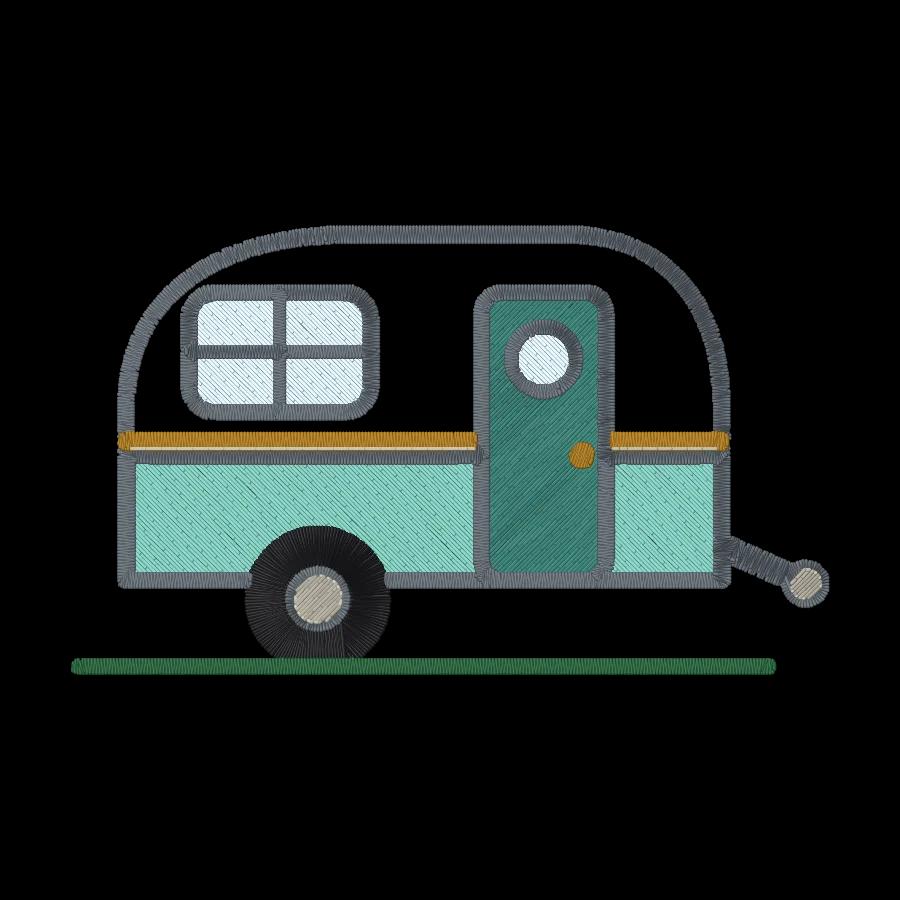
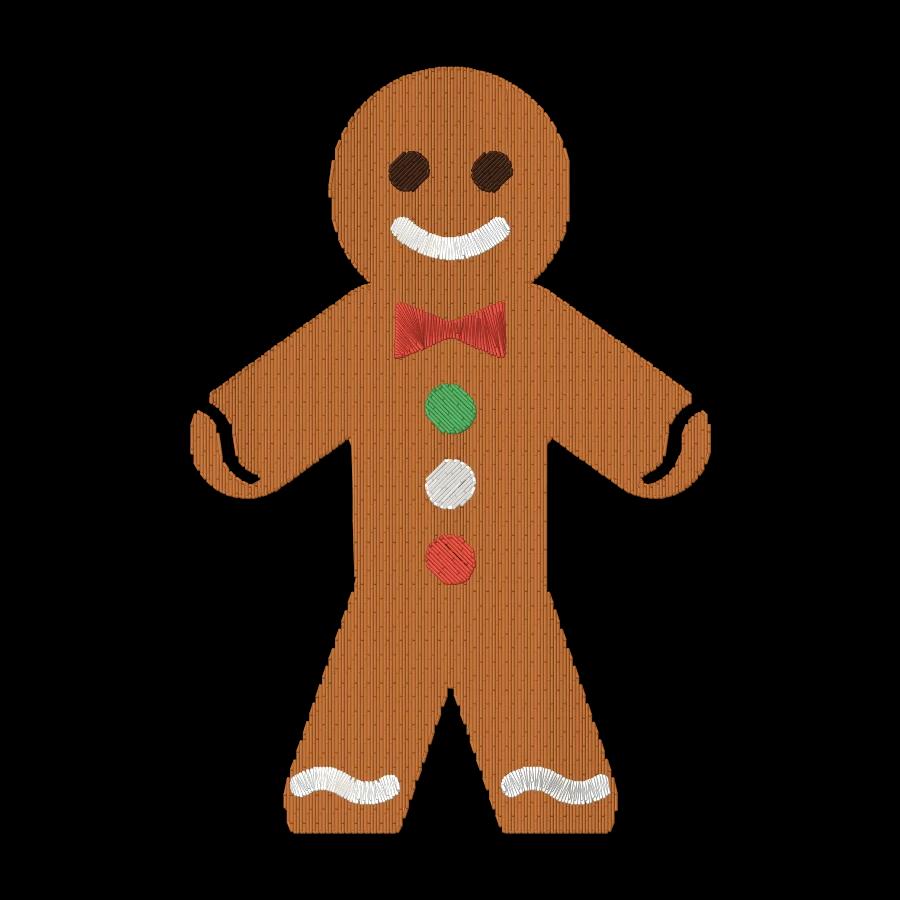
167 ready-to-sew designs in every machine format, free with an account.

Check the file, however it was made
- Preview it at the final size, on the fabric color you'll use.
- Open it in the embroidery file checker for density, long and tiny stitches, and trims.
- Play it in the sew-out simulator to see the sewing order and spot stray jumps.
- Test-stitch on scrap of the same fabric, with the same stabilizer.
- Fix what you see: more pull compensation if outlines miss their fills, a lighter density if it's stiff, a bigger size if detail is lost.


