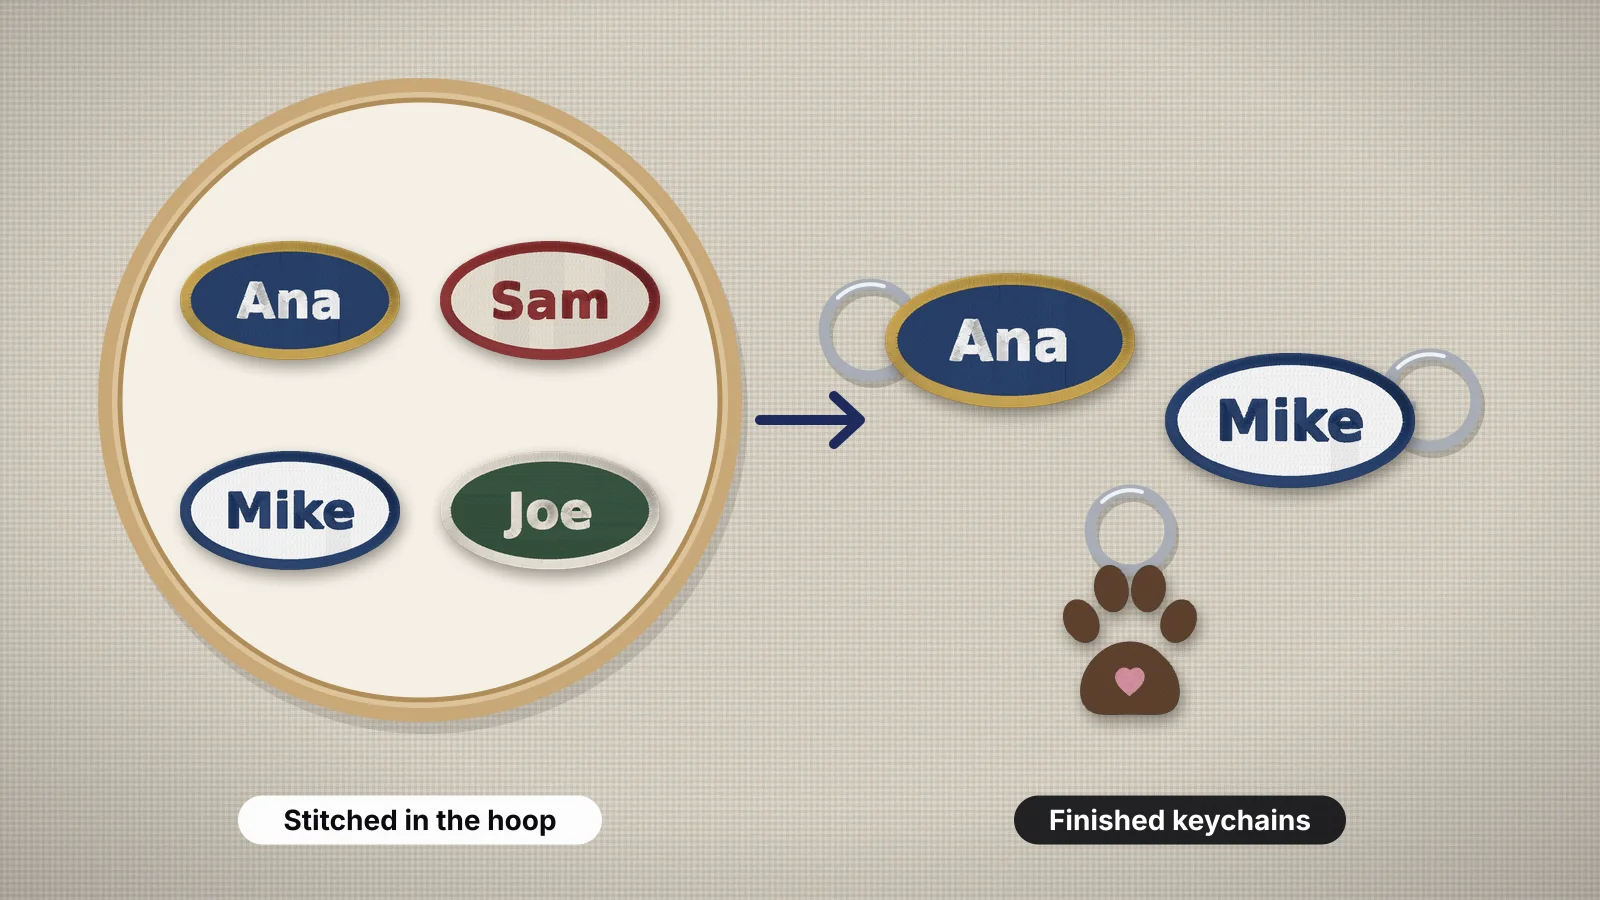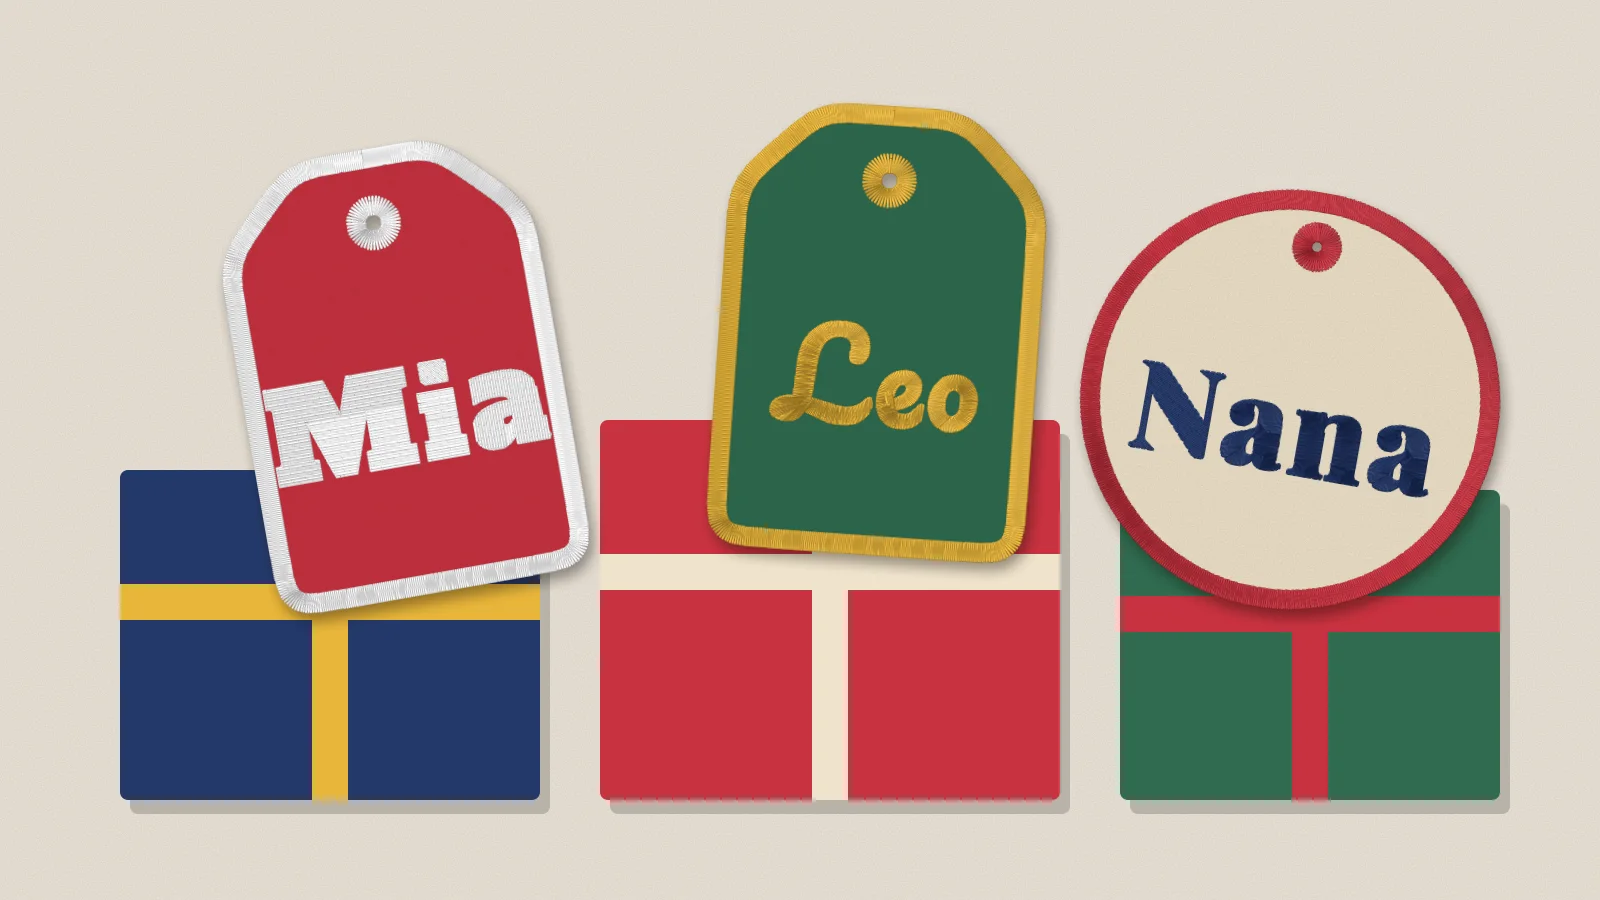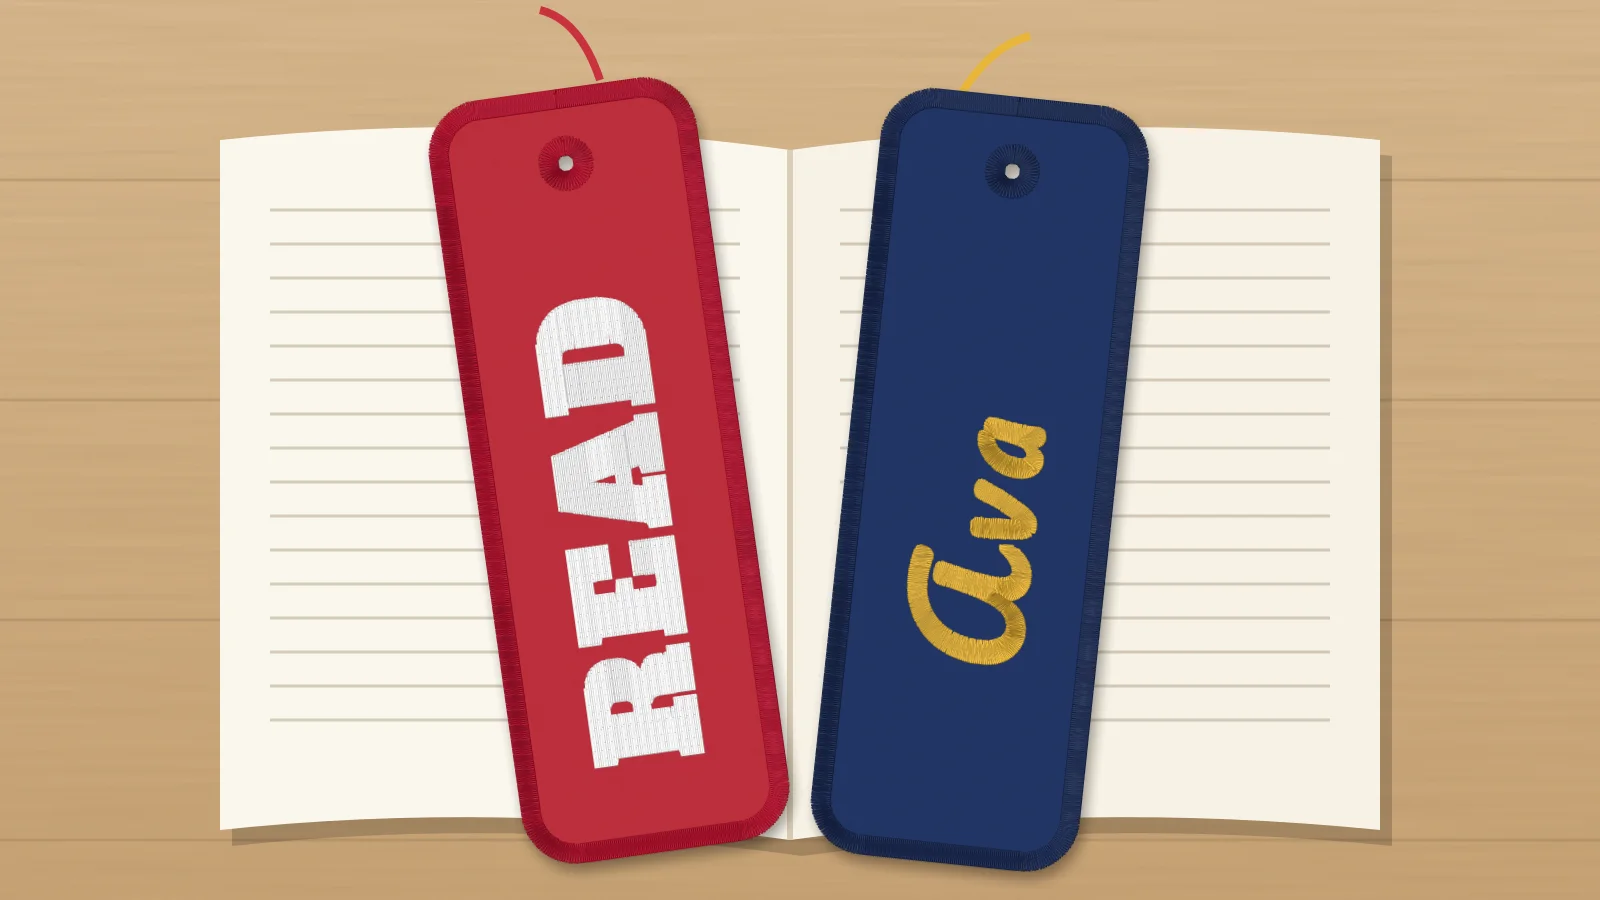
 Free previewIn-the-hoop key fob makerMake an in-the-hoop key fob, bookmark, gift tag or ornament with a name: placement line, tack-down, name and satin border in one file.Open the tool
An in-the-hoop (ITH) bookmark is made entirely by the embroidery machine: no sewing machine, no turning, no hand finishing beyond trimming and a tassel. It takes about 20 minutes, uses scraps of felt or vinyl, and makes a personal gift for readers, teachers and book clubs.
This guide walks through materials and each step. The in-the-hoop maker builds the whole bookmark file with a name running up its length: placement line, tack-down, lettering and satin border, ready for your machine.
What you need
| Item | What to use | Notes |
|---|---|---|
| Hoop | 5×7 in (130 × 180 mm) or larger | A 2 × 6 in bookmark is too long for a 4×4 |
| Stabilizer | Medium tear-away | Cut-away if you use a soft cotton front |
| Front and back | Felt, cork, marine vinyl or faux leather | About 2.5 × 6.5 in each, a little bigger than the outline |
| Needle | 75/11 sharp | A fresh needle for vinyl and cork |
| Thread | Top and bobbin in the border color | The back shows, so the bobbin should match |
| Finishing | Tape, curved scissors, hole punch, tassel or ribbon |
How to stitch an in-the-hoop bookmark
- Placement line: hoop the stabilizer drum tight and stitch the outline.
- Tack-down: lay the front fabric over the outline, right side up, and stitch it down. Take the hoop off (don't unhoop) and trim the fabric close to the stitching.
- Name: stitch the lettering through the front fabric.
- Back and border: tape the back piece to the underside of the hoop, covering the whole outline, and stitch the satin border through both layers.
- Finish: tear the stabilizer away, trim close to the satin without cutting it, punch the hole above the name and loop a tassel or ribbon through.
On felt and cork, trim with small curved scissors held at a slight angle, so the cut edge tucks under the satin. Vinyl doesn't fray, so a close trim is all it needs.
Try it with your own design
Sign up free, upload an image and get a stitch preview in under a minute.
Drop your image here
PNG, JPG, SVG, PDF or AI · stays on your device
Not sure what to expect? See real examples or how it works.
How big should the name be?
Run the name up the length of the bookmark, reading from the bottom, so it can be big: capitals about 15–25 mm tall on a 2 in wide bookmark. Short names come out larger; long phrases like Happy Reading fit at about 12–15 mm. Bold lettering (varsity, block, slab) holds up best on felt and cork, whose texture swallows thin strokes. The maker fits the name automatically and keeps it clear of the hole and the border.
Mistakes to avoid
- Hooping the felt: hoop only the stabilizer; hooped felt stretches and puckers.
- Skipping the trim: fabric left outside the tack-down peeks out from under the satin border.
- A back piece that's too small: cut it at least 1 cm (⅜ in) bigger than the outline on every side.
- A mismatched bobbin: the border shows on both sides, so wind a bobbin in the border color.
- Cutting the hole too big: punch inside the satin ring, about 3 mm, so the satin holds the layers together.
Practice on a free design
167 ready-to-sew designs in every machine format, free with an account.




Bookmark ideas for gifts and sales
- Teacher gifts: the teacher's name, or Thank you, in a script.
- Book clubs: the club name in matching colors for every member.
- Kids: their name in bright felt, with a tassel in their favorite color.
- Christmas stocking stuffers: a stack of bookmarks takes an evening for a whole family.
- Markets: a basket of names in popular colors, made to order while people browse.
More in-the-hoop projects: key fobs and keychains, gift tags and in-the-hoop embroidery in general. For your own artwork on a bookmark, digitize an image and stitch it in place of the name.