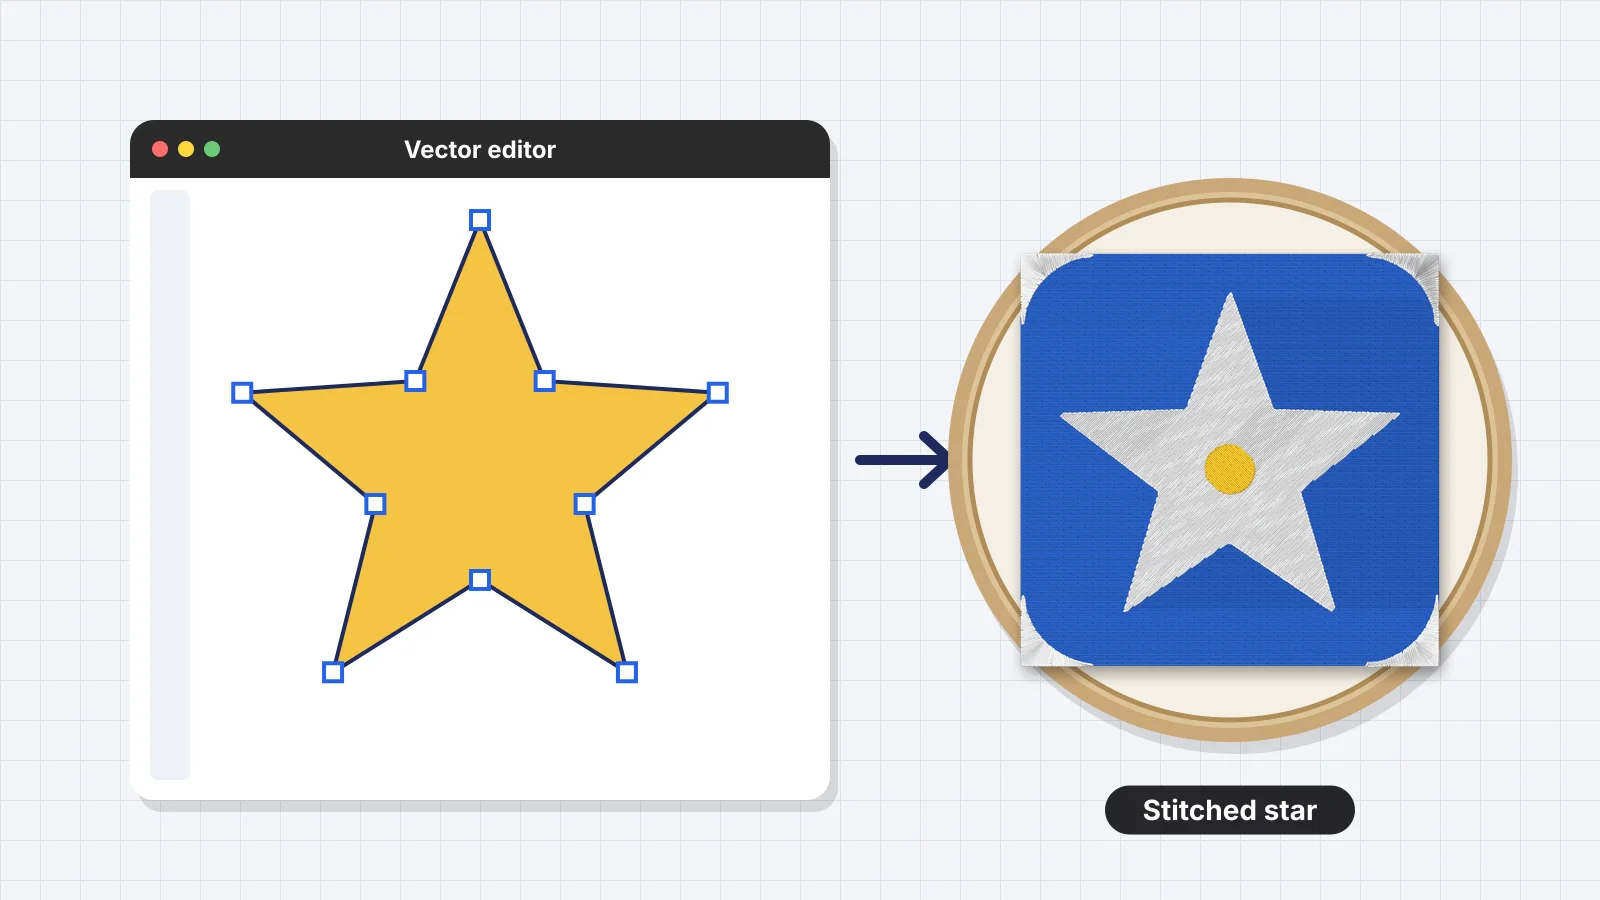
 Free toolPNG to SVG converterTrace a PNG or JPG logo into a clean color SVG with smooth curves and a transparent background.Open the tool
Ink/Stitch is a free, open-source extension for the Inkscape vector editor that turns vector paths into machine embroidery. It runs on Windows, macOS 12 and later, and Linux, has no watermarks or design limits, and writes PES, DST, JEF, EXP, VP3 and many other formats. It's a manual digitizer: you decide which path becomes which kind of stitch and set its parameters, which gives you a lot of control and a real learning curve.
This tutorial takes a first design from install to saved file, and covers the mistakes almost every beginner makes. Menu names move a little between releases, so if an item isn't exactly where described, look under Extensions > Ink/Stitch. If you'd rather have an image turned into stitches automatically, the last section covers that route with Embrizo's digitizer.
What Ink/Stitch is and what you need
Inkscape is the drawing program; Ink/Stitch reads each object's fill and stroke and turns it into stitches. It works from vectors, not pictures: a PNG or JPG has to be traced into paths first, and every path then needs a stitch type and settings.
| What you need | Notes |
|---|---|
| Inkscape 1.x | The free vector editor Ink/Stitch runs inside. Install it first, and check which Inkscape versions your Ink/Stitch release supports |
| The Ink/Stitch extension | From inkstitch.org, in the build for your operating system |
| A desktop computer | Windows, macOS 12 or later, or Linux. It doesn't run on an iPad, a phone or in a browser |
| Vector artwork | An SVG, or shapes you draw in Inkscape. Pictures are traced with Path > Trace Bitmap and cleaned up |
| A mouse | Drawing satin rails and editing nodes is fiddly on a trackpad |
Installing Ink/Stitch
- Install Inkscape from inkscape.org and open it once, so it creates its settings folders.
- Get the Ink/Stitch release for your system from the install page on inkstitch.org.
- Run the installer for your system (the .pkg on a Mac, where you may need to allow it under System Settings > Privacy & Security), or on Linux install the package or unpack it into Inkscape's extensions folder as the install page describes.
- Restart Inkscape. Ink/Stitch now appears under Extensions > Ink/Stitch.
- In File > Document Properties, set the units to millimeters and the page to your hoop's sewing field, such as 100 × 100 mm for a 4 × 4 in hoop, so you can see what fits.
Ink/Stitch sews at the size you draw. A shape 90 mm wide in Inkscape comes out 90 mm wide on the machine, so set the units to millimeters before you start and check widths in the toolbar, not by eye. The hoop sizes page lists the real sewing fields.
Try it with your own design
Sign up free, upload an image and get a stitch preview in under a minute.
Drop your image here
PNG, JPG, SVG, PDF or AI · stays on your device
Not sure what to expect? See real examples or how it works.
Preparing artwork as vector paths
Ink/Stitch stitches exactly what's in the SVG. Every closed shape with a fill becomes a fill area, and every stroke becomes a line of stitches. A shape with both a fill and a stroke gets both, which is a common surprise in traced artwork. Clean, simple paths make clean stitches.
- Turn text into paths. Select the text and use Path > Object to Path, or use Ink/Stitch's own Lettering tool (Extensions > Ink/Stitch > Lettering), whose fonts are already set up as stitches.
- Trace pictures carefully. Path > Trace Bitmap with multiple scans by color makes one shape per color. Delete the background shape and specks, and smooth jagged edges with Path > Simplify. Embrizo's PNG to SVG converter traces a flat-color image into clean layers for Inkscape.
- Remove strokes you don't want. Traced shapes often carry a thin stroke; set it to none in Object > Fill and Stroke unless you want an outline stitched.
- Cut out hidden overlaps. A lower shape sews in full even where an upper shape covers it. Cut a slightly shrunk copy of the upper shape out of the lower one with Path > Difference, so about 0.3–0.5 mm stays tucked under and no gap opens.
- Keep details stitchable. At the final size, keep satin lines at least 1 mm wide, gaps at least 1 mm and capital letters at least 5 mm tall.
- Put objects in sewing order. Ink/Stitch sews objects in stacking order, from the bottom of the Objects panel up: backgrounds and large fills first, outlines and details last, each color kept together.
The guide to preparing artwork for embroidery covers colors, sizes and cleanup in more depth.
Fill, satin and running stitch in the parameter dialog
Select one or more paths and open Extensions > Ink/Stitch > Params. The dialog shows a tab for each stitch type that object can take, with a live preview of the stitches. Change values, watch the preview and click Apply and Quit to store the settings on the path. Selecting several similar objects sets them all at once.
| In Inkscape | Becomes | Main settings | Sensible starting point |
|---|---|---|---|
| A closed shape with a fill color | Fill (tatami): rows of stitches across the shape | Angle, row spacing, maximum stitch length, underlay | Rows about 0.4 mm apart for 40 wt thread, stitches about 3–4 mm long, underlay on |
| A path with a stroke and no fill | Running stitch along the line | Stitch length, repeats (bean stitch) | Stitches about 2–2.5 mm long; triple (bean) stitch for bold lines on textured fabric |
| Two rails combined into one path, with optional rungs | A satin column zigzagging between the rails | Zigzag spacing, pull compensation, underlay types | Spacing about 0.4 mm, pull compensation 0.2–0.4 mm, width 1.5–7 mm |
A satin column confuses most beginners. It's one path made of two subpaths, called rails, along both edges of the column; the stitches zigzag between them. Rungs are short extra subpaths crossing both rails that set the stitch angle on curves and corners. Draw both edges, select them and use Path > Combine, or draw a centerline and use Extensions > Ink/Stitch > Satin Tools > Convert Line to Satin to build the rails at a set width.
- Draw both rails in the same direction, for example both from left to right. One reversed rail makes the satin twist.
- Make every rung cross both rails once, and add rungs at tight curves and corners so the stitches turn smoothly.
- Keep satin between about 1.5 mm and 7 mm wide. Narrower satin looks thin and broken; wider satin leaves long, loose stitches that snag. Use a fill for anything wider.
- Switch on underlay. Each satin underlay type is its own option: a center walk for narrow columns, a contour (edge) walk plus zigzag for wider ones. Fill underlay is set on the fill's own Underlay tab.
The glossary explains satin stitch and underlay in more detail.
Previewing the stitch plan and saving PES or DST
- Open the stitch plan preview (Extensions > Ink/Stitch > Visualize and Export > Stitch Plan Preview in recent versions). It draws the stitches on a new layer for checking angles, coverage and gaps; delete that layer before you edit again.
- Run the Simulator from the same submenu to watch the sewing order, long jumps and back-and-forth travel.
- Add trims, stops and start or end points from the Commands submenu, and check the tie-in and tie-off options in the parameters.
- Save the embroidery file with File > Save a Copy and choose the machine format from the file type list: PES for Brother and Baby Lock, DST for most commercial machines, JEF for Janome, EXP for BERNINA or VP3 for Husqvarna Viking and PFAFF. Keep the SVG as your editable original, since the machine file holds stitches, not paths.
- Open the saved file in a viewer, such as Embrizo's embroidery file viewer, to confirm the size, colors and stitch count, then test-sew on scrap.
The PES format page explains what a Brother file stores. A DST file holds no thread colors, so a commercial machine shows its own needle colors until you assign them.
Common beginner mistakes and how to fix them
| Problem | Usual cause | Fix |
|---|---|---|
| Satin stitches cross in an X or twist like a ribbon | One rail runs the opposite way to the other | Break the path apart (Path > Break Apart), reverse one rail with Path > Reverse and combine them again; newer versions can also reverse a rail from the parameters |
| A satin column is skipped or shows an error | The path doesn't have exactly two rails, or a rung crosses only one rail | Run Extensions > Ink/Stitch > Troubleshoot, which marks the problem on the canvas |
| The design is stiff and heavy | Fills stacked on top of each other | Cut lower shapes out under upper ones with Path > Difference, keeping a slight overlap |
| Gaps open between colors or along outlines | No overlap and no pull compensation | Leave 0.3–0.5 mm of overlap and add 0.2–0.4 mm of pull compensation |
| Puckering, or outlines that don't line up with fills | Missing underlay, or too little stabilizer | Turn on underlay for fills and satins and use a backing suited to the fabric |
| A fill sews oddly or not at all | A self-intersecting path or tiny fragments left by tracing | Simplify the path, delete specks and break apart shapes that overlap themselves |
| Lots of jumps and trims | Objects in a random order | Reorder them in the Objects panel and try the auto-route tools for running stitch and satin |
| The design is the wrong size on the machine | Units were pixels, or the artwork was scaled after setup | Set the document to millimeters and check the width before saving |
How long a logo takes by hand
The time goes into cleaning paths, building satin columns, ordering objects and fixing what the first sew-out shows. Rough figures:
| Design | First attempts | With practice |
|---|---|---|
| Simple 1–2 color icon or monogram, 75 mm (3 in) | 1–2 hours | 15–30 minutes |
| Left chest logo with 3 colors and a line of text, 90 mm (3.5 in) | 3–6 hours | 45–90 minutes |
| Detailed illustration with 6 or more colors, 150 mm (6 in) | A weekend | 3–5 hours |
Add 20–40 minutes for each test sew-out and round of fixes, and most first designs need two or three. That's the real cost of free software: nothing to pay, and a lot of evenings to master it. If you just need a file, there's a faster route.
Practice on a free design
167 ready-to-sew designs in every machine format, free with an account.

The faster route: auto-digitize the image in Embrizo
For a logo, drawing or picture you need as a machine file, Embrizo's digitizer is the quickest route. It runs in any modern browser, including on a Chromebook or iPad, and turns a PNG, JPG, WebP or SVG into stitches in seconds, choosing satin, fill or running stitch for each shape and adding underlay, pull compensation and tie-ins and tie-offs.
- Upload the image. A design already drawn in Inkscape works too, saved as a plain SVG with flat fills; the Inkscape to embroidery file page has export tips.
- Set the size or fit it to a hoop, choose a fabric preset and adjust colors, density (0.4 mm by default), underlay or stitch type per color if needed.
- Check the stitch preview, the sew-out simulation and the stitch count, then save PES, DST, JEF, EXP, VP3, XXX or another format. Saving machine files needs a plan.
| Ink/Stitch | Embrizo | |
|---|---|---|
| Price | Free and open source (GPL-3.0) | A free account digitizes and previews; saving machine files needs a plan |
| Runs on | Windows, macOS 12+ and Linux, inside Inkscape | Any modern browser, including Chromebooks, iPads and phones |
| Starts from | Vector paths; pictures are traced first | A PNG, JPG, WebP or SVG image |
| Who plans the stitches | You, path by path | The software, with settings you can change |
| Control | Every object and stitch setting | Size, density, underlay, angle and stitch type per color |
| Time for a typical logo | Hours while learning | Seconds to digitize, a few minutes to adjust |
Plenty of people use both: Embrizo for everyday logos and drawings, and Ink/Stitch when they want to shape every stitch by hand. The Ink/Stitch alternative page compares them in more detail, and auto-digitizing vs manual digitizing explains when each approach wins.


