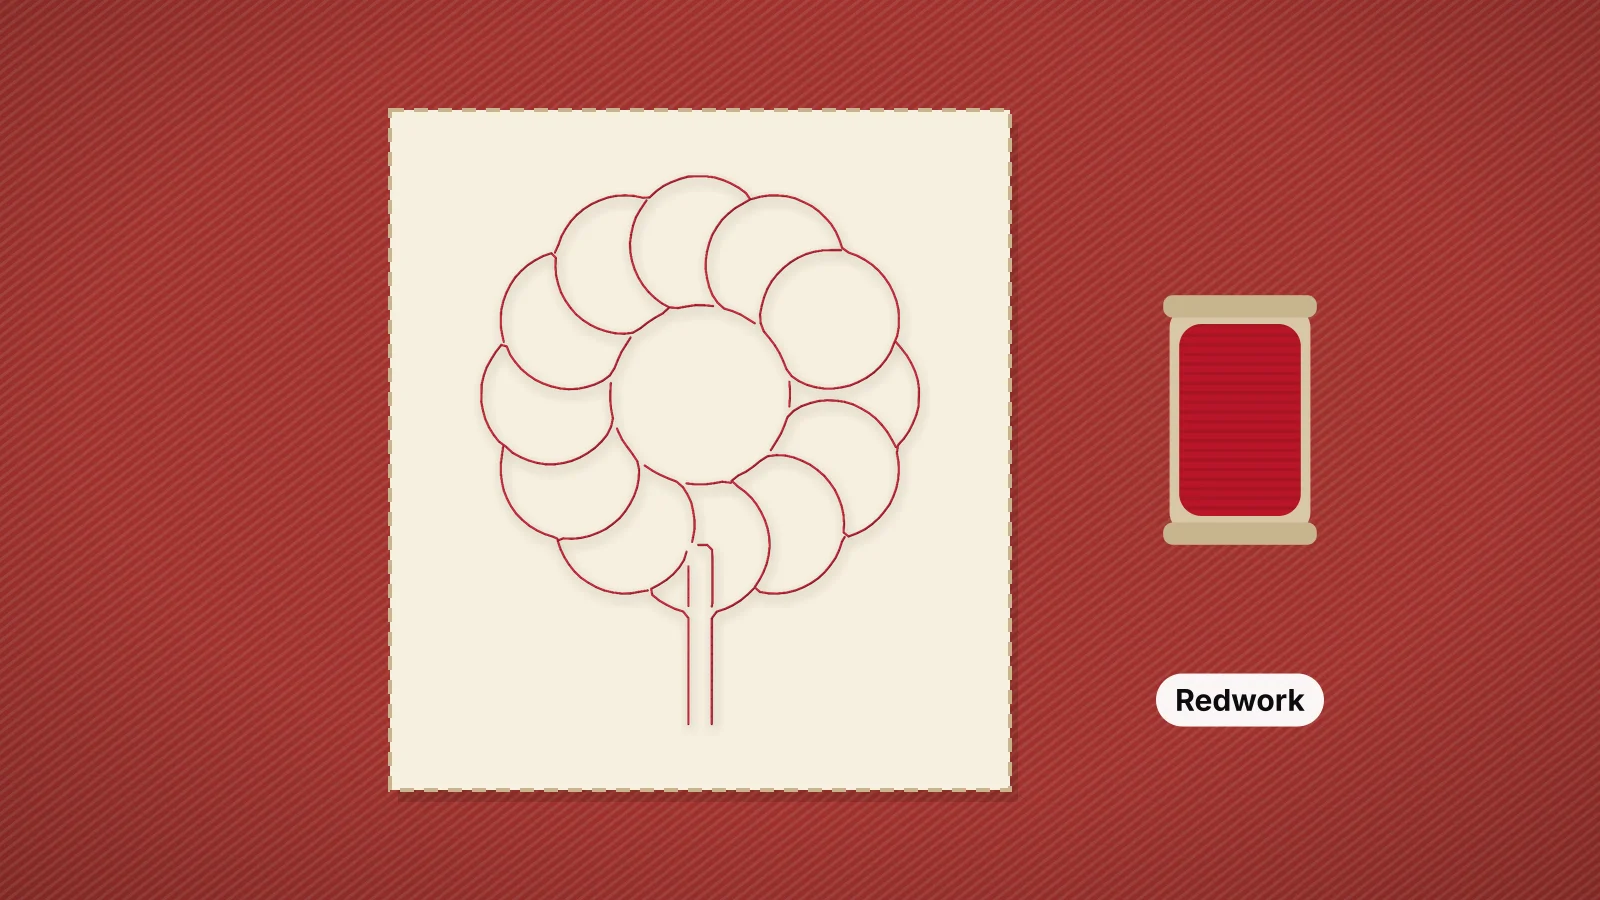
 Free previewPhoto to line art embroideryTurn a pet, house or portrait photo into a one-color outline embroidery file in triple-run or running stitch.Open the tool
Redwork is one of the simplest-looking kinds of embroidery: a line drawing stitched in a single red thread on white or cream fabric, with no fills and no shading. That simplicity is the appeal. A redwork quilt block, tea towel or Christmas pillow reads clearly from across the room, and the style has a homemade, vintage look that suits gifts and heirlooms.
This guide covers what redwork is and where it comes from, how to stitch it on an embroidery machine with running and bean stitch, which designs suit it, thread, fabric and sizing, and how to make your own redwork files from a photo or drawing. If your redwork will end up in a quilt, the quilt block guide covers sizing and piecing in more detail.
What redwork is
Redwork is outline embroidery in one color. The design is made only of lines: the outline of a bird, a teacup, a child with a kite or a sprig of holly, plus a few inner lines for details such as feathers or folds. Nothing is filled in, so the fabric shows through and does half the work.
The style became popular in the United States and Britain in the late 1800s and early 1900s. Its red came from cotton floss dyed with Turkey red, a dye known for holding its color through washing when many other dyes ran. Pre-printed muslin squares, often called penny squares, were sold cheaply for stitching, and finished squares were often sewn together into quilts. The same outline style in blue thread is called bluework.
| Style | What it is | Typical look |
|---|---|---|
| Redwork | Outline embroidery in one red thread | Red line drawings on white, cream or natural cotton |
| Bluework | The same outline style in blue | Navy or mid-blue lines on white |
| One-color line art | Any outline design in a single color | Black, brown or any thread; a modern take on redwork |
| Blackwork | A different technique: geometric patterns counted on even-weave fabric | Black thread, often filling shapes with small repeating patterns |
Machine redwork: running stitch and bean stitch
By hand, redwork is usually worked in stem stitch or backstitch, which give a solid, slightly raised line. On an embroidery machine, the same lines are sewn with a few simple line stitches:
| Stitch | How it sews | Looks like | Use it for |
|---|---|---|---|
| Running stitch | One pass of single stitches along the line | A fine, light line, like a pencil sketch | Tiny details, background lines and travel between shapes |
| Bean stitch (triple stitch) | Each stitch is sewn forward, back and forward again, so three threads lie in every stitch | A bold, hand-stitched line close to stem stitch | The main outlines of most machine redwork |
| Narrow satin | A zigzag column about 1–2 mm wide | A smooth, raised cord | A heavier, modern look; not traditional redwork |
Bean stitch is the usual choice because it gives the weight of a hand-stitched line without the bulk of satin. Plain running stitch can look thin and broken on textured fabric, though it works well for small inner details.
- Stitch length. Around 2–3 mm suits most bean and running stitch lines. Tight curves and small details look smoother with shorter stitches, around 1.5–2 mm; long stitches cut corners on curves.
- One continuous path. A good redwork file sews as much as possible in one path, doubling back along lines it has already stitched instead of jumping. That cuts trims and jump stitches, which matter more in redwork because every stray thread shows against plain fabric.
- Watch doubled lines. A line sewn twice, once as an outline and once as a travel run back, looks heavier than its neighbors. In bean stitch that can mean six passes in one spot, so keep travel runs short or hidden under other lines.
Try it with your own design
Sign up free, upload an image and get a stitch preview in under a minute.
Drop your image here
PNG, JPG, SVG, PDF or AI · stays on your device
Not sure what to expect? See real examples or how it works.
Designs that suit redwork
Redwork works best with clear line drawings: one subject, a simple outline and only the inner lines that explain the shape.
- Quilt blocks. Sampler quilts with a different motif in each block, alphabet quilts, state birds and flowers, nursery rhymes and baby animals. A set of matching blocks in one red is the classic redwork quilt.
- Tea towels and kitchen linens. Days-of-the-week towels, teapots, fruit, herbs and kitchen sayings. Flour-sack towels take redwork beautifully; how to embroider towels covers backing for thicker towels.
- Christmas. Holly, stockings, ornaments, snowmen, candy canes, a reindeer or a simple tree. Red on white is already a holiday palette, so redwork suits pillow covers, table runners and tree skirts; the tree skirt guide covers a large project.
- Pillowcases, baby quilts and bibs. Light outline designs stay soft, which suits anything that touches skin.
- Signatures and handwriting. A recipe in a grandparent's hand, or signatures collected on a quilt; how to embroider handwriting covers turning a scan into lines.
- House and pet portraits. A photo traced into outlines makes a personal redwork block.
Skip designs that rely on shading or solid areas, such as a photo-realistic face or a dark silhouette. Redwork can only suggest shape with lines, so pick images that still read well as an outline drawing.
Thread, fabric and stabilizer
| Choice | Good options | Notes |
|---|---|---|
| Thread | 40 wt polyester or rayon embroidery thread | The standard machine weight. Polyester holds its color well in the wash; rayon has a softer sheen |
| Heavier thread | 30 wt cotton or another 30 wt thread | A thicker, matte line that looks closer to hand stitching; use a larger needle, such as a 90/14, and test first |
| Color | A true, clear red | Brick and orange-reds look different on cream than on white, so compare spools on your fabric. The red thread colors page lists the closest Brother and Janome threads |
| Fabric | White or cream muslin, quilting cotton, linen, flour-sack cotton | Smooth, tightly woven fabric shows fine lines best; pre-wash fabric for quilts |
| Stabilizer | Light tear-away for towels and firm cotton; no-show mesh or a light cut-away for blocks that must stay soft | Redwork is low density, so it needs less support than filled designs |
| Needle and bobbin | A 75/11 embroidery needle with white bobbin thread | White bobbin thread disappears on the back of white or cream fabric |
Polyester embroidery thread is generally colorfast. If you use cotton or an unfamiliar thread on a quilt that will be washed often, stitch a scrap and wash it with a white cloth first to check the red doesn't run. The thread guide compares fibers, and the thread weight guide explains needles for heavier threads.
Sizing redwork designs
Redwork has far fewer stitches than a filled design of the same size, so it sews quickly and stays soft. The limits come from the lines themselves:
- Line spacing. Lines closer than about 1.5–2 mm tend to merge into a blur, especially in bean stitch. If a design has fine detail, stitch it larger or simplify it.
- Small details. Features smaller than about 3 mm, such as tiny eyes or dots, lose their shape. Lettering in line stitches is easiest to read at about 8 mm tall or more.
- Resizing. Line designs scale more forgivingly than fills, but stitch lengths grow or shrink with them. Scale a stitch file by about 10–20% at most and remake it from the artwork for bigger changes; see how to resize embroidery designs.
| Project | Typical design size | Hoop |
|---|---|---|
| 6 in (15 cm) finished quilt block | Up to about 3.7 in (94 mm) | 4×4 in |
| 8 in (20 cm) finished quilt block | Up to about 4.9 in (124 mm) | 5×7 in |
| 10–12 in (25–30 cm) finished quilt block | About 6–7.6 in (154–194 mm) | 6×10 in or 8×8 in |
| Tea towel corner or center | About 4–7 in (100–180 mm) wide | 4×4 or 5×7 in |
| Pillowcase band | About 5–9 in (130–230 mm) wide | 5×7 or 6×10 in |
The hoop size calculator shows which hoops a design fits and how far to scale it if it doesn't.
Making redwork files from a photo or drawing
Redwork patterns are easy to find, but the most personal pieces start from your own pictures: a child's drawing, the family house, a pet. Embrizo's photo to line art embroidery tool turns a photo or drawing into clean outlines and makes them into a machine embroidery file.
- Choose a clear image. Photos with good light, one subject and a plain background trace best, so crop close to the subject. Drawings should have dark, unbroken lines.
- Open the photo to line art embroidery tool and add the image. It runs in your browser, finds the main lines and thins them to single centerlines.
- Pick the detail and clean-up. Bold, simple outlines suit small blocks and towels; finer detail needs a larger design.
- Choose triple run (bean stitch) for the classic bold redwork line, or running stitch for a finer, lighter one.
- Set the width in millimeters to fit your block or towel, using the sizing table above.
- Check the stitch preview. The thread color saved in the file only changes what the machine screen shows, so load red thread whatever the preview color.
- Save the file in your machine's format, such as PES for Brother or JEF for Janome, and test-stitch it on scrap.
Already have clean line art, such as a scanned drawing or a coloring-page outline? Add it to the digitizer instead: fine lines become running or bean stitch, and thicker strokes become narrow satin. For hand redwork, the photo to embroidery pattern tool makes a printable line pattern in red, ready to trace. Designing and previewing are free with an account; saving machine files needs a plan, from $8 a month billed yearly. Turning a drawing into embroidery has more on preparing artwork.
Redwork quilt block tips
- Stitch first, trim after. Cut each block bigger than the hoop, stitch it, then trim it to the cut size, centered on the design. The quilt block guide has cut sizes and hoop pairings.
- Mark the center and grain. A cross in water-soluble pen, lined up with the straight grain, keeps every block square and every motif upright.
- Keep the set consistent. The same line stitch, stitch length, thread and design size across all the blocks makes a quilt look planned rather than collected.
- Buy the thread at once. Get all the red for a quilt from the same thread line at the same time, so every block matches.
- Press from the back. Lay each block face down on a towel and press, so the stitches keep their texture.
- Quilt around the motifs. Outline or echo quilting a few millimeters outside the embroidery frames each motif; quilting straight across the lines flattens them.
- Sign it. Finish with an embroidered label; see how to embroider a quilt label.
Practice on a free design
167 ready-to-sew designs in every machine format, free with an account.

Fixing common redwork problems
| Problem | Likely cause | Fix |
|---|---|---|
| Lines look thin or broken | Single running stitch on textured fabric | Use bean stitch, or a heavier thread |
| Puckers along the lines | Fabric loose in the hoop, or too little stabilizer | Hoop the fabric taut with its stabilizer, and add a light cut-away on soft fabric |
| Lines don't meet where they should | Fabric shifting as it stitches | Firmer hooping and stabilizer; sew the design in fewer, connected paths |
| Lots of trims and loose ends | The file jumps between separate lines | Remake it so the lines connect, or trim jump threads close after stitching |
| White bobbin dots on top | Top tension too tight, or the bobbin threaded wrong | See why bobbin thread shows on top |
| Pen marks still show | Water-soluble marks set by heat | Rinse marks out in cold water before pressing |
Before stitching a full set, play the file in the sew-out simulator to check the path and the number of jumps.


