 Free toolPNG to SVG converterTrace a PNG or JPG logo into a clean color SVG with smooth curves and a transparent background.Open the tool
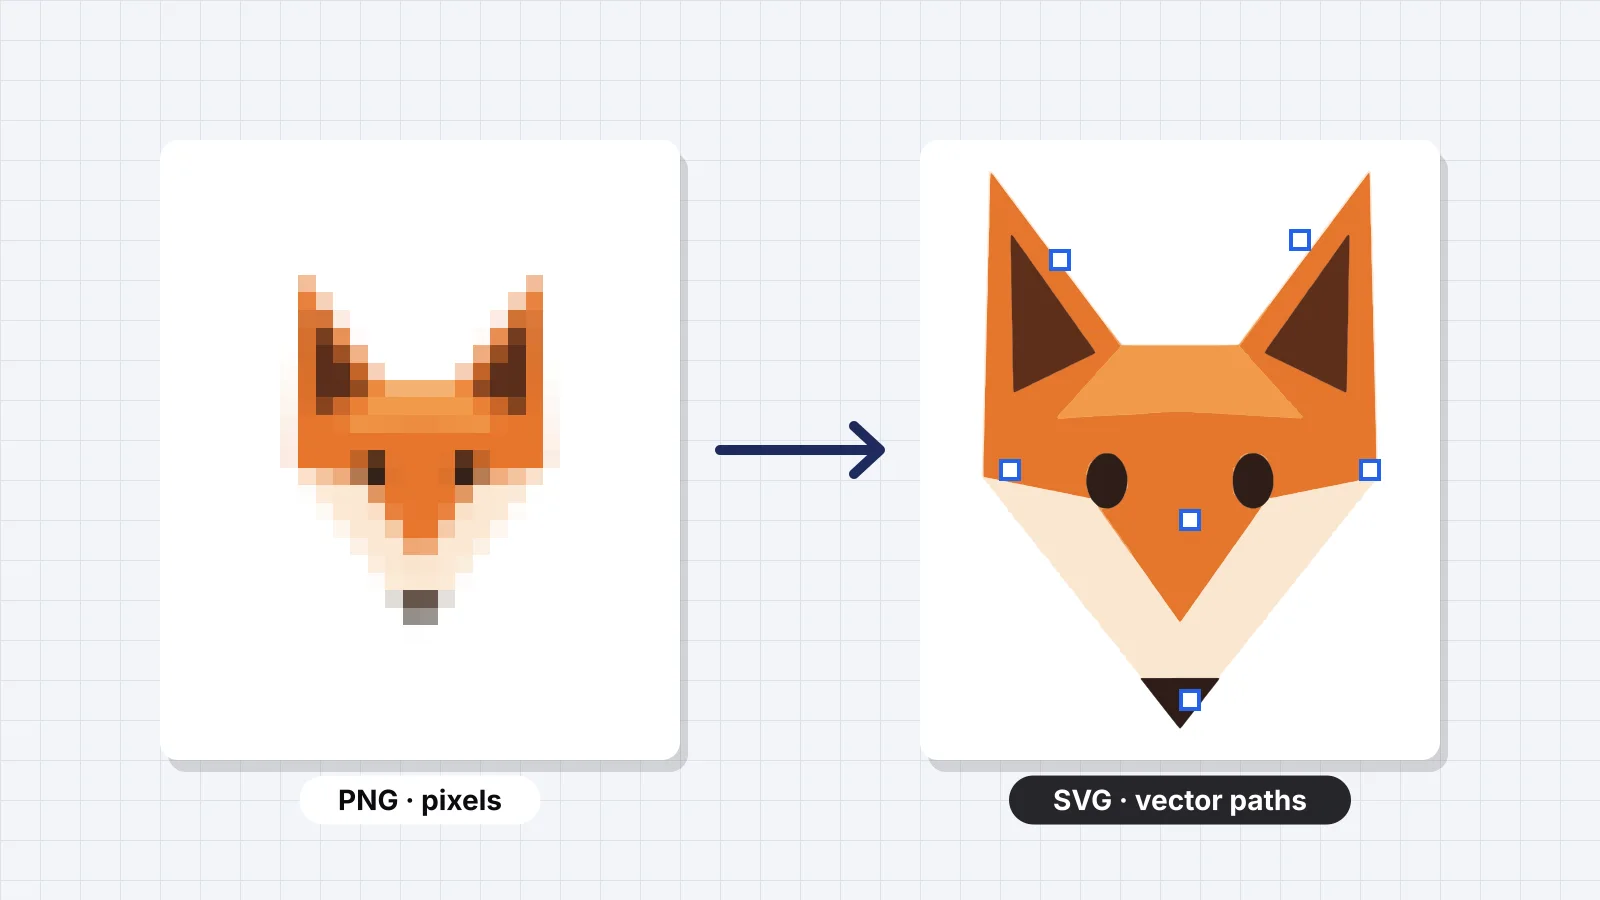
A PNG is a grid of pixels. An SVG is a set of shapes described by points and curves. Converting one to the other, called vectorizing or tracing, is what lets a logo cut cleanly on a Cricut, engrave on a laser or print at any size without going blurry.
This guide explains how tracing works, when you really need an SVG, how to prepare an image so the trace comes out clean and how to check the result. If your goal is an embroidery file, there's a shortcut at the end: you may not need an SVG at all.
Raster vs vector: what changes
| Compared | PNG (raster) | SVG (vector) |
|---|---|---|
| Made of | Pixels in a grid | Paths: outlines with curves, filled with color |
| Scaling up | Gets soft or blocky | Stays sharp at any size |
| Editing | Paint over pixels | Move points, change colors, delete shapes |
| Photos and shading | Handles them well | A poor fit: shading turns into many small shapes |
| Typical uses | Screens, photos and web images | Logos, cut files, laser files, signs and print |
| File size | Grows with resolution | Grows with detail: more shapes, more points |
Tracing doesn't recover the original vector a designer drew. It makes a new one that follows the pixels. For a company logo, ask for the original SVG, AI, EPS or PDF first; a trace is the fallback when that file is gone.
When you need an SVG
- Cutting machines. Cricut and Silhouette machines cut along paths. A PNG has to be traced inside their software first, while a layered SVG brings each color in as its own clean layer.
- Laser cutters and engravers. Cut lines and vector engraving follow paths, so they need vector artwork.
- Print and signs. Banners, vehicle graphics, screen-printing films and large prints need artwork that scales without blur.
- Websites and apps. SVG logos stay sharp on every screen and are usually small files.
- Some embroidery software. Ink/Stitch works entirely in SVG, and many desktop digitizing programs import vector artwork to build stitches over.
If you just need a sharper or bigger picture for a screen, a high-resolution PNG is often enough. An SVG pays off when a machine or a printer follows the outlines.
Try it with your own design
Sign up free, upload an image and get a stitch preview in under a minute.
Drop your image here
PNG, JPG, SVG, PDF or AI · stays on your device
Not sure what to expect? See real examples or how it works.
How auto-tracing works
- Color reduction. The image is reduced to a small number of flat colors. Every pixel is assigned to the nearest one, so soft edges and noise become clear areas.
- Finding outlines. The edge of each color area is followed, pixel by pixel, into a closed outline.
- Smoothing. The stair-stepped outline is fitted with straight lines and Bézier curves, so diagonals and circles come out smooth.
- Simplifying. Extra points are removed and specks below a minimum size are dropped, which keeps the file small and the shapes clean.
- Stacking. Each color becomes a group of paths with its fill color, stacked so the shapes sit in the right order.
Every step is a judgment call. Too few colors and details merge; too many and slivers of in-between shades appear along every edge. Too much smoothing rounds off corners; too little keeps the jaggies.
Embrizo's PNG to SVG converter runs these steps in the browser and traces each color into its own set of SVG paths, so a five-color logo comes out as five color layers. Downloading the SVG needs a free Embrizo account.
Ways to convert PNG to SVG
| Option | How it works | Best for |
|---|---|---|
| Embrizo PNG to SVG converter | Upload in the browser; the colors are reduced and each one is traced into paths | The top pick for logos, clip art and cut files: quick, layered by color and nothing to install |
| Inkscape (Trace Bitmap) | A free desktop vector editor with a tracing dialog | Hands-on tracing with fine control and node editing afterward |
| Adobe Illustrator (Image Trace) | Tracing presets inside a paid vector editor | Designers who already work in Illustrator |
| Cutting machine software | Trace or clean up an upload inside Design Space or Silhouette Studio | Single-color cuts that stay in that software |
| Redrawing by hand | A designer redraws the artwork with a pen tool | Brand logos that must be exact |
Whichever you use, the input matters more than the tool. Preparing the PNG is the biggest difference between a clean trace and a messy one.
How to get a clean trace
| Do this | Why |
|---|---|
| Start large: 1,000–2,000 px or more across | Small images have few pixels per edge, so curves come out lumpy |
| Use flat colors | Gradients, shadows and glows turn into bands of extra shapes |
| Remove the background | A background color becomes a big shape you'd have to delete; a transparent PNG traces only the artwork |
| Reduce to the colors you need | Two to six colors trace far cleaner than dozens of near-matches |
| Prefer PNG over JPG | JPG compression adds speckled noise around edges, which traces as tiny specks |
| Thicken hairlines | Lines only 1–2 px wide may break into dashes; aim for at least 4–5 px |
| Retype small text | Small text traces with wobbly letters; for crisp type, set it again in a vector editor |
Two Embrizo tools handle the prep. The logo background remover cuts artwork out of a white or solid background into a transparent PNG, and the image color reducer flattens a picture to a few clean colors. Trace the cleaned file.
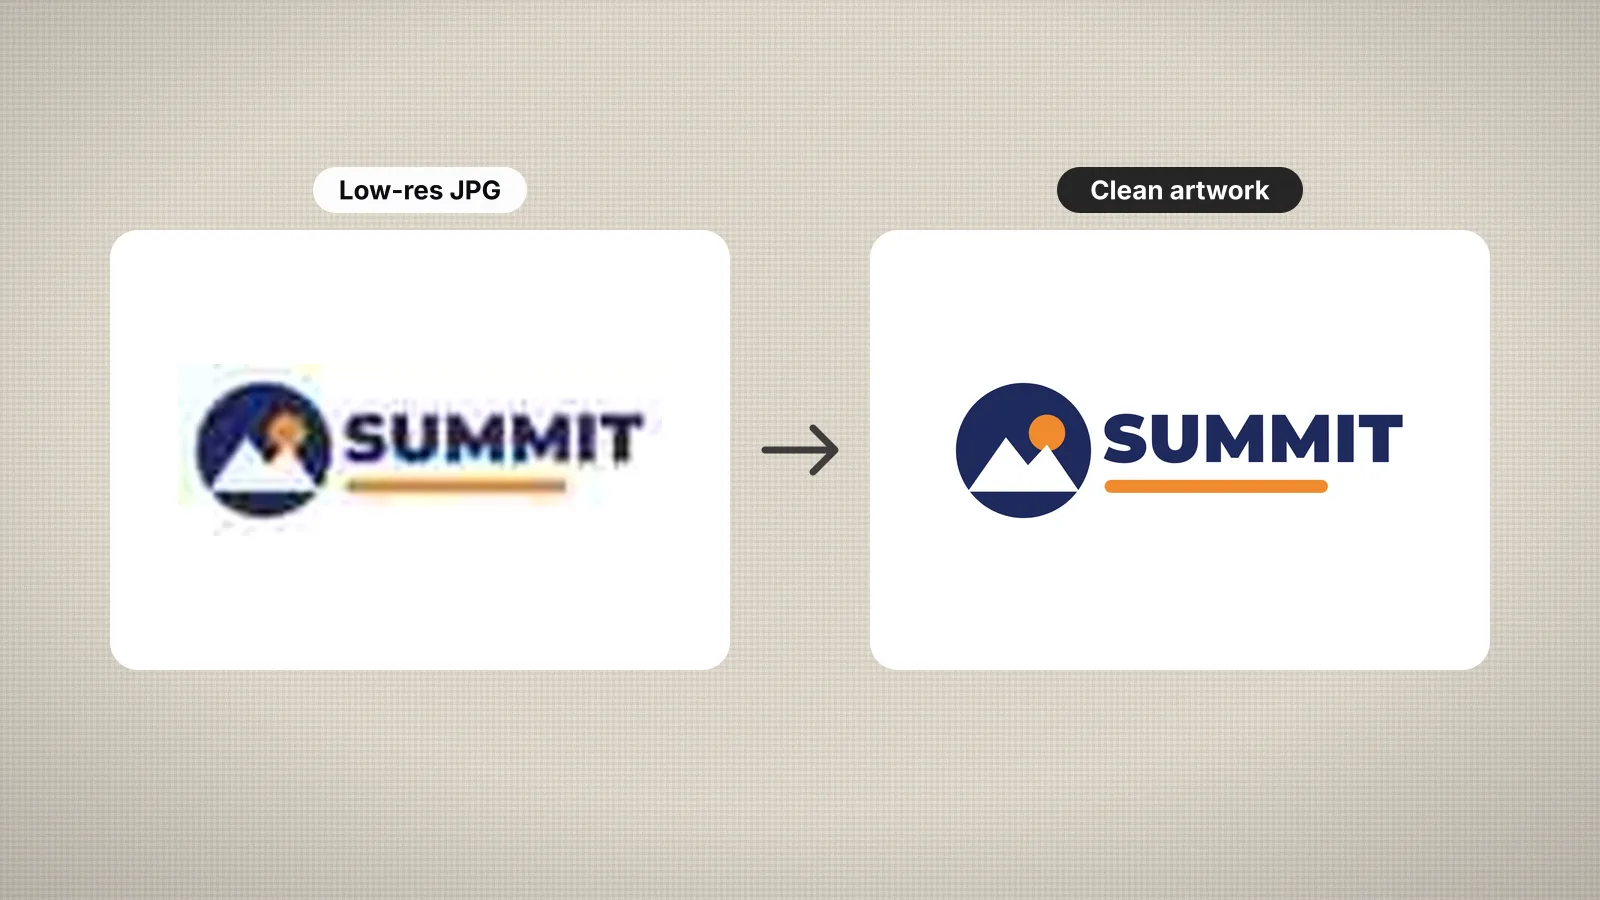
Upscaling a tiny, blurry PNG doesn't add real detail. If the logo is only a few hundred pixels across, look for a bigger copy first: the original file, a website header or a PDF.
Check the SVG before you use it
- Zoom in on the edges. Curves should be smooth and corners sharp, without wobbles or stair steps.
- Look for specks. Tiny stray shapes from noise get cut, engraved or printed as dots. Delete them.
- Count the colors. Each layer should be a color you meant to keep, not an in-between shade along an edge.
- Look for a background shape. A white rectangle behind the artwork will cut as a box. Delete it unless you need it.
- Set the real size and check that the thinnest parts still survive at that size.
- Open it where you'll use it. Load it into Design Space, your laser software or your print workflow and see that the layers come through as expected.
If the trace is messy, the fix is almost always earlier: a larger, flatter image with fewer colors and no background.
Tracing doesn't change who owns the art
A traced SVG is a copy of the original artwork in a new format. If you didn't create the image or license it, tracing it doesn't give you the right to sell cut files or products made from it. The design copyright guide covers the basics.
Practice on a free design
167 ready-to-sew designs in every machine format, free with an account.


For embroidery, you can skip the SVG
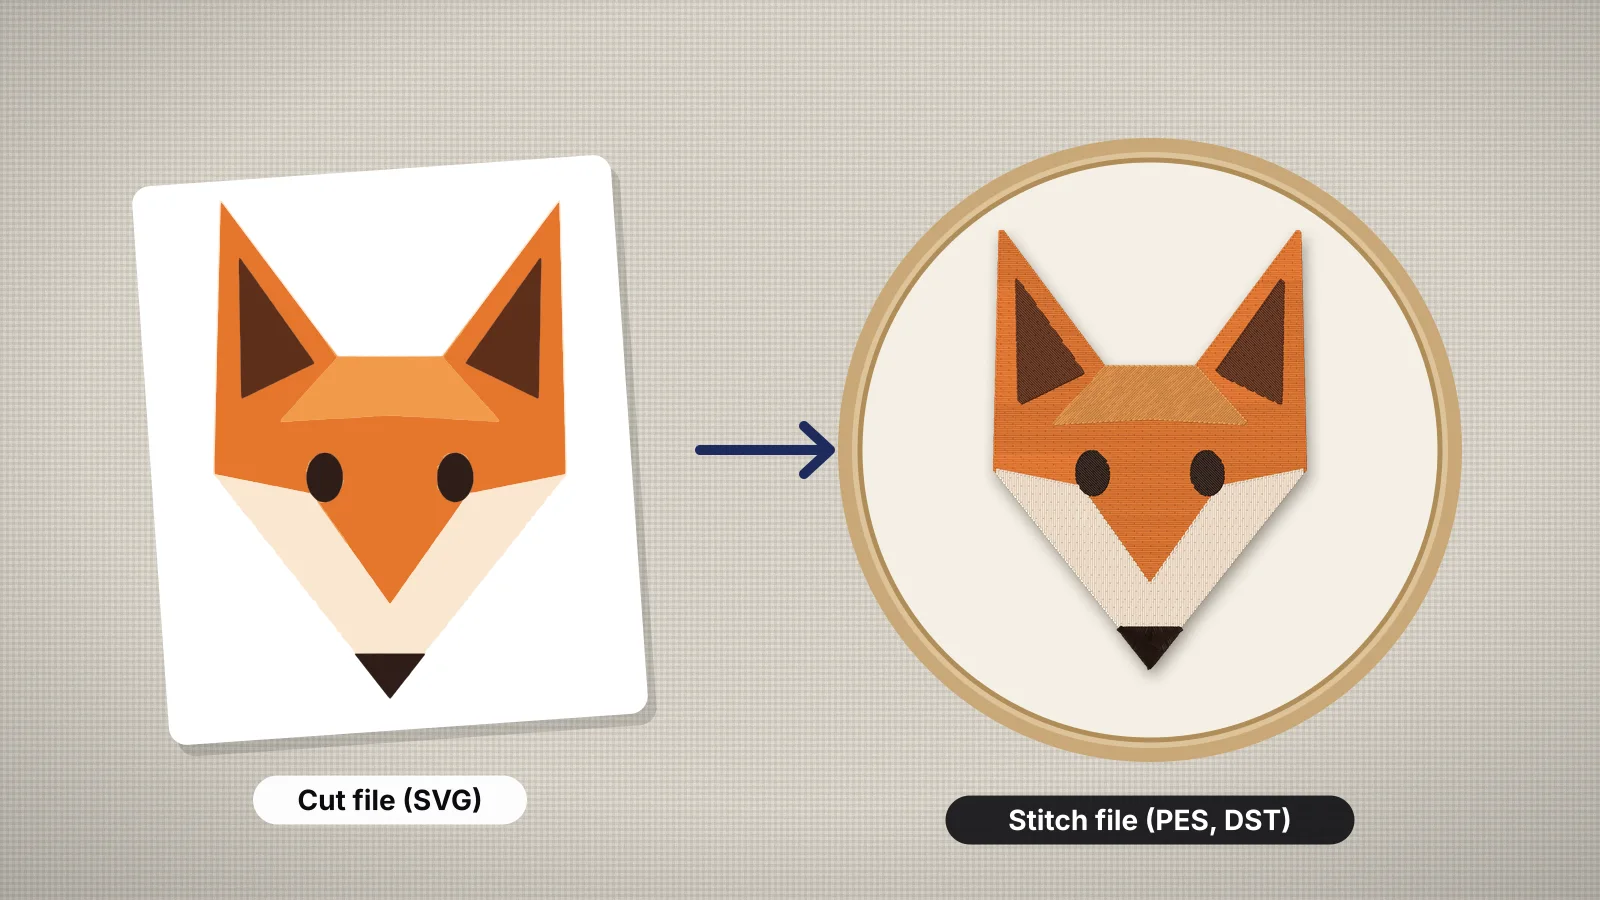
An SVG isn't an embroidery file either. A machine needs stitches, in a format such as PES or DST, and converting to SVG first adds a step without adding any stitches.
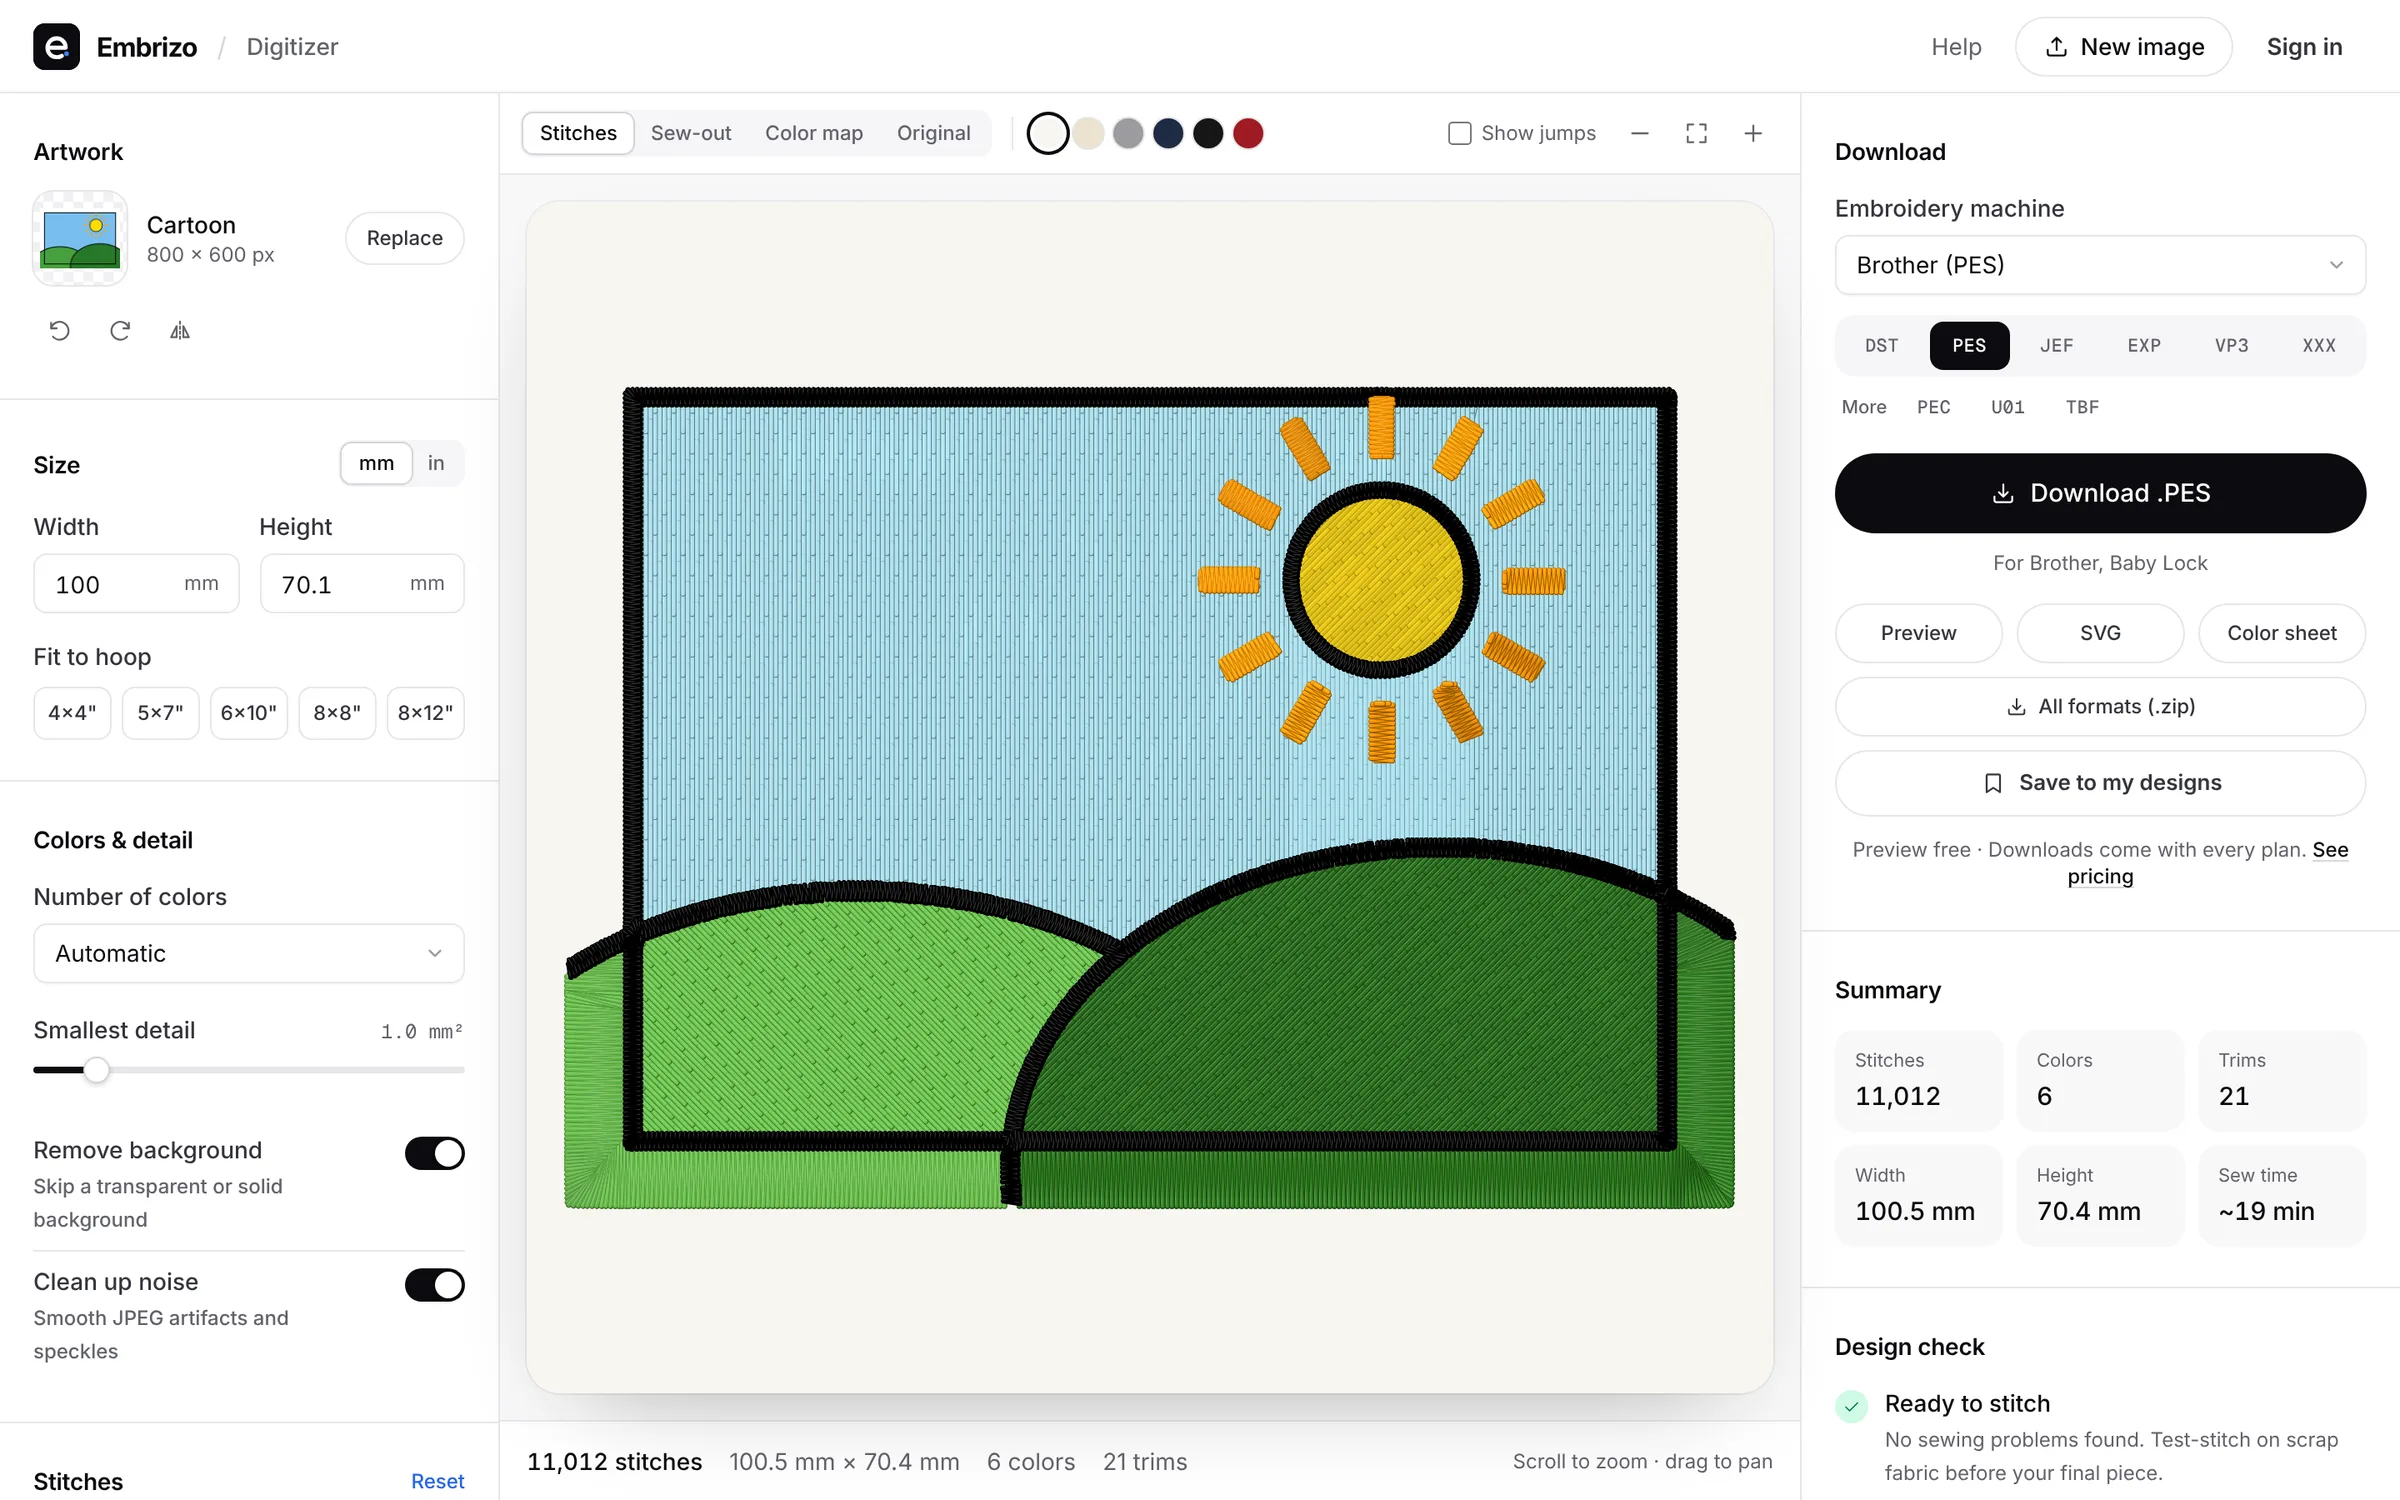
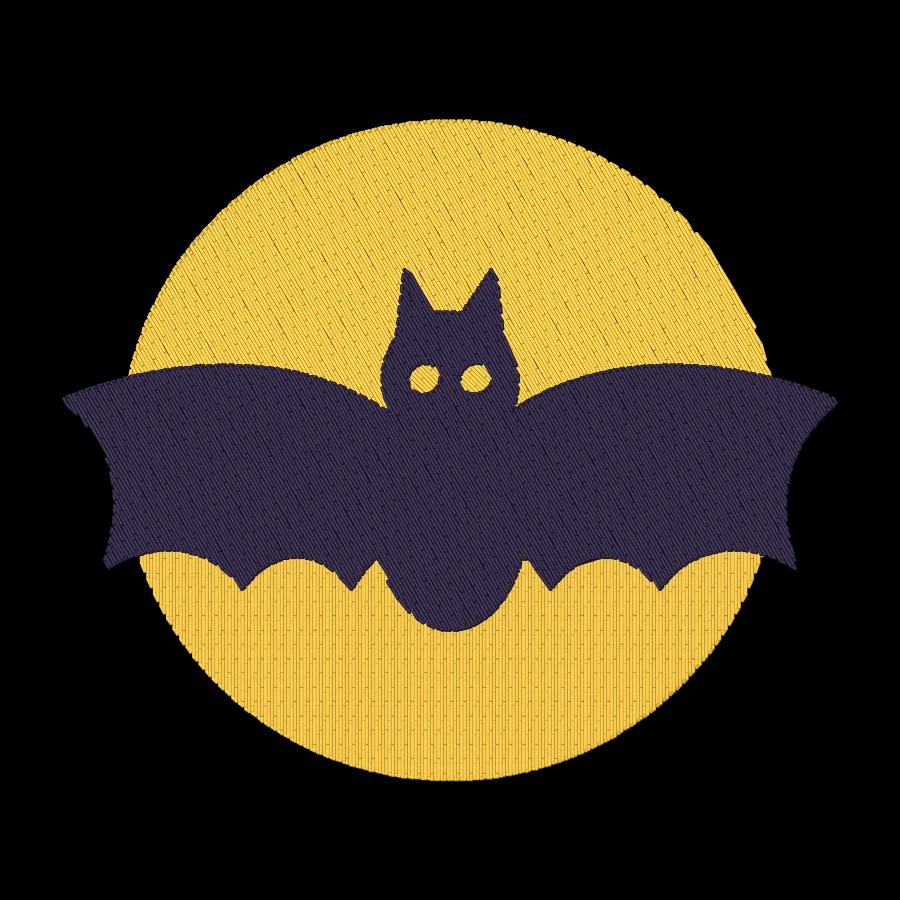
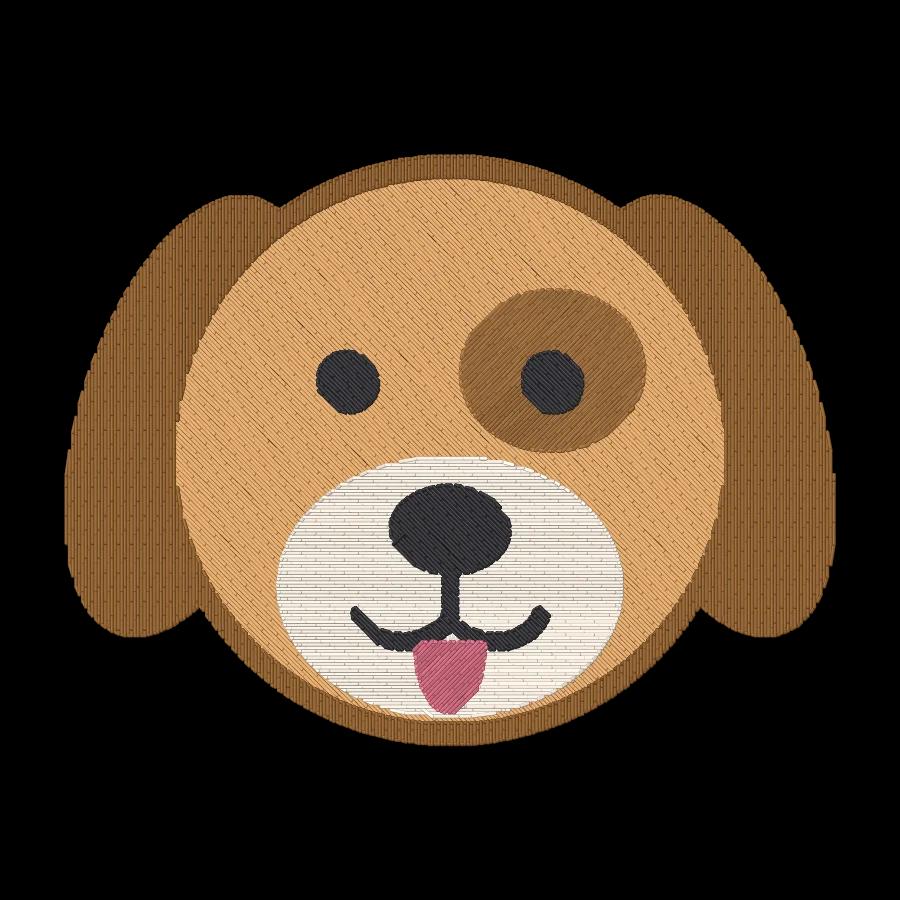
The Embrizo digitizer reads PNG and JPG directly. It reduces the colors, picks satin, fill or running stitch for each shape and adds underlay and pull compensation for your fabric. An SVG gives slightly crisper edges, because the digitizer renders it at high resolution first, but a large, clean PNG works almost as well. Digitizing and previewing are free with an account; saving the machine file needs a plan.
- Have an SVG already? Upload it as it is: SVG to PES.
- Only have a PNG? Upload that: PNG to PES.
- Not sure the image is ready? The embroidery image checker flags fine detail and low resolution.
The SVG to embroidery file guide covers turning cut files into stitches.