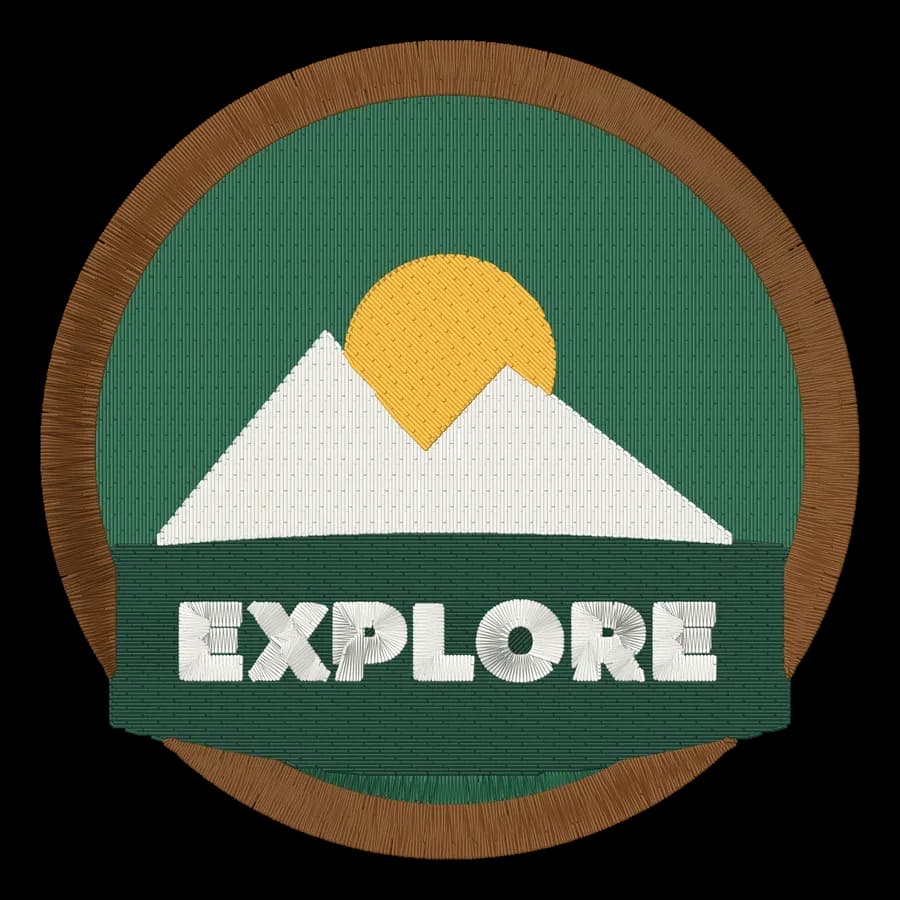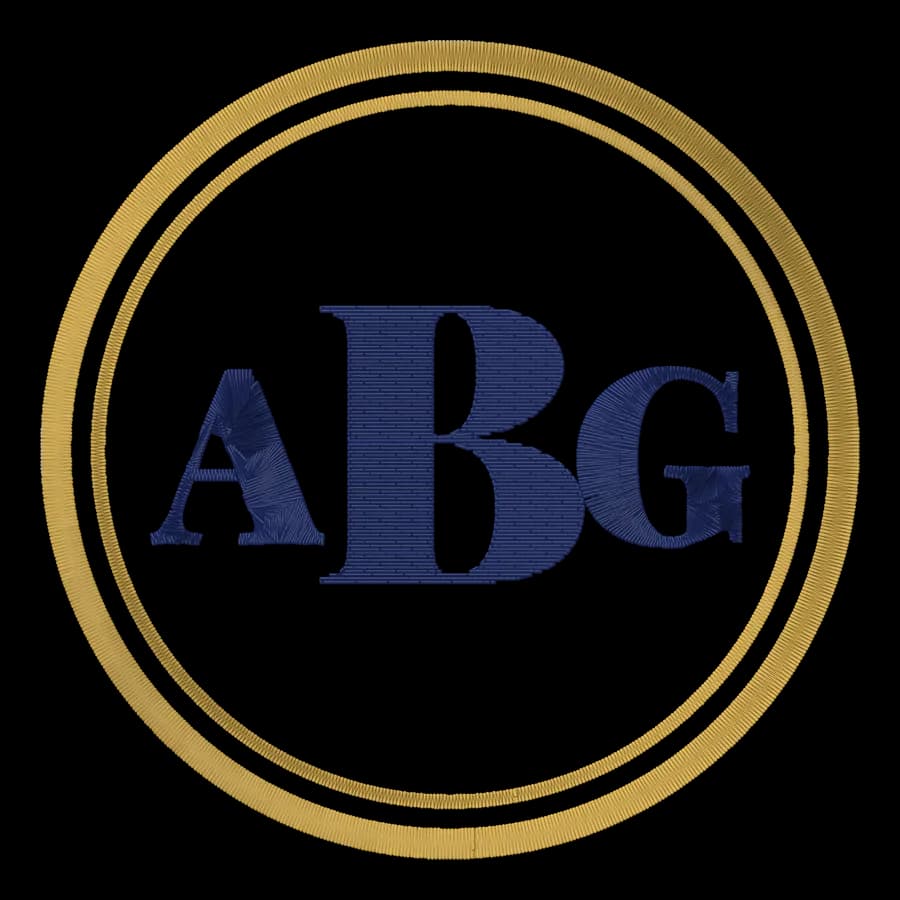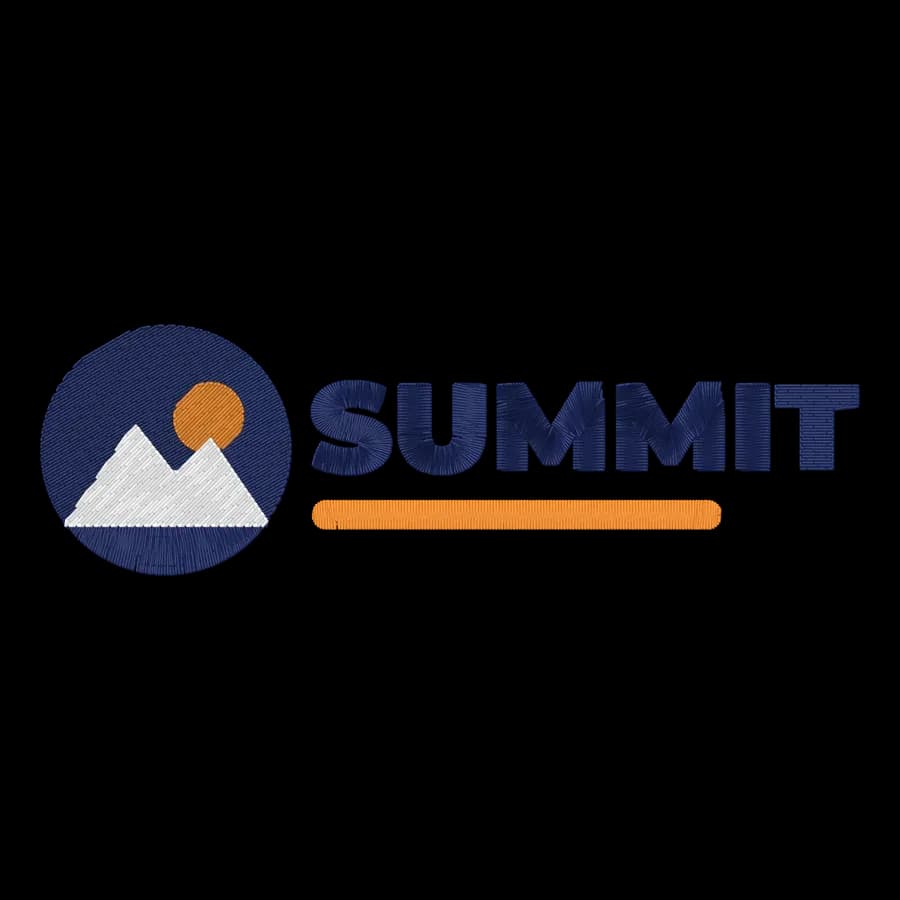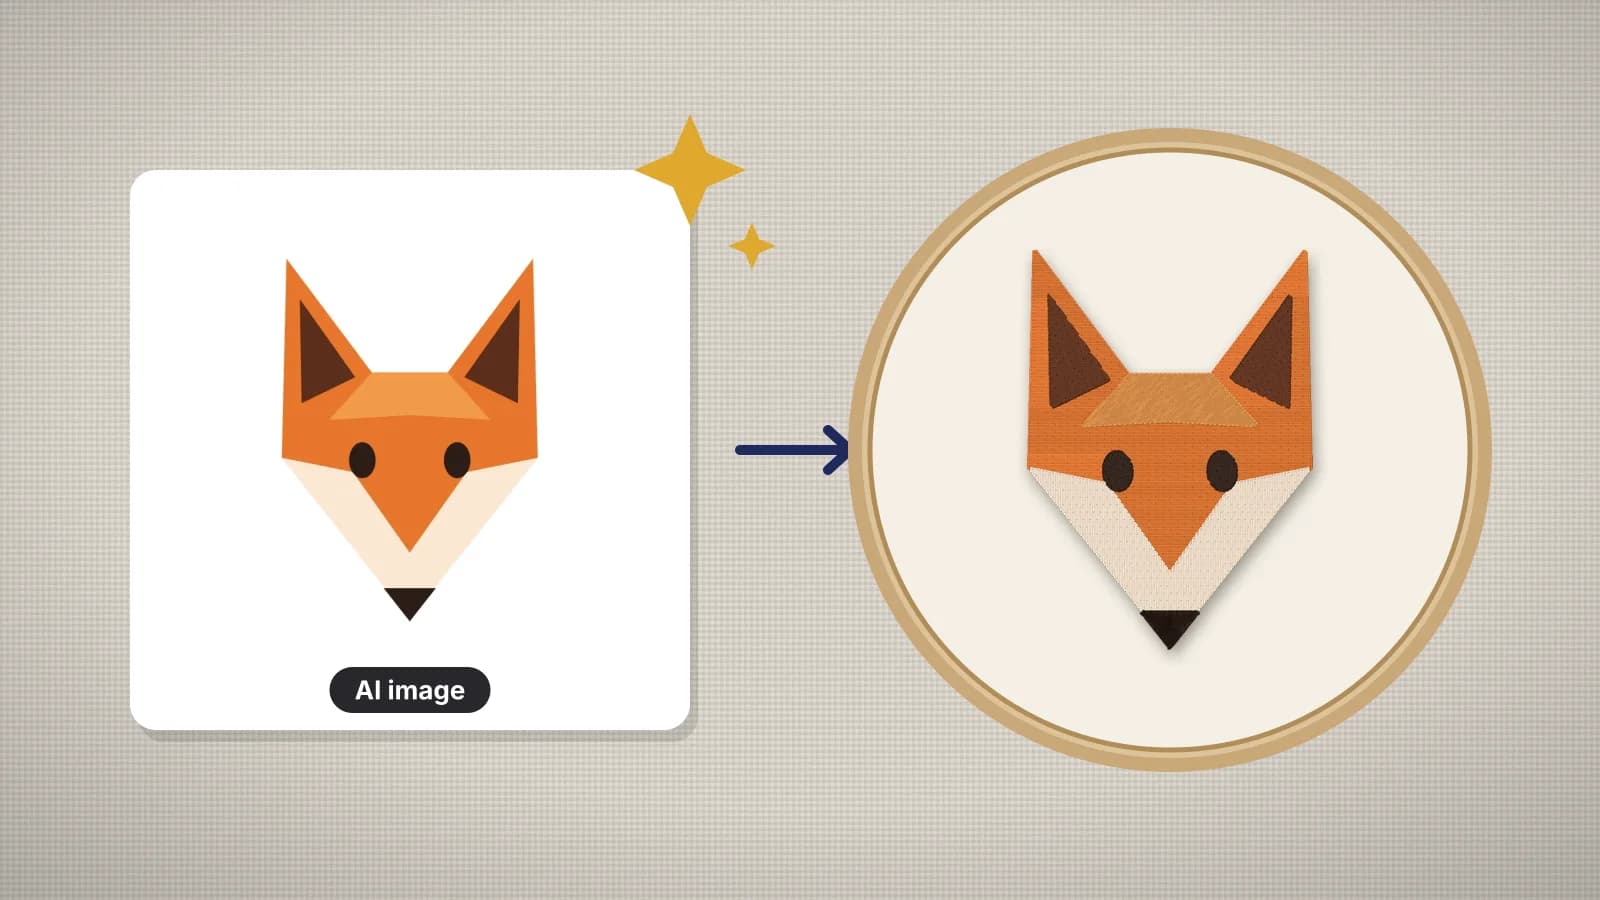
AI image tools such as Midjourney, ChatGPT and Gemini can draw a mascot, a pet portrait or a holiday motif in seconds. The catch is that most of what they produce is made for screens: soft shading, glowing light, hundreds of colors and fine texture. Thread can't show any of that at a few inches wide, so a raw AI image usually digitizes into a muddy, overly dense design.
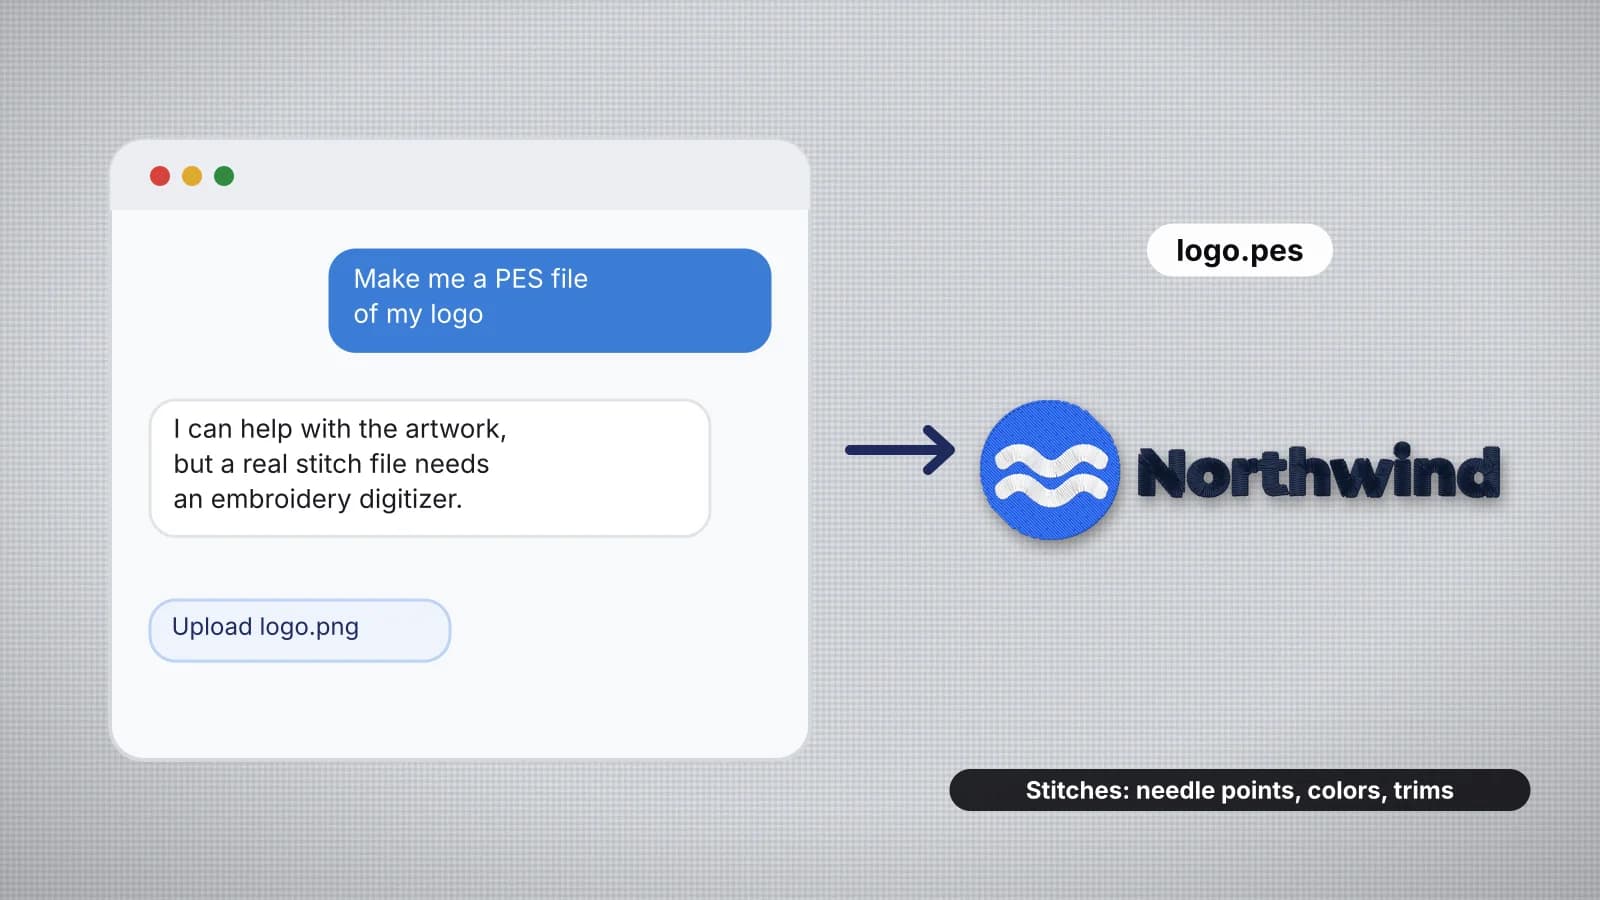
The fix is to ask for the right kind of picture in the first place, then tidy it up before you digitize. This guide covers prompts, cleanup, sizing, digitizing and test stitching. For why a chatbot can't write the stitch file itself, see can ChatGPT make embroidery files?
What makes an AI image stitch well
| Stitches well | Struggles | Why |
|---|---|---|
| Flat, solid color areas | Gradients, soft shading and glow | Each color becomes one thread; shading has to be faked with extra colors |
| Bold, even outlines | Sketchy, hairline or textured lines | Lines under about 1 mm wide can't form a clean satin column |
| About 3–8 colors | Photo-like color with hundreds of shades | Every color is a thread change, and near-identical shades turn into speckles |
| Simple shapes you can read from across a room | Fur texture, eyelashes, tiny background objects | Detail smaller than a few millimeters disappears in thread |
| A plain white or transparent background | Scenery, patterns or a busy backdrop | Backgrounds add stitches, stiffness and sew time |
| Lettering added separately | Text drawn by the AI | AI lettering is often misspelled or warped, and thread makes it worse |
Think sticker, patch or screen print, not painting. The prepare artwork guide goes deeper on what thread can and can't show.
Prompt tips for embroidery-friendly art
Describe the style as well as the subject. Words like these steer most image tools toward art that digitizes cleanly:
- Style: "flat vector illustration", "sticker style", "simple cartoon", "patch design" or "screen print style".
- Lines: "bold black outline", "thick even lines", "clean shapes".
- Color: "limited palette of 4 colors", "solid colors", "no gradients, no shading".
- Detail: "minimal detail", "simple shapes", "no texture".
- Background: "isolated on a plain white background", "no scenery".
- Composition: "centered", "single subject", and "fits in a circle" for a badge or "wide and short" for a left chest or cap.
A full prompt might read: "A smiling fox head, flat vector sticker style, thick black outline, 4 solid colors, no gradients or shading, centered on a plain white background." Leave words out of the image. Add a name as a separate lettering file instead, for example with text to embroidery, where you choose the font and size; saving lettering files needs a paid plan.
Generate several versions and pick the simplest, not the prettiest. The one with the fewest colors and the thickest lines almost always sews best.
Try it with your own design
Sign up free, upload an image and get a stitch preview in under a minute.
Drop your image here
PNG, JPG, WebP or SVG · stays on your device
Cleaning up the image
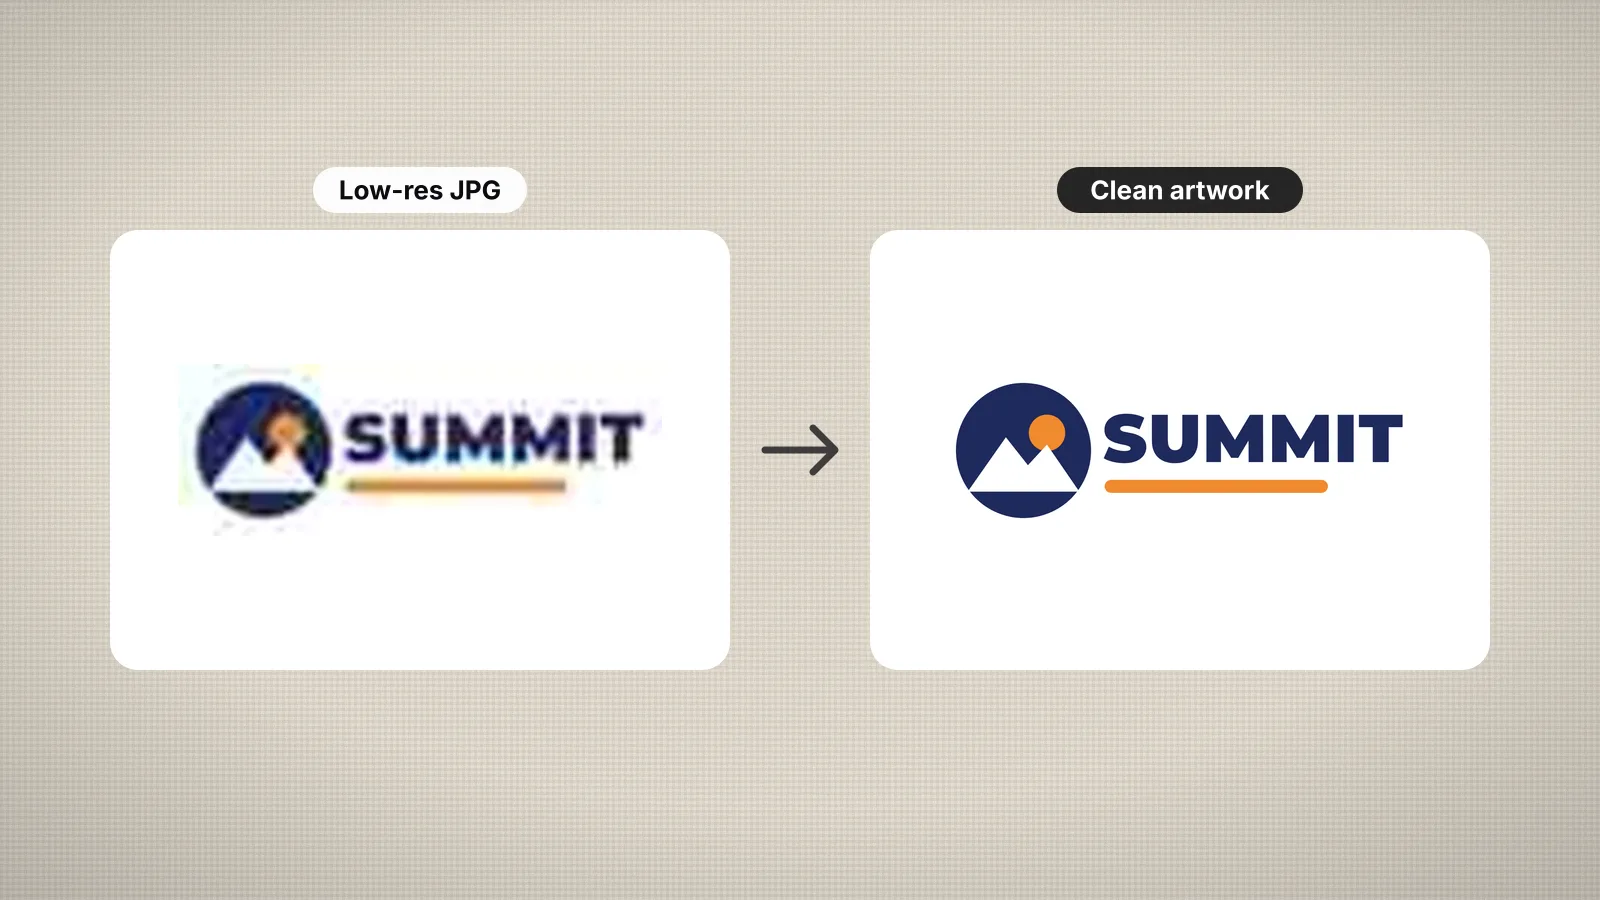
- Upscale it if it's small. Aim for at least about 1,000 pixels across. Many AI tools have an upscale option; use it before you clean up the colors.
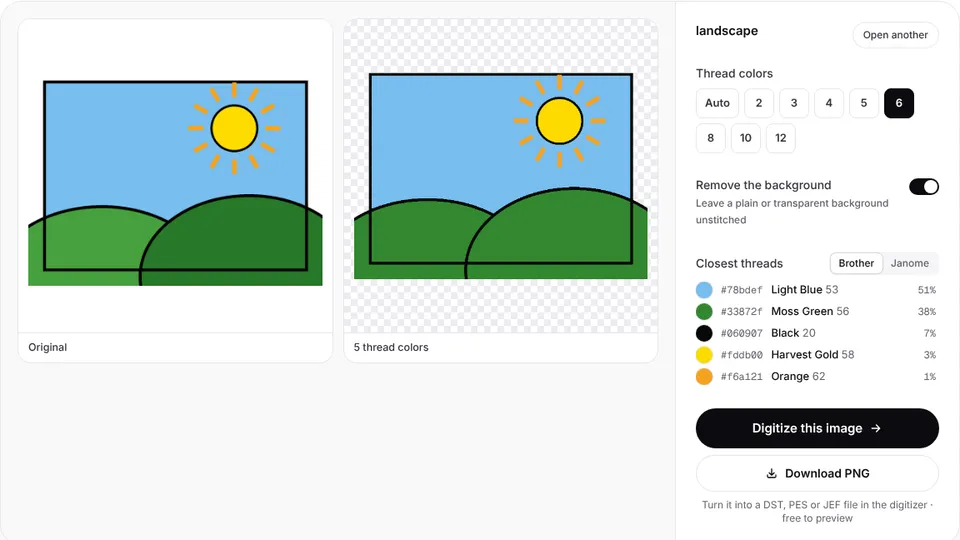
- Reduce the colors. AI images often hold hundreds of near-identical shades even when they look flat. The image color reducer cuts them to a few flat thread colors, and image to thread colors lists the closest Brother and Janome threads for each.
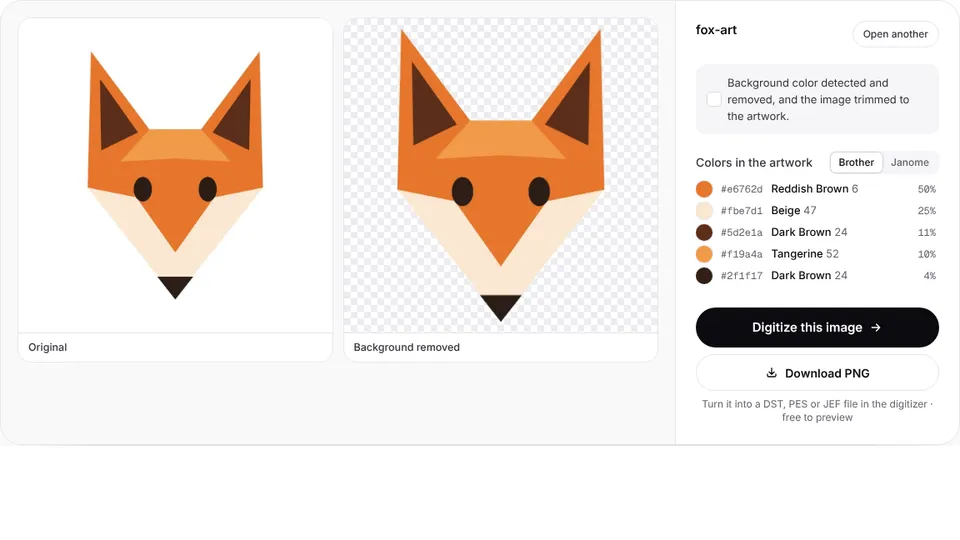
- Remove the background. The logo background remover cuts the subject out of a white or solid background and saves a transparent PNG.
- Fix the small stuff in any image editor: erase stray specks, close tiny gaps in outlines, and delete detail you won't see at stitch size.
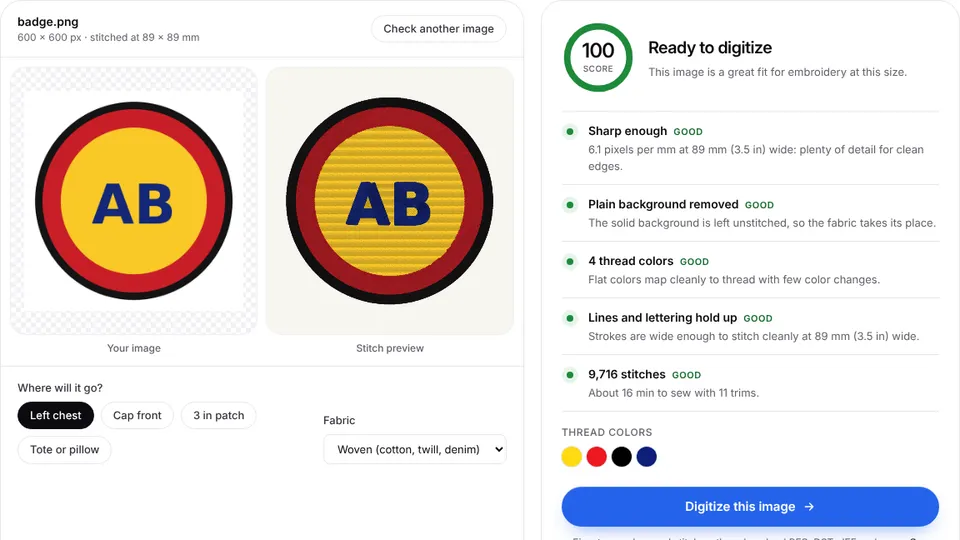
- Check it. The embroidery image checker flags fine detail, too many colors and low resolution, with a fix for each.
If the AI added text, replace it rather than digitizing it. The small text guide covers how big letters need to be. For hand embroidery or redwork, the photo to embroidery pattern tool turns a picture into clean line art instead.
Size it for where it will go
Decide the stitched size before you digitize, because it sets how much detail can survive. As a rule of thumb, lines narrower than about 1 mm at the final size won't stitch cleanly, and lettering needs to be about 5 mm tall or more.
| Placement | Typical width | How much detail fits |
|---|---|---|
| Left chest | 3–4 in (75–100 mm) | Very little: bold shapes in 3–5 colors |
| Cap front | 4–5 in (100–125 mm), up to about 2–2.25 in tall | Simple, wide shapes |
| Center chest | 4–8 in (100–200 mm) | More colors and some detail |
| Tote bag | 5–10 in | Room for a full illustration |
| Full back | 10–12 in | The most detail, at a high stitch count |
The hoop size calculator tells you which hoop the design needs, and the placement guide covers where each design sits on the garment.
Digitizing the image
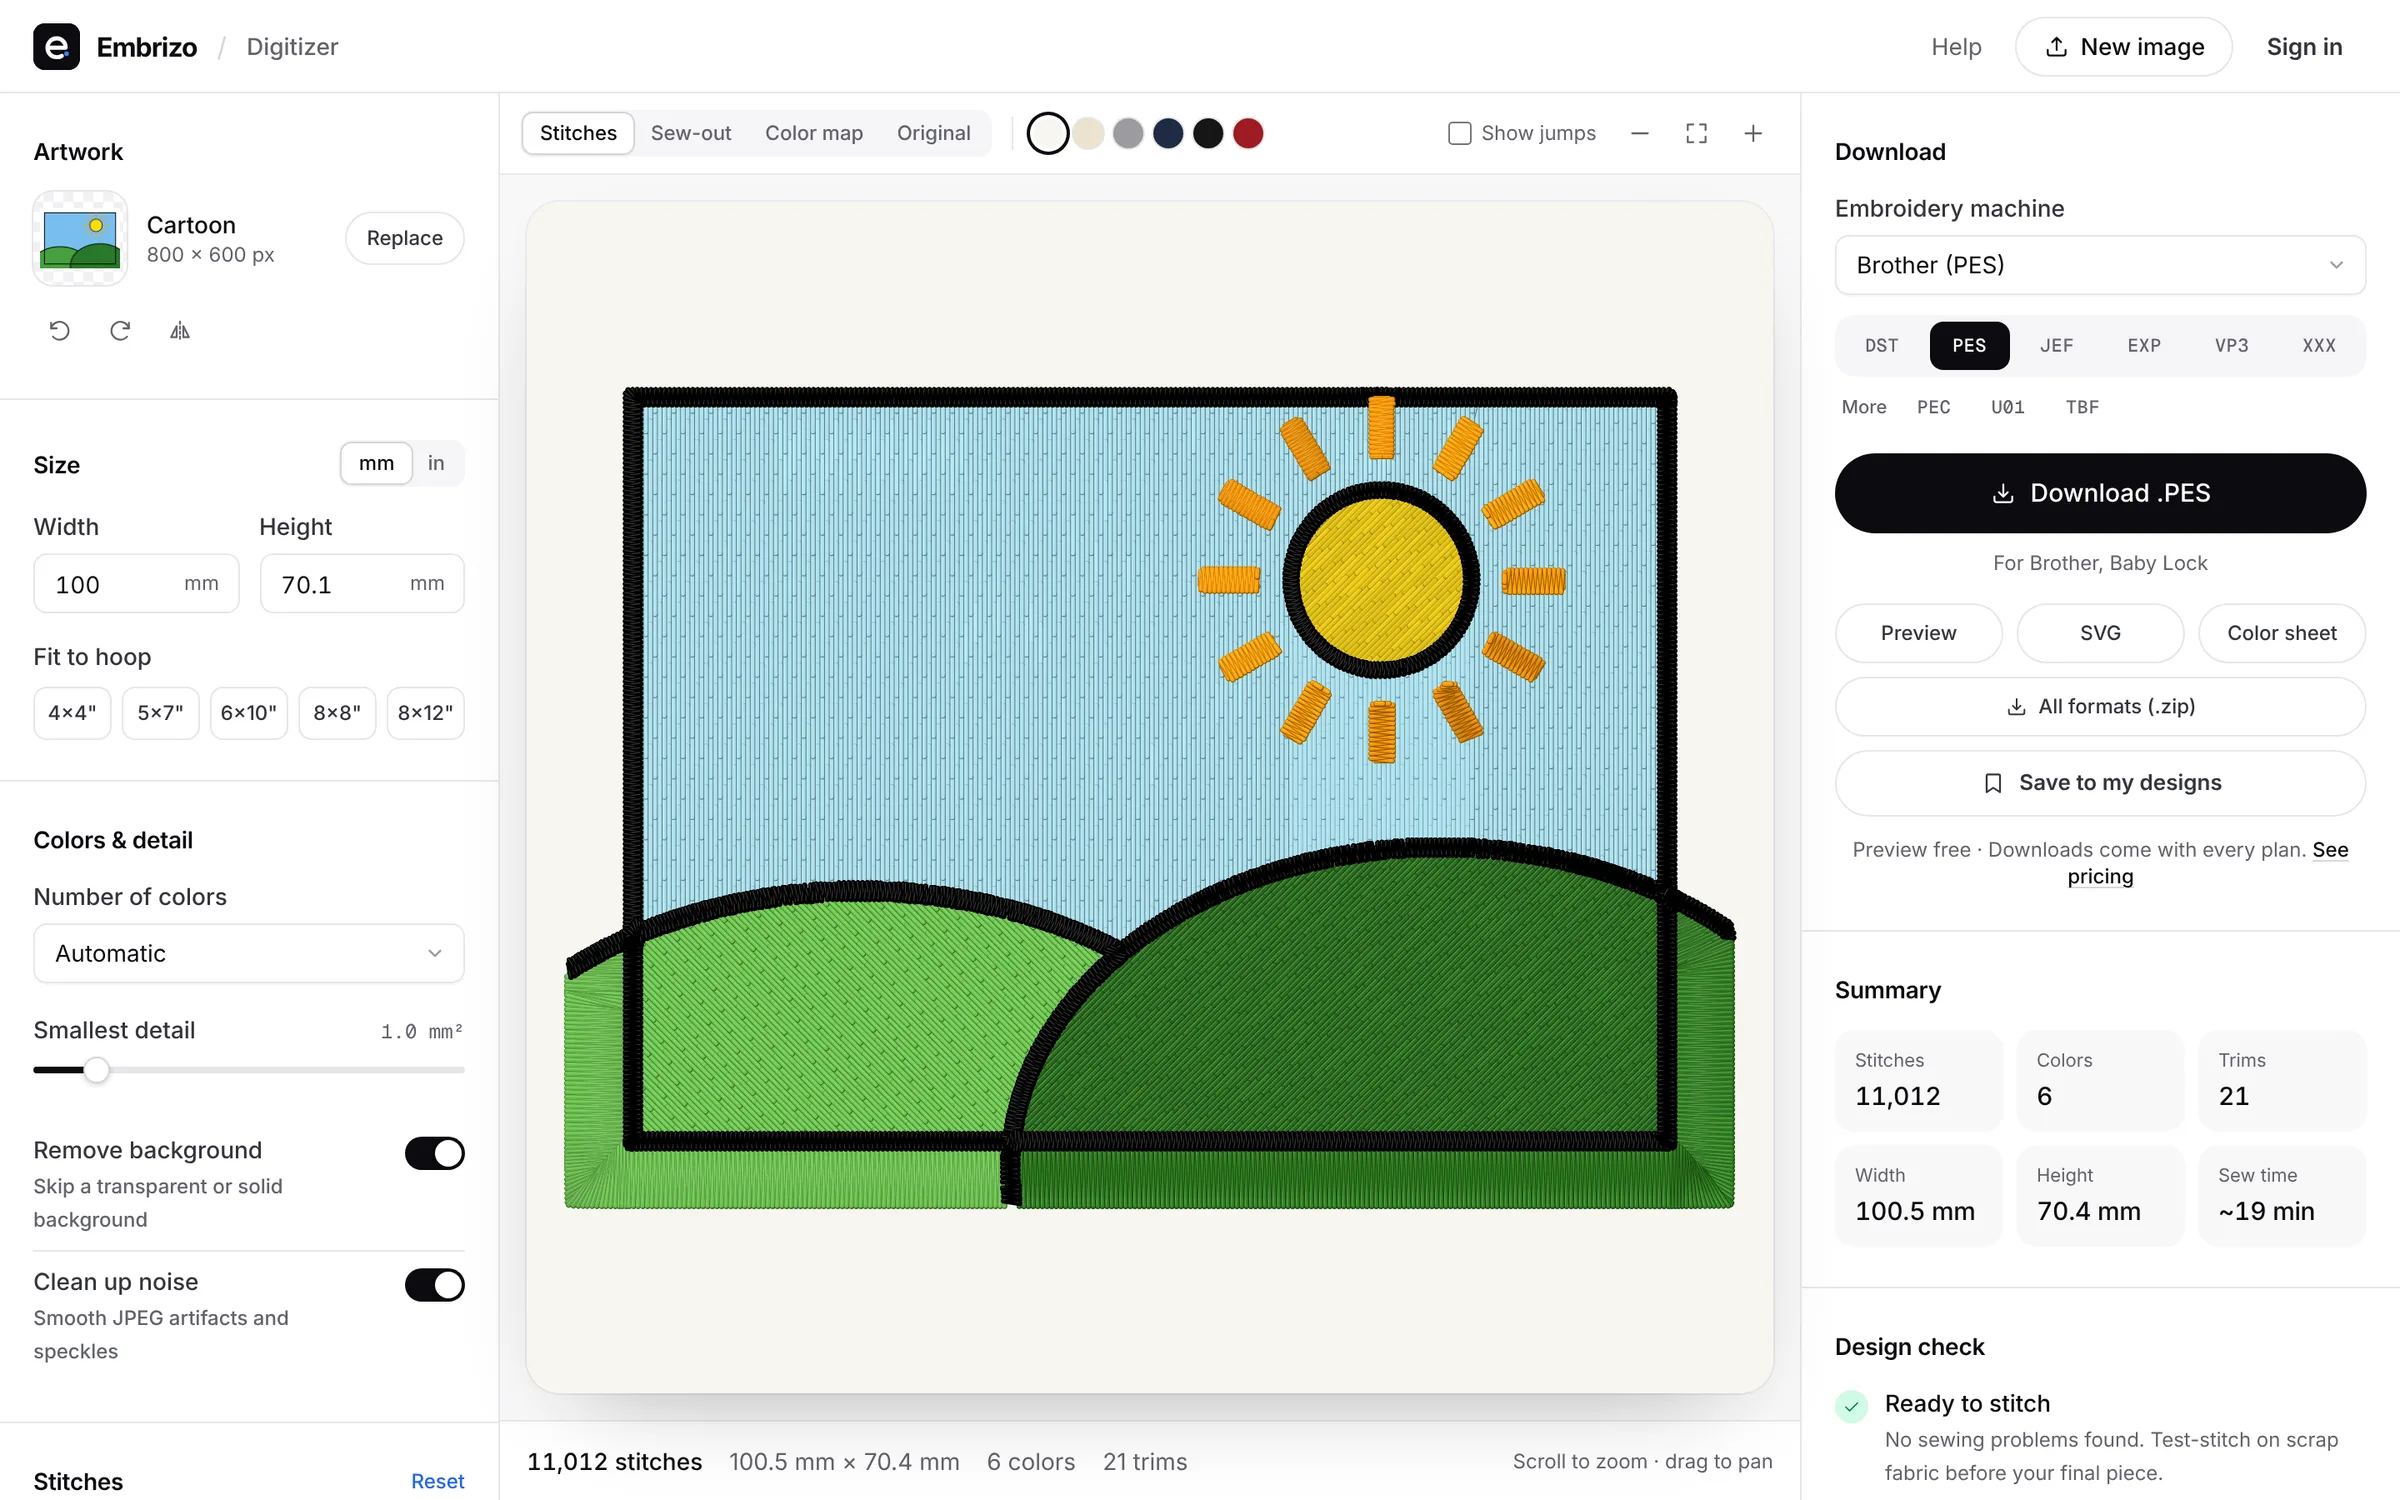
- Open the Embrizo digitizer and upload the cleaned PNG, JPG, WebP or SVG.
- Set the number of colors to match the art, and switch on background removal if a plain background is still there.
- Enter the final width or height, or pick your hoop.
- Choose the fabric preset, such as Woven, Knit or Stretch. It sets the density, underlay and pull compensation for how that fabric moves.
- Check each color: change its stitch type to fill, satin or outline, merge colors that are nearly the same, or switch off any you don't want stitched.
- Watch the sew-out preview and read the design check, then download your machine's format.
Digitizing and previewing are free with an account; downloading the file needs a paid plan. If your image is closer to a photo, the photo to embroidery guide explains how far to simplify it.
Test stitch and adjust
Sew a test on scrap of the same fabric, with the same stabilizer, before the real item. Then fix what you see:
| What you see | What to change |
|---|---|
| Stiff or heavy design | Lighten the fill density a step, or simplify the art |
| Details lost or blobby | Make the design bigger, or remove the detail from the art |
| Gaps between colors and outlines | Firmer hooping and stabilizer; see how to fix gaps in embroidery |
| Too many thread changes | Merge similar colors or lower the number of colors |
| Puckering round the design | A cut-away backing on knits and the right fabric preset; see how to fix puckering |
Practice on a free design
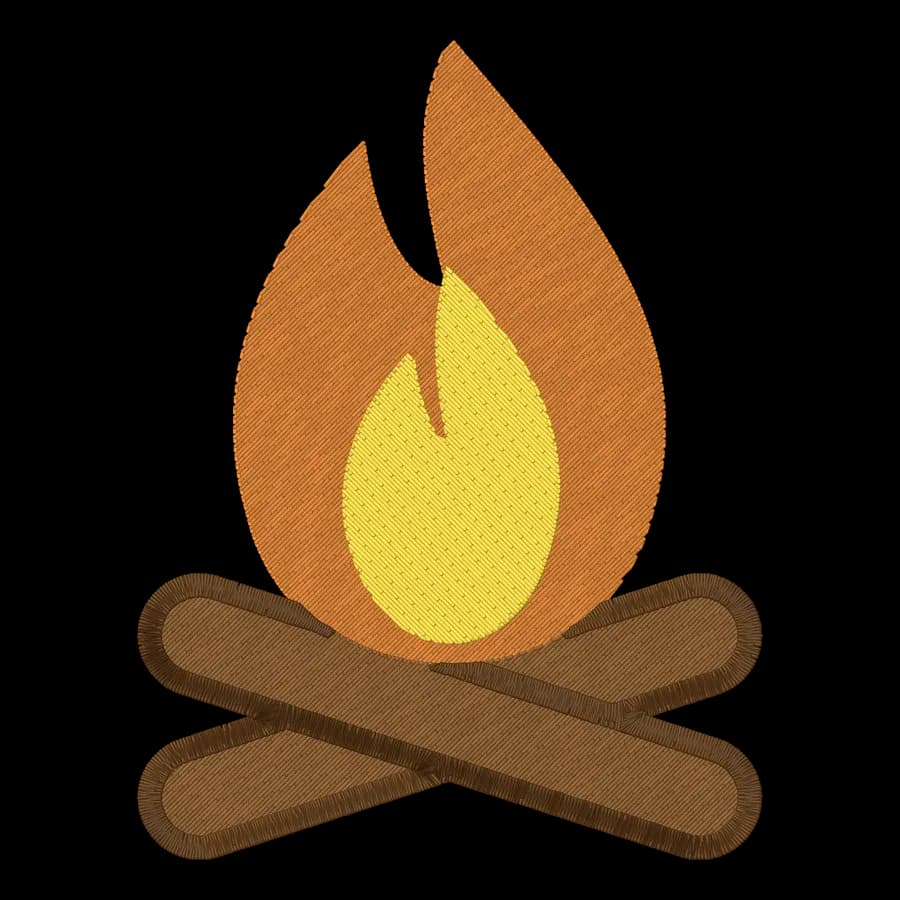
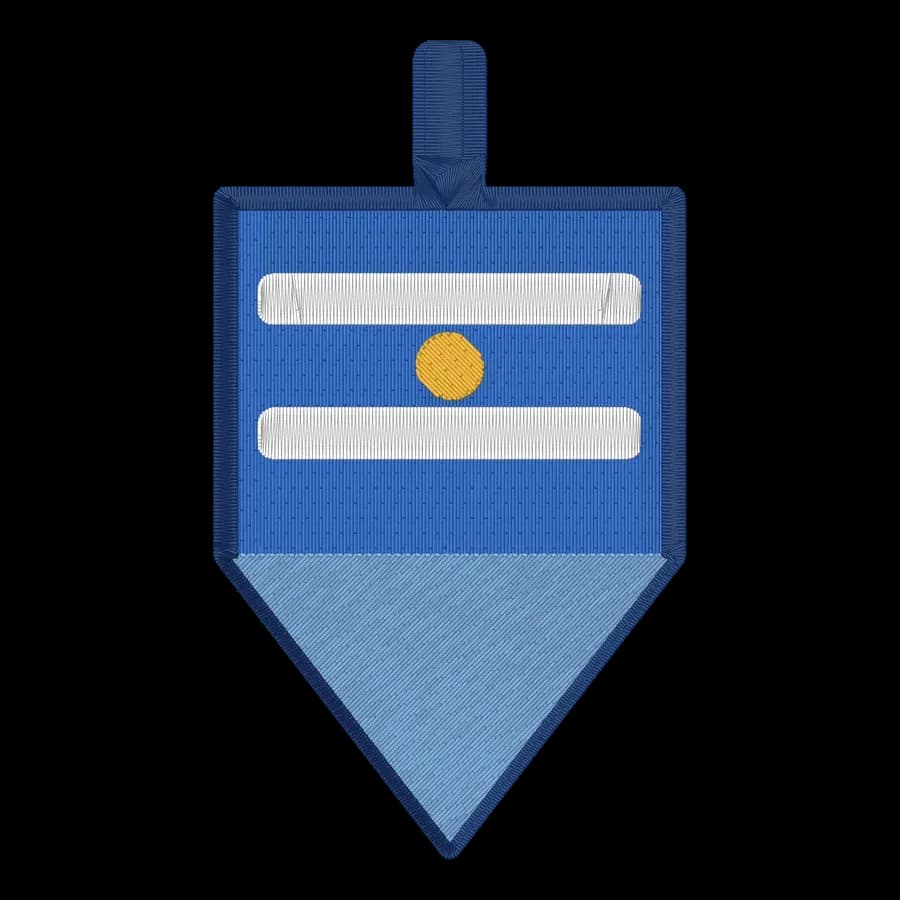
124 ready-to-sew designs in every machine format, free with an account.
Before you sell anything made from AI art
If you plan to sell what you stitch, read the image tool's terms of use first. They set out who may use the images and for what, and they differ between tools and between free and paid plans. Keep a note of the tool, the prompt and the date you made each image.
Stay away from prompts that name brands, logos or characters. Whether you can stitch and sell those is a separate question from the AI tool's terms, and the embroidery design copyright guide explains the basics.