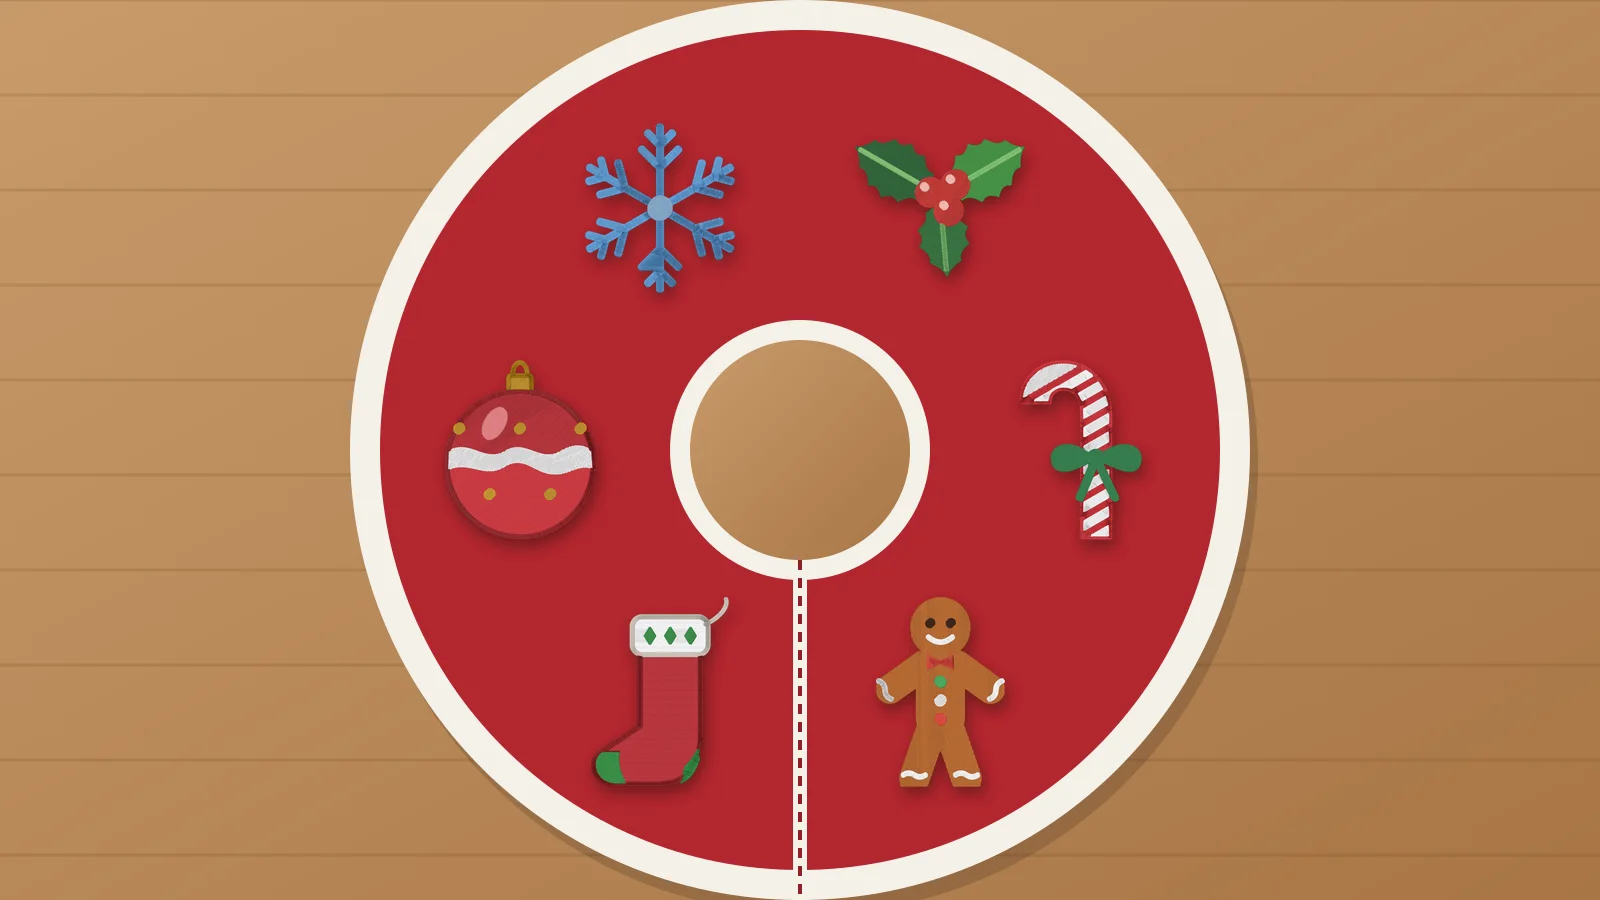
A personalized tree skirt is one of the most-loved Christmas embroidery projects: every family member's name round the edge, a motif between them, and maybe the year. It's also a big, round piece, which makes it awkward to hoop and easy to get the spacing wrong.
This guide covers when to stitch, how to place names evenly round the circle, design sizes, hooping a large skirt, stabilizer for felt, velvet and quilted cotton, designs and finishing. For a smaller project in the same fabrics, see how to embroider a Christmas stocking.
Before or after the skirt is made
| Option | How | Good for |
|---|---|---|
| Stitch first, then sew | Embroider the top fabric while it's flat, then add the backing, binding and opening | Making the skirt yourself; by far the easiest |
| Unpick and hoop | Open the binding or lining seam of a ready-made skirt and hoop the top layer only | Lined or quilted skirts where you want a neat back |
| Hoop through all layers | Hoop the finished skirt one section at a time, with stabilizer underneath | Single-layer felt skirts and thin quilted ones |
| Float it | Hoop sticky stabilizer, press each section onto it and baste round the design | Velvet, faux fur and thick skirts that a hoop would crush or can't grip |
If you're making the skirt, cut the circle with a generous margin and stitch before you trim the final edge and the center hole. The extra fabric gives the hoop something to grip near the hem.
Spacing names and motifs round the circle
- Count the designs. Decide how many names and motifs go round the edge, for example six names with a snowflake between each.
- Divide the circle. Fold the skirt in half, then quarters, then eighths, and crease or mark each fold; for other numbers, divide 360° by the number of designs and mark the angles from the center.
- Mark a line from the center to the hem at each position with chalk or a water-soluble pen.
- Set the distance from the hem. Keep each design's bottom edge the same distance from the hem, often about 2–4 in (5–10 cm), so they sit on an even ring and clear the binding.
- Turn each design to sit along its line, with the tops of the letters toward the center, so every name reads upright to someone standing outside the circle.
- Keep the opening clear. Leave a little space either side of the slit and its closure, so no name disappears into the overlap.
Print each design at true size with the placement template and lay the paper copies round the skirt before you stitch. It's the easiest way to check the spacing, and the spelling.
To arch names so they follow the hem, see how to embroider curved text.
Try it with your own design
Sign up free, upload an image and get a stitch preview in under a minute.
Drop your image here
PNG, JPG, WebP or SVG · stays on your device
Design sizes for a tree skirt
| Design | Typical size | Notes |
|---|---|---|
| Names round the edge | Capitals about 1–2 in (25–50 mm) tall | Big enough to read across the room; one font for the whole family |
| Motifs between names | About 2–4 in (50–100 mm) | Snowflakes, stars, holly and ornaments fit a 4×4 hoop |
| A feature design | Up to your largest hoop | A family name, a wreath or a crest beside the opening |
| The year | About 0.75–1.5 in (20–40 mm) tall | Small and tidy, near a name or the opening |
A skirt is seen from a few feet away and partly hidden by gifts, so bold beats delicate: block or rounded fonts, solid fills and simple outlines. Best fonts for embroidery covers lettering styles, and the lettering size calculator shows how wide each name will be at a given height.
Hooping a large round skirt
- Work one section at a time. Hoop the area round one mark, stitch it, then move on. Roll or fold the rest of the skirt and clip it out of the way, so it can't drag on the hoop or slide under the needle.
- Support the weight. Rest the skirt on a table or an ironing board beside the machine, so its weight doesn't pull the hoop and shift the design.
- Line up each hooping with the hoop's center marks on your chalk line, at the same distance from the hem.
- Use a bigger hoop for fewer hoopings if your machine takes one; a 5×7 or 6×10 fits a name and a motif together.
- Trace the design before each one, if your machine can, to check the needle stays clear of the hoop and the folded fabric.
The hooping guide covers the basics, and the floating entry explains hooping the stabilizer on its own.
Stabilizer for felt, velvet and quilted cotton
| Fabric | Backing | Topping | Notes |
|---|---|---|---|
| Felt | Medium tear-away; cut-away under dense designs | Usually none; a water-soluble one on fuzzy wool felt | Doesn't fray, so it hoops and cuts cleanly |
| Velvet and velour | Cut-away or sticky tear-away, floated | Water-soluble, always | A hoop crushes the pile; steam or brush marks out afterwards |
| Quilted cotton | Tear-away; cut-away under dense designs | Usually none | Use an 80/12 or 90/14 sharp needle through the layers |
| Faux fur | Cut-away, floated | Water-soluble | Bold designs only; brush the fur away from the stitching area |
| Burlap and linen | Cut-away on loose burlap; tear-away on firm linen | Not usually needed | Keep designs light so the stitches don't pull the weave apart |
On velvet and faux fur, stick to bold designs, because fine detail disappears into the pile even with a topping. The felt and velvet pages go into more detail, and the stabilizer finder suggests a backing for other fabrics.
Designs and making the files
- Free Christmas designs. The free Christmas embroidery designs include a Christmas tree, a snowflake, holly and an ornament, each in every machine format and free with an account. The free winter designs add more cold-weather motifs.
- Ideas. Christmas embroidery ideas and winter embroidery ideas have motifs that suit a skirt.
- Names in one style. Batch name embroidery turns a list of family names into lettering files in the same font, height and thread, with width checks; saving the files needs a paid plan.
- Your own artwork. For a child's drawing, a pet or a family crest, upload the image to the digitizer, set the size, and pick the preset closest to the fabric: Woven for cotton, felt and other stable fabrics, and Fleece, towel, sweatshirt for velvet and plush. Digitizing and previewing are free with an account; downloading the file needs a paid plan.
Practice on a free design
124 ready-to-sew designs in every machine format, free with an account.


Finishing and keeping the skirt
- Trim the back. Clip jump threads and cut the stabilizer close, so nothing shows or catches on the lining.
- Lift hoop marks on velvet and pile with a little steam from the back, or by brushing.
- Cover the back with a lining on a skirt you stitched through, so the embroidery doesn't rub on the floor.
- Leave room for new names. If the family may grow, leave a space or two in the plan, and keep the files and the font so new names match later.
- Store it rolled or loosely folded, without a sharp crease through the embroidery, somewhere dry.
Making matching pieces? How to embroider ornaments covers small felt designs that go well with a skirt.