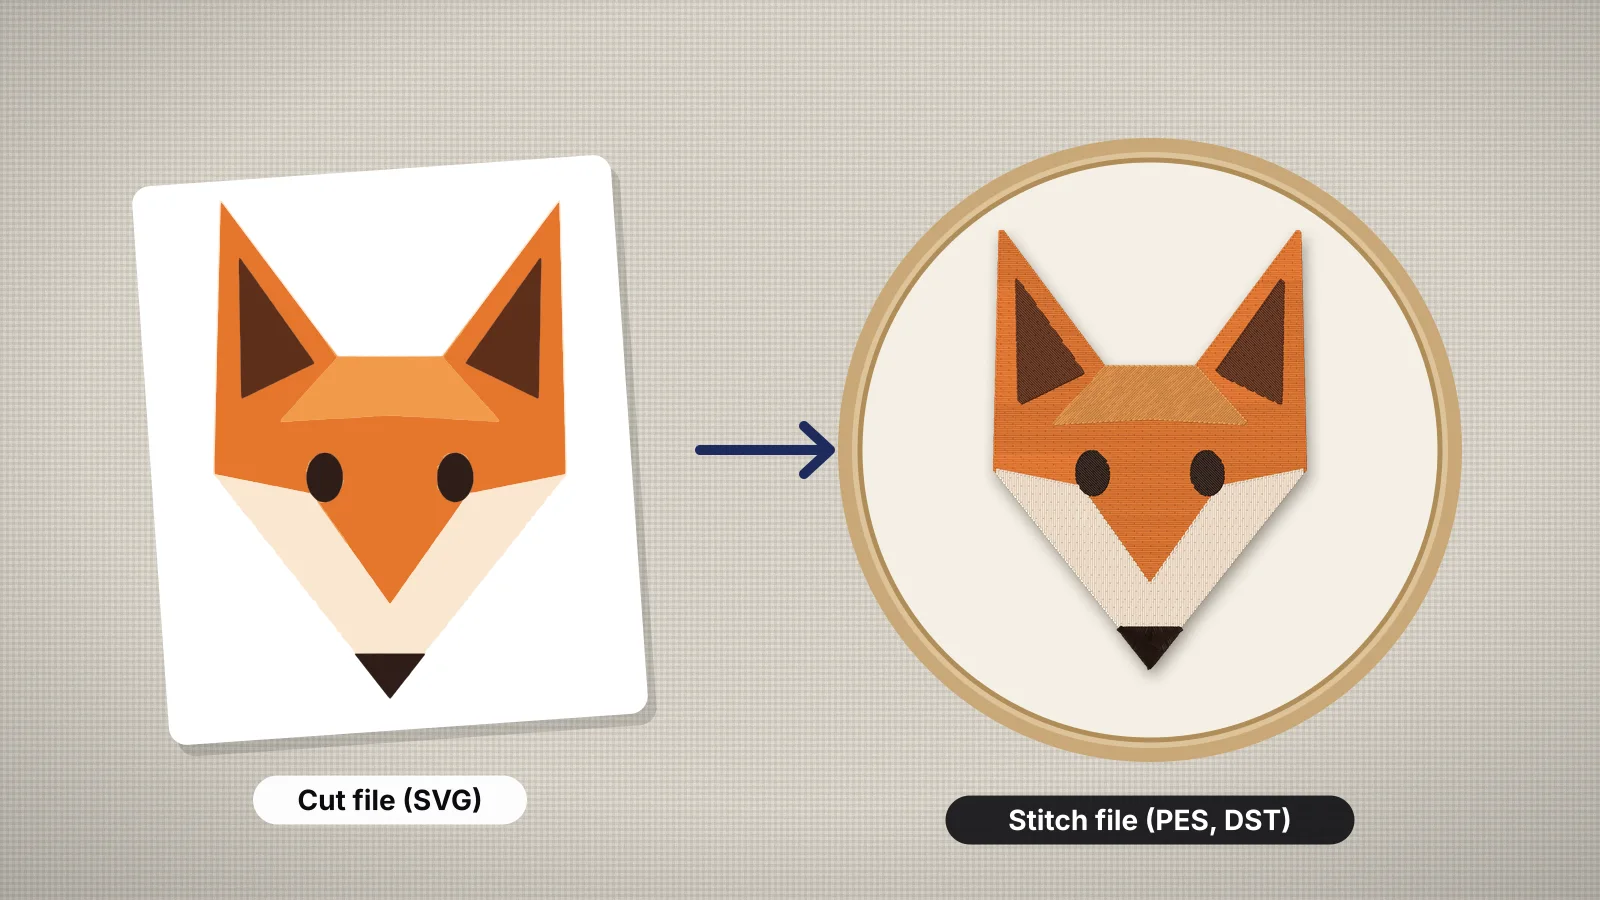
If you make shirts and decals on a Cricut or Silhouette, you probably have a folder full of SVG cut files. They look like they should be ready for an embroidery machine too, but they aren't. An SVG describes shapes for a blade or a printer. An embroidery machine needs a stitch file that says where every needle stroke goes.
The good news is that a clean SVG is some of the best artwork you can digitize from. This guide explains what changes when shapes become stitches, how to prepare a cut file, how to convert it step by step with Embrizo and what to check in the license of an SVG you bought.
Why an SVG cut file isn't a stitch file
| Compared | SVG cut file | Embroidery file (PES, DST, JEF) |
|---|---|---|
| Describes | Outlines and fills of shapes | Every stitch: needle positions, color stops, trims and jumps |
| Made for | A blade, laser or printer | An embroidery machine's needle |
| Thin lines | Cut or print at any width | Need a minimum width to stitch as a shape |
| Layers | One per vinyl or paper color, often with offset or shadow layers | One thread color per stop, sewn in order |
| Fabric | Not considered | Underlay, density and pull compensation are set for the fabric |
| Resizing | Free, at any size | Best re-digitized for changes beyond about 10–20% |
Converting an SVG to an embroidery file is digitizing: deciding a stitch type, angle, density and underlay for every shape. Renaming or re-saving the SVG won't do it. The embroidery file formats guide explains which format each machine reads.
What changes when shapes become stitches
| In the SVG | In the embroidery file |
|---|---|
| Large filled shapes | Tatami fill with underlay, sewn at an angle |
| Narrow shapes and thick strokes, up to about 6.5 mm wide | Satin stitch columns with a smooth sheen |
| Strokes under about 0.5 mm wide | A running stitch, or a bean stitch for a bolder line |
| Details much smaller than 1 mm | Dropped or merged: thread can't form them |
| Text under about 5 mm tall | Hard to read; enlarge it or remove it |
| Gradients, patterns and grunge textures | Flattened into solid colors, or broken into hundreds of tiny pieces |
| Overlapping layers | Lower colors sewn first, running slightly under the ones on top so gaps don't open |
| White areas | Stitched in white thread, or left as bare fabric |
The 6.5 mm and 0.5 mm limits are how Embrizo's digitizer sorts shapes. Other software works to similar limits, because very wide satin gets loose and snags, and lines thinner than a thread can't be filled as shapes.
Distressed SVGs are the hardest to stitch. A cracked, vintage texture is easy for a blade, but in embroidery every speck becomes a tiny separate shape with its own jump or trim. Use the clean version of the design if there is one.
Try it with your own design
Sign up free, upload an image and get a stitch preview in under a minute.
Drop your image here
PNG, JPG, SVG, PDF or AI · stays on your device
Not sure what to expect? See real examples or how it works.
How to prepare a Cricut-style SVG
- One layer per color. Weld or combine all the shapes of each color, and delete duplicate layers stacked on top of each other.
- Remove cut-only layers. Offset outlines, shadow layers, weeding boxes and registration marks were made for vinyl. Keep an offset only if you want it stitched as a border.
- Turn hairlines into shapes. Score, draw and hairline strokes have no real width. Delete them, or thicken them and convert them to filled outlines.
- Convert text to outlines, so the letters render exactly as designed.
- Delete the background. A white or colored rectangle behind the design would be stitched as a solid block.
- Set the final size and look at the thinnest parts at that size.
| Element | Minimum at the final size |
|---|---|
| Satin column or bold line | About 1.5 mm (0.06 in) wide |
| Lettering height | About 5 mm (0.2 in); more on caps, fleece and towels |
| Gap between shapes | About 1 mm (0.04 in), or they merge |
| Dots and small details | About 1.5 mm (0.06 in) across |
Then run the SVG through the embroidery image checker, which flags fine detail, small sizes and too many colors before you digitize. The artwork prep guide goes further.
Convert an SVG to PES, DST or JEF in Embrizo
- Upload the SVG to the Embrizo digitizer. It renders the vector at high resolution in the browser, so curves and edges stay smooth.
- Set the size to the finished width or height on the item. Digitize at the real size rather than scaling the stitch file later.
- Check the colors. Each flat fill becomes a thread color, matched to a Brother or Janome thread or kept exact. Leave out any color you don't want stitched, such as a white background.
- Pick the fabric. Woven, Knit, Stretch, fleece and towel, or leather and vinyl. The preset sets the density, underlay and pull compensation.
- Review the stitch types. Switch any color between satin, fill and running stitch if the automatic choice isn't the look you want.
- Check the preview. Look at the stitch preview on your fabric color, play the sew-out and read the design check for fine detail and stitch count.
- Save the file in your machine's format: PES for Brother and Baby Lock, JEF for Janome, DST for commercial machines, and others.
Digitizing and previewing are free with an Embrizo account; saving the machine file needs a plan, from $8 a month billed yearly. A plan counts a design once a month however many formats you save. The SVG to PES, SVG to DST and SVG to JEF pages go straight to each format.
Ways to turn an SVG into stitches
| Option | What you do | Best for |
|---|---|---|
| Embrizo digitizer | Upload the SVG; stitch types, underlay and fabric settings are planned automatically in the browser | The best choice for most cut files, logos and clip art: a stitch file in minutes, on any computer |
| Ink/Stitch | A free, open-source Inkscape extension; you set the stitch type and settings path by path | People who want full manual control and already know digitizing |
| Desktop digitizing software | Import the SVG, then auto-digitize it or draw stitch objects by hand | Specialty work such as 3D puff and free-standing lace |
| A digitizing service | Send the SVG and pay per design, usually with a wait of a day or more | Brand-critical logos and one-off specialty jobs |
The Ink/Stitch alternative page and the best online embroidery digitizer list go into more detail.
Cutting machine owners have a head start with appliqué, because the machine can cut the fabric pieces. Embrizo's appliqué maker builds the placement line, tack-down and satin cover for a simple shape or letters; see how to digitize appliqué.
Check the license of a purchased SVG
Most SVGs sold for cutting machines come with a license, and many commercial-use licenses are written for vinyl, sublimation and printed products. They often don't mention converting the design to another format, and some forbid it. An embroidery file made from the SVG is the same artwork in a new format, so the designer's terms still apply.
- Check the license for words like 'embroidery', 'digitizing' or 'converting'. If it's silent, ask the designer before you stitch items to sell.
- Personal-use licenses usually cover making things for yourself, not for sale.
- Don't sell or share the converted file. Most licenses forbid passing on the design itself, in any format.
- Trademarks are separate. Team logos, characters and brand names in a cut file need the owner's permission whatever the SVG license says.
The embroidery design copyright guide covers the basics. Artwork you drew yourself avoids the question entirely.
Practice on a free design
167 ready-to-sew designs in every machine format, free with an account.
Test-stitch and fix
| What you see | Likely cause | Fix |
|---|---|---|
| Gaps between colors | The fabric pulled during stitching | Use the Knit or Stretch preset on stretchy fabric, with firmer backing |
| Thin lines vanished or look like dashes | Strokes too thin at the final size | Thicken them in the SVG, or switch that color to running stitch |
| Lots of trims and jumps | Many small separate shapes, often from a distressed texture | Use a clean version, or merge the small pieces |
| A stiff, heavy design | Large solid fills | Lower the fill density, or leave some areas as bare fabric |
| Unreadable letters | Text under about 5 mm tall | Enlarge the design or the text |
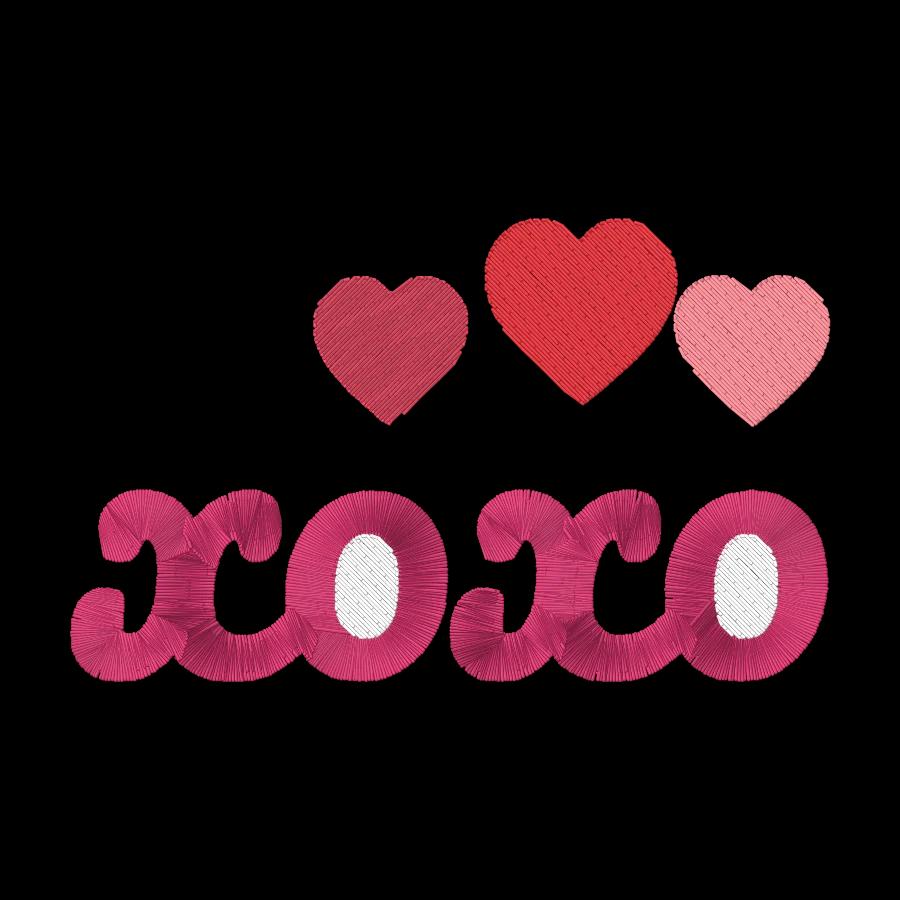
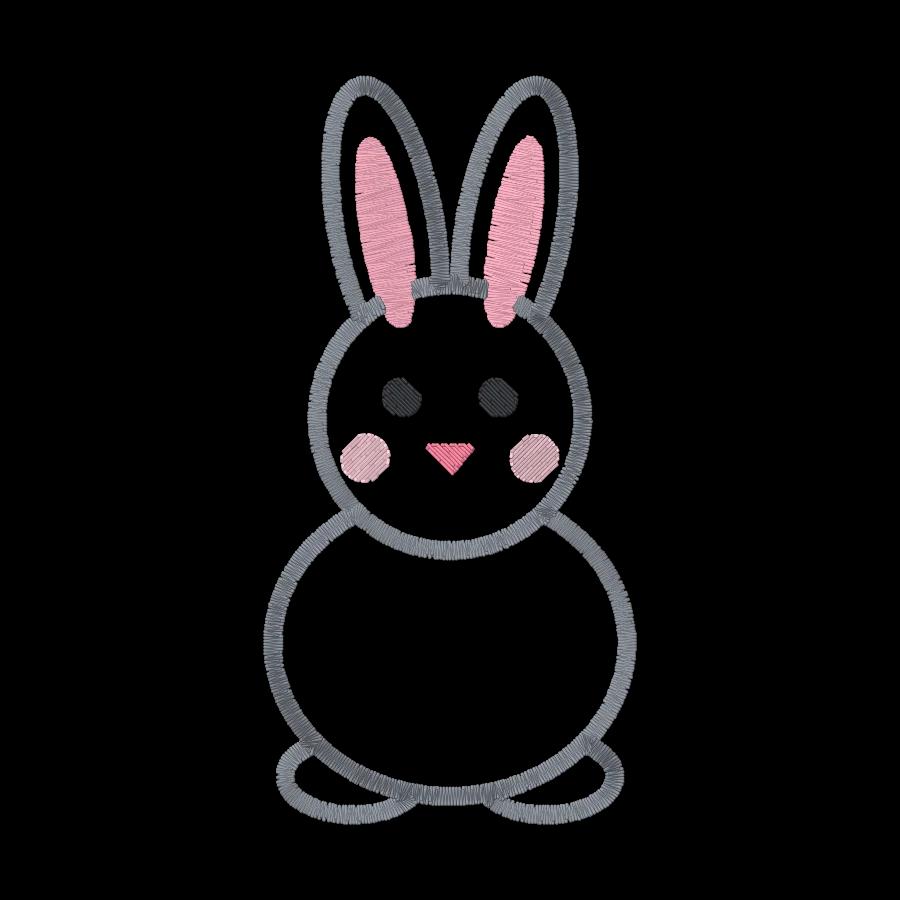
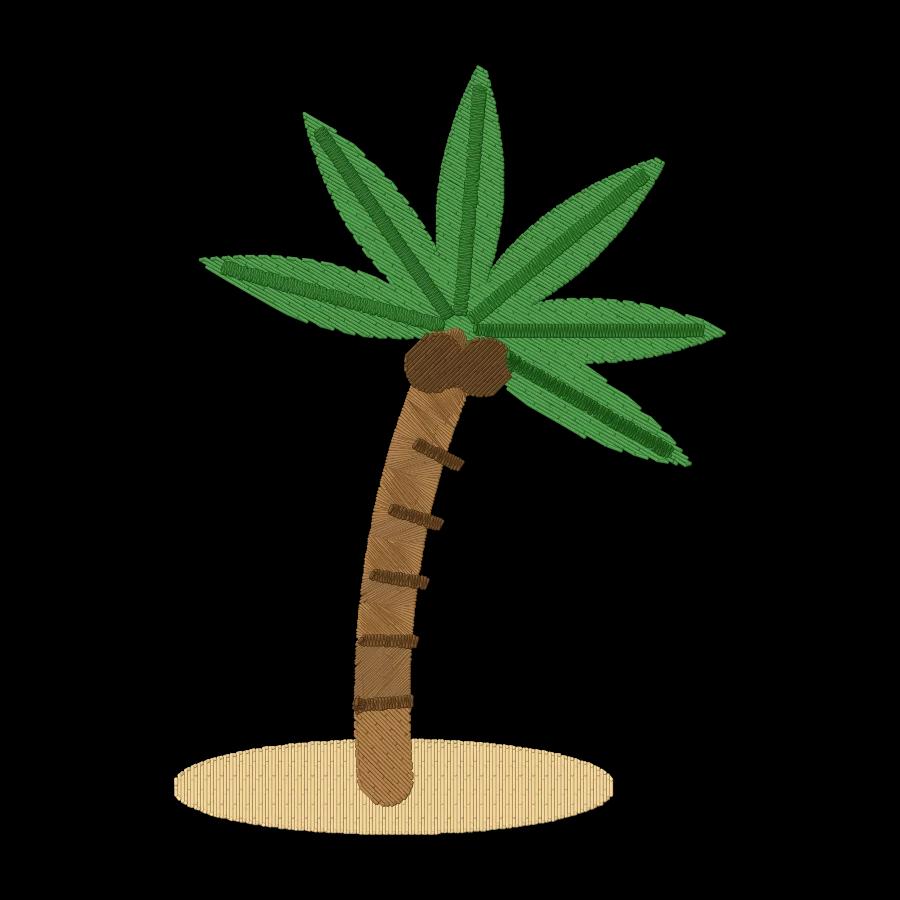
Stitch a test on scrap of the same fabric with the same stabilizer. The embroidery file checker and the sew-out simulator catch most problems before the needle moves.


