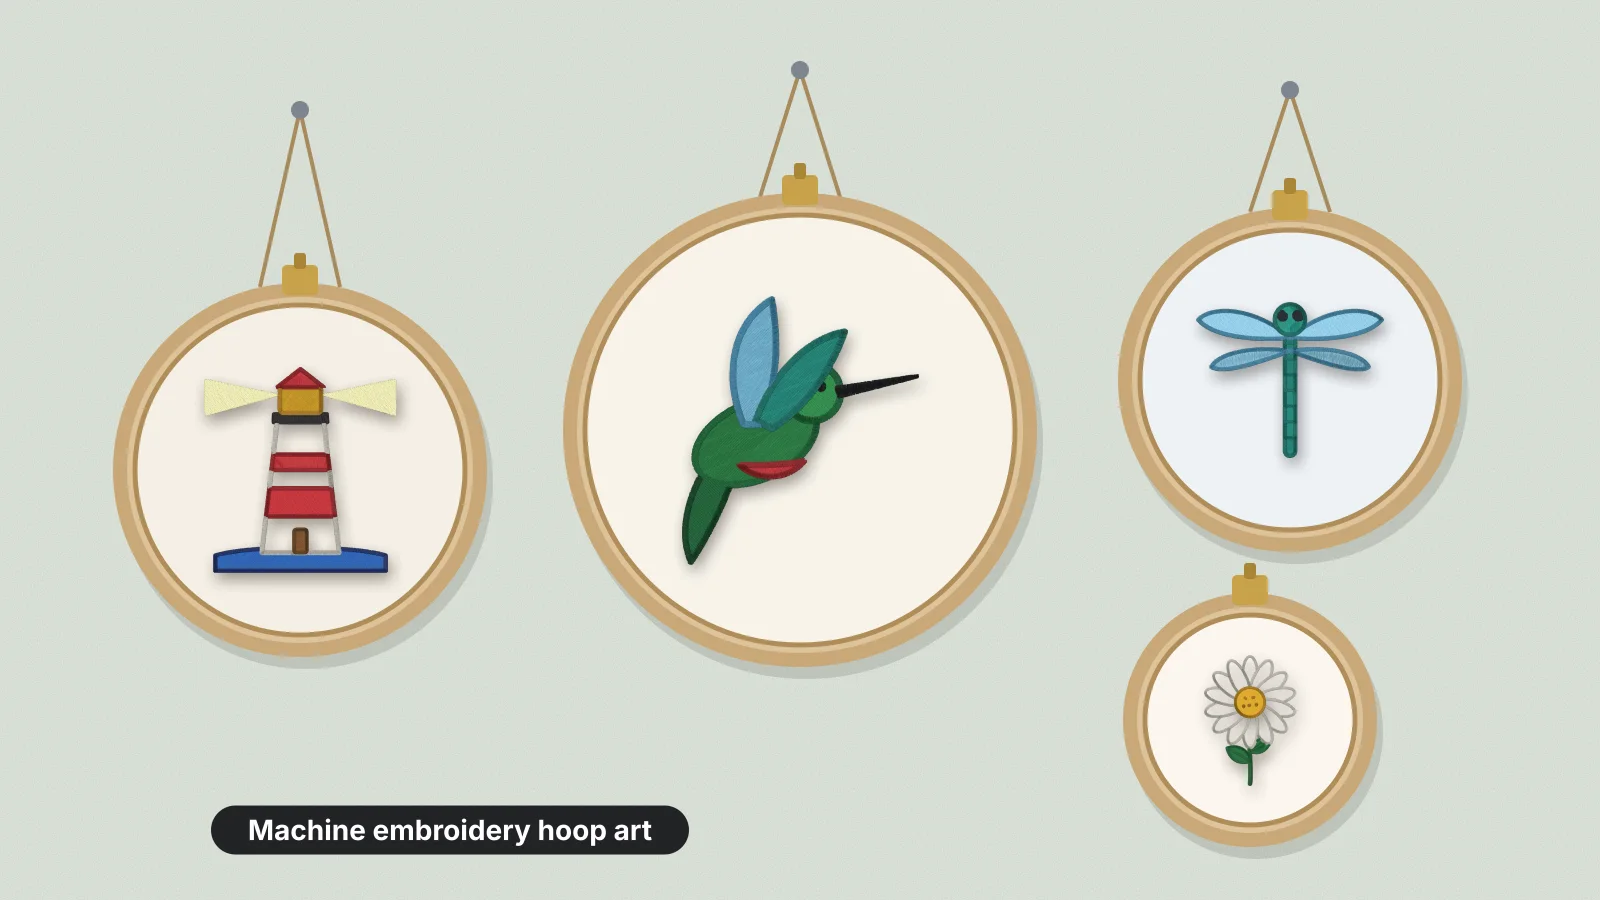
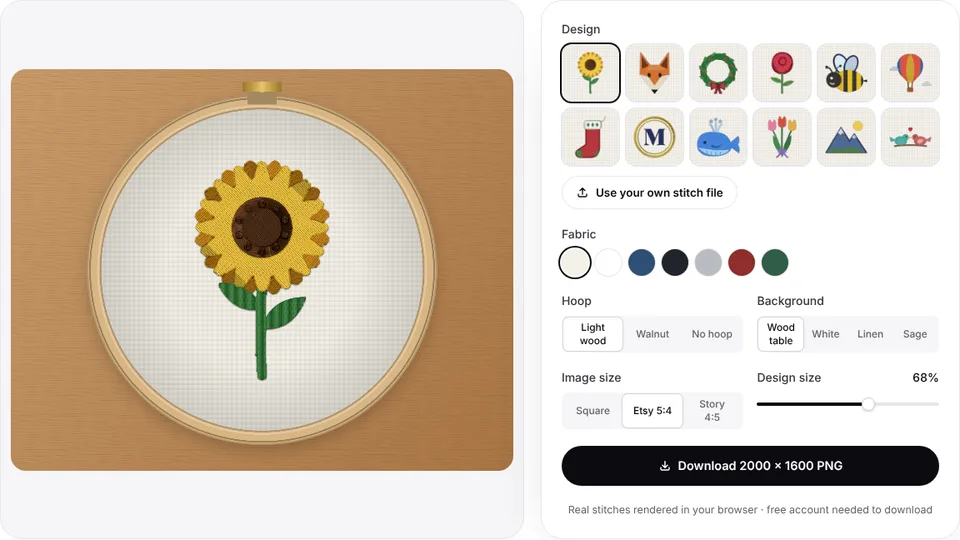
 Free toolEmbroidery hoop mockupShow a stitch file or design in a wooden hoop on fabric: listing photos for Etsy and social.Open the tool
Hoop art is one of the simplest things to make on an embroidery machine and one of the easiest to sell: a name for a nursery, a wedding date, a pet or a few flowers, stitched on good fabric and left in a wooden hoop to hang. It suits any single-needle machine, even one with a 4×4 in field.
This guide covers sizing the design for both the display hoop and your machine hoop, fabrics and stabilizers that look right from the front, designs that work, three ways to finish the back, hanging and photos, and pricing for Etsy and craft fairs. For a first try, the free designs include florals and animals that fit a small hoop.
What is machine embroidery hoop art?
Machine embroidery hoop art is embroidery that stays in a wooden display hoop as its frame, stitched on a machine instead of by hand. The display hoop isn't your machine hoop: you stitch in the machine hoop as usual, then mount the finished fabric in a separate beech or bamboo hoop, whose tightening screw at the top doubles as the hanger.
Machine pieces are quicker than hand-embroidered hoops and repeat exactly, which is what makes personalized orders work: the same wreath with a different name, ten times a week. Per piece you need:
| Item | Typical cost, about | Notes |
|---|---|---|
| Wooden display hoop, 4–8 in | $1–$5 | Beech or bamboo; cheaper in multipacks |
| Fabric | $0.50–$2 | A 9–12 in square of linen, cotton, canvas or felt |
| Stabilizer | $0.20–$0.50 | Tear-away or a soft cut-away mesh |
| Felt for the back | $0.20–$0.50 | A circle the size of the inner ring |
| Thread and glue | $0.20–$0.50 | 40-weight embroidery thread; fabric glue or a low-temperature glue gun |
Plan on 10–40 minutes of stitching, depending on the design, plus 10–15 minutes to mount the piece and finish the back.
What size design fits a 4, 6 or 8 in display hoop?
Keep the design about 1 in (25 mm) smaller than the display hoop, so it has about ½ in of fabric on every side: about 3 in in a 4 in hoop, 5 in in a 6 in hoop and 7 in in an 8 in hoop. Then check your machine hoop can stitch that size, because the machine's field limits you first.
| Display hoop | Largest design, about | Smallest machine hoop for it |
|---|---|---|
| 3 in | 2 in (50 mm) | 4×4, which takes designs up to about 94 mm |
| 4 in | 3 in (75 mm) | 4×4 |
| 5 in | 4 in (100 mm) | 5×7, up to about 124 mm wide; a 4×4 stops at about 3.7 in |
| 6 in | 5 in (125 mm) | 5×7 at up to about 4.9 in; 6×10 or 8×8 for the full 5 in |
| 7 in | 6 in (150 mm) | 6×10, up to about 154 mm wide, or 8×8 |
| 8 in | 7 in (175 mm) | 8×8 or 8×12, up to about 194 mm |
| 10 in | 9 in (225 mm) | 9.5×14, up to about 234 mm wide, on large-field machines |
Measure the design's farthest points from its center, not just its width. A round wreath fits by its diameter, but a block of text fits by its diagonal: a name layout 4 in wide and 2 in tall is about 4.5 in corner to corner, so it needs a 6 in display hoop, not a 5 in one. Display hoop sizes are nominal and brands differ by a few millimeters, so measure inside the inner ring. The hoop size calculator shows which machine hoops fit a design and how far to scale it if none does.
- Cut the fabric big enough for both hoops. It has to clamp in the machine hoop and leave about 1.5–2 in (40–50 mm) beyond the display hoop all round: about 10 in square for a 6 in hoop. If the machine hoop needs more, hoop the stabilizer alone and float the fabric on it with spray adhesive or a basting stitch.
- Mark the center with crosshairs in a water-soluble pen (chalk on felt), line them up with the machine hoop's marks, and use them again to center the display hoop.
- Keep hoop marks out of sight. A machine hoop can press a ring into linen. Steam it out from the back, or use a machine hoop big enough that the ring lands outside the display hoop.
Try it with your own design
Sign up free, upload an image and get a stitch preview in under a minute.
Drop your image here
PNG, JPG, SVG, PDF or AI · stays on your device
Not sure what to expect? See real examples or how it works.
Which fabric and stabilizer should you use for hoop art?
Linen, quilting cotton, cotton canvas and felt all work, with a medium tear-away or a soft white cut-away mesh that doesn't show through from the front. Pick the fabric for the look, then the stabilizer for the stitch density:
| Fabric | Look | Stabilizer | Watch for |
|---|---|---|---|
| Linen or a linen-cotton blend | Natural texture, the classic hoop art look | Medium tear-away for light designs; white cut-away mesh for dense ones | Linen shifts and frays: press it first and hoop it on the straight grain |
| Solid quilting cotton | Smooth, flat color in every shade | Medium tear-away, or cut-away mesh under fills | It's thin, so dense fills pucker without enough backing |
| Cotton canvas or duck | Sturdy and slightly textured | Medium tear-away | Heavy fabric is harder to pull tight in a 3–4 in hoop |
| Wool or wool-blend felt | Soft, bold color that never frays | Tear-away | Acrylic craft felt stretches and pills; wool felt can shrink, so keep it away from water |
| Printed cotton, such as gingham | A patterned background behind a name | Medium tear-away | Busy prints hide fine lettering, so keep the text bold |
Stabilizer shows in hoop art in three ways, and each is easy to avoid:
- A shadow through light fabric. A dark or heavy stabilizer under white linen shows as a gray patch, especially with light behind it. Use white stabilizer under light fabric, and on thin fabric a soft cut-away mesh, often sold as no-show mesh.
- A hard edge. Trim cut-away to about ¼ in (6 mm) around the stitching with rounded corners, so no square outline shows. Tear tear-away gently, holding the stitches flat.
- Hoop marks and creases. Press from the back on a folded towel, which lifts marks without flattening the stitches.
Designs built mostly from outlines, running stitch and narrow satin look best on linen and pucker least; solid fills more than about 3 in across suit canvas and felt better. The stabilizer guide covers weights and types.
What designs work best for embroidered hoop art?
The designs that sell as hoop art are personal or seasonal and read well from across a room: florals, names, short quotes, pets, birth announcements and wedding dates. How each one usually fits:
| Design | Usual display hoop | What makes it work |
|---|---|---|
| Florals and wreaths | 5–8 in | Line art or light fills on linen; a wreath leaves the middle free for a name or an initial |
| Names for a nursery or a door | 6–8 in | Script or serif letters about 0.75–1.25 in (20–30 mm) tall, inside a wreath or under a small motif |
| Short quotes | 6–8 in | 3–10 words on 2–4 centered lines, with the smallest letters at least 0.2 in (5 mm) tall |
| Pet portraits | 5–7 in | An illustrated portrait in 6–10 colors, often with the name below |
| Birth announcements | 6–8 in | The name large, then the date, time, weight and length small, with a motif such as a moon or a flower |
| Wedding dates | 6–8 in | Two names and a date, with a simple motif such as two birds or a wreath |
| Places | 5–8 in | A state outline with a heart, a town name or a simple skyline |
For a ready-made start, the tulip bouquet and love birds designs both stitch under about 3.75 in (95 mm) and sit well in a 6 in display hoop; the love birds leave room for two names and a date below. For pets, the pet portrait embroidery file page shows how a photo becomes a stitchable portrait.
- Fill the circle. A roughly round or square design looks best; a single long line of text looks lost in a circle, so stack it on two or three lines.
- Size text for the wall. 5 mm is the minimum for the small line of a birth announcement; 6–8 mm reads better across a room.
- Mind the rights. Song lyrics, film and TV quotes and cartoon characters need a license to sell. Short common sayings generally aren't protected by copyright, though some slogans are trademarks; embroidery design copyright explains the rules.
How do you finish the back of an embroidery hoop?
Center the piece in the display hoop, trim the fabric to about 1–1.5 in beyond the hoop, gather it with a running stitch or glue it to the inner ring, and cover the back with a felt circle. Step by step:
- Tear or trim the stabilizer, clip the jump threads and press from the back on a towel.
- Lay the inner ring under the fabric and press the outer ring over it, with the screw at the top, in line with the top of the design.
- Pull the fabric drum-tight a little at a time all the way round, keeping the grain straight, and tighten the screw.
- Trim the fabric to a circle about 1–1.5 in (25–40 mm) beyond the hoop.
- Gather or glue the edge onto the back of the inner ring, as in the table below.
- Trace the inner ring on felt, cut just inside the line and stitch or glue the circle over the back. Sign or date it first.
| Method | How | Best for |
|---|---|---|
| Gathered running stitch | Hand-sew a running stitch about ½ in (12 mm) from the edge with doubled thread, pull it tight so the fabric folds over the inner ring, and knot it | Gifts and pieces someone may want to remount; nothing is permanent |
| Glue | Run fabric glue or low-temperature hot glue along the inside edge of the inner ring, press the fabric onto it and trim it close once dry | Fast, flat backs for batches you sell |
| Felt backing | A felt circle the size of the inner ring, whipstitched or blanket-stitched to the gathered fabric, or glued in | The most finished look, over either of the other two |
Once the fabric is tight, put a small dot of glue between the rings at the bottom of the hoop. It stops the fabric slipping over the months, and nobody sees it. Keep glue away from the screw, so the hoop can still be tightened.
How do you hang and photograph hoop art?
Hang a display hoop by its screw bracket on a small nail or a picture hook, or tie a loop of ribbon or twine through the bracket to hang it lower. On a rented wall, a removable adhesive hook rated for the weight works too.
- Group them in odd numbers. Three or five hoops of mixed sizes, about 2–3 in (50–75 mm) apart, look like a set.
- Center the group at eye level, about 57–60 in (145–150 cm) from the floor, the height many galleries use.
- Keep it out of direct sun, which fades thread and fabric, and away from steam and cooking grease. Dust it with a soft brush or a lint roller rather than washing it.
For photos, shoot straight down from above so the hoop stays round, then an angled close-up for stitch texture and one on a wall or in a hand for scale. How to photograph embroidery covers light, white balance and props. For custom orders you haven't stitched yet, the embroidery hoop mockup shows a design stitched in a hoop on a background; label it as a preview and keep real photos first.
How do you price and sell embroidered hoop art?
Price from your materials and time, then check it against Etsy's fees and what similar pieces sell for: personalized machine-embroidered name hoops commonly list at about $25–$85 on Etsy, many around $40–$60. A worked example for a 6 in name hoop:
| Cost | Example | Amount |
|---|---|---|
| Hoop, fabric, stabilizer, felt and thread | A 6 in beech hoop on linen | $5.00 |
| Packaging | A small box, tissue and a card | $2.00 |
| Your time | Proof, stitching, finishing and packing: 40 minutes at $25 an hour | $16.70 |
| Total cost | Before fees and profit | $23.70 |
| Price | Covers about 10% in Etsy fees and leaves about $16 profit | About $45 |
Etsy's US fees in 2026 are a $0.20 listing fee, a 6.5% transaction fee on the item price plus shipping and gift wrap, and payment processing of 3% plus $0.25; a sale that comes through Etsy's Offsite Ads costs a further 12–15% of that order. Pet portraits and full birth announcements take longer to proof and stitch, so price them above a name alone. Ship hoops in a small box, not a padded mailer, so the rings don't crack.
- Etsy suits personalized names, birth announcements and wedding dates, with a proof before you stitch. How to sell embroidery on Etsy covers listings and personalization fields.
- Craft fairs, where a wall of hoops draws people to the table even when most sales are smaller items. Selling embroidery at craft fairs covers the booth and taking orders.
- Local gift shops and baby boutiques, wholesale or on consignment. Ask what share the shop keeps and who pays for damaged stock.
- Word of mouth. Put a small card with your shop link in every package.
Only sell artwork you have the rights to. Embrizo's free designs may be stitched on items you sell, but the files themselves can't be resold or shared.
Practice on a free design
167 ready-to-sew designs in every machine format, free with an account.


Making hoop art designs with Embrizo
Embrizo turns your drawing, lettering layout or simplified pet photo into a stitch file for your machine, at the size your display hoop needs:
- Upload the artwork to the digitizer as a PNG, JPG, SVG, PDF or Illustrator file. It removes the background, separates the thread colors and picks satin, fill or running stitch for each shape, with underlay, pull compensation and lock stitches.
- Set the width for your display hoop, such as 120 mm for a 6 in hoop stitched in a 5×7 machine hoop, and choose the woven preset for linen, cotton and canvas.
- Set the colors. Max colors on Auto or a number, the Brother or Janome thread chart or the image's exact colors, and merge or switch off any color, such as a background that should be the fabric.
- Check it first. The stitch preview shows the design stitched, and the design check flags details too fine to stitch, a design too small or too large, and high stitch counts.
- Download PES, JEF, DST, EXP, VP3, XXX, PEC, U01 or TBF for your machine, after rotating it in 90° steps or mirroring it if the layout needs it.
Digitizing and previews are free with an account; downloading files needs a plan. Embrizo makes the file; mounting, finishing and selling are up to you, and hand-stitch effects such as French knots and thread painting are outside what an automatic digitizer does well.


