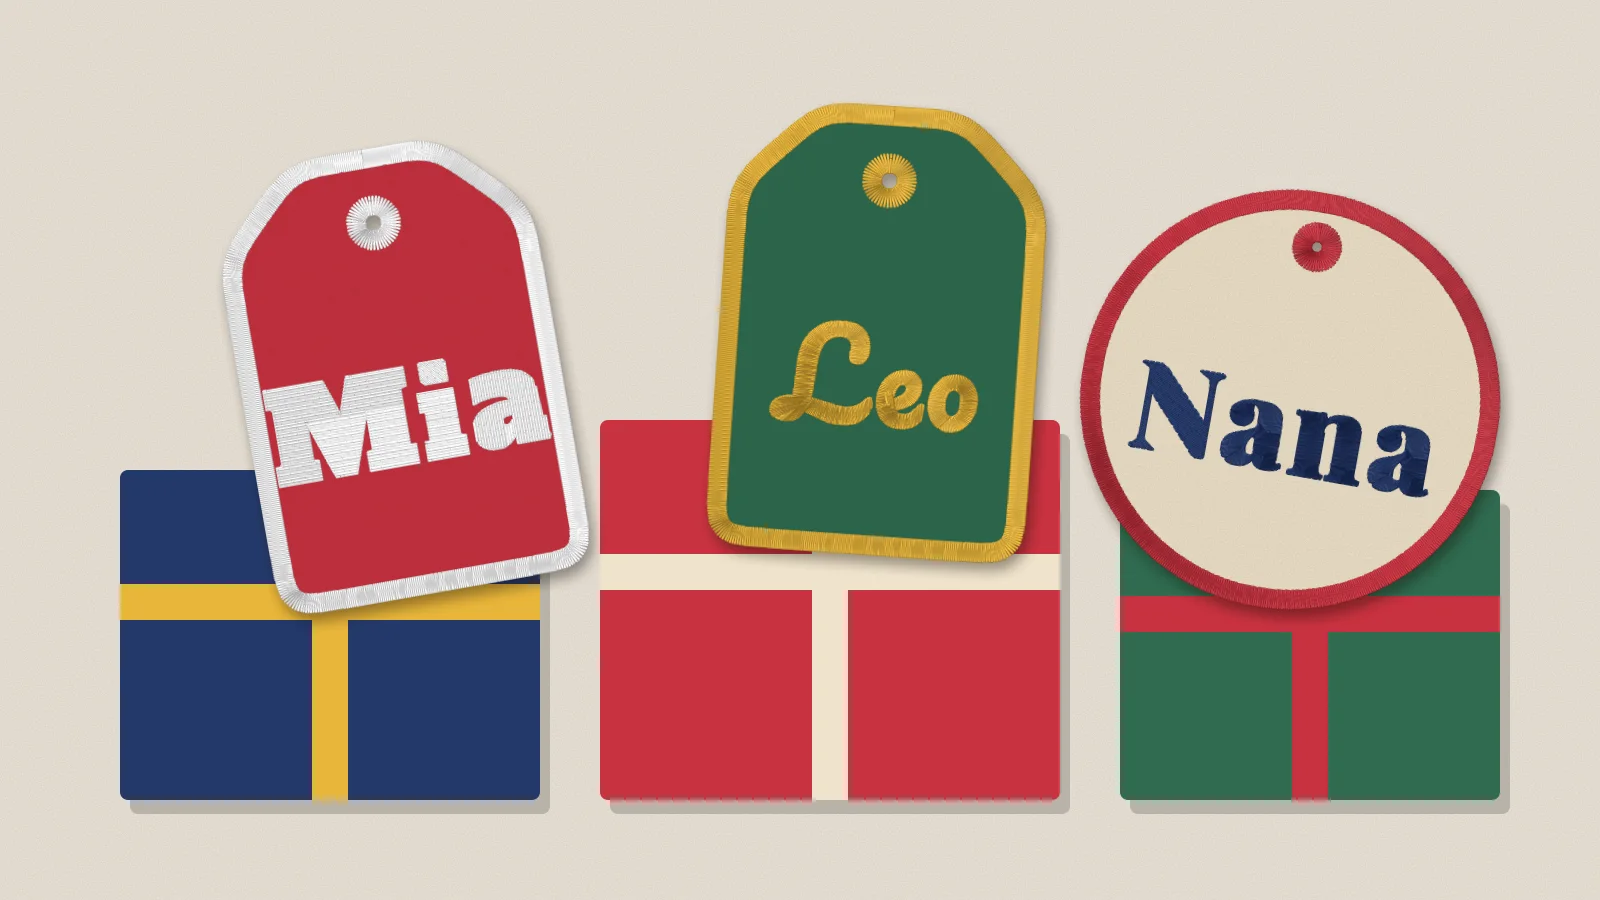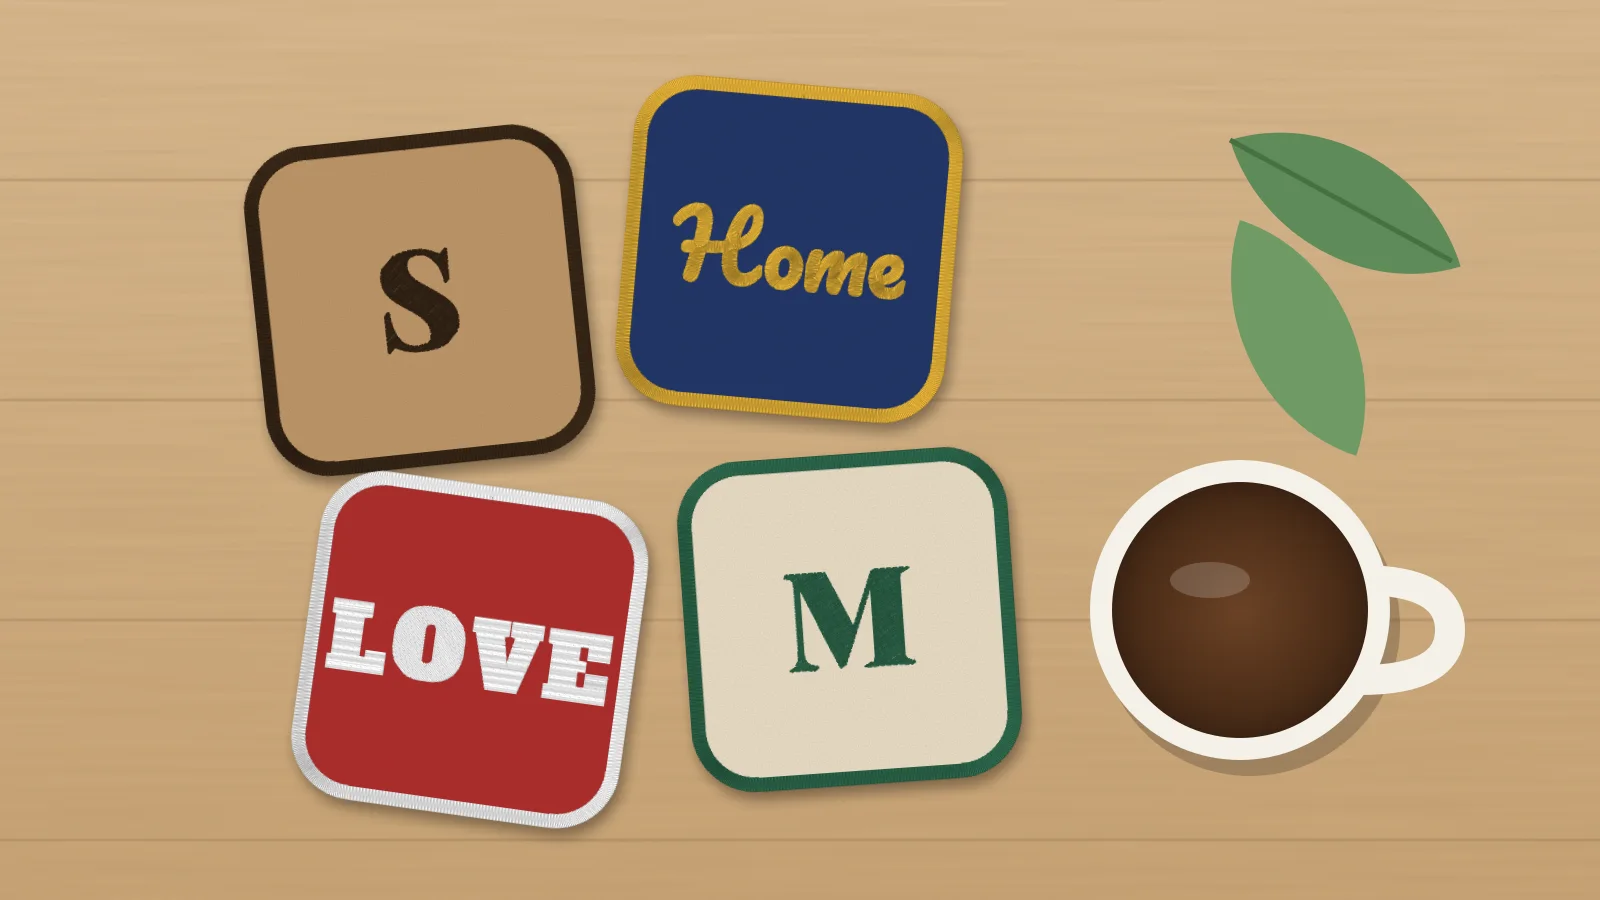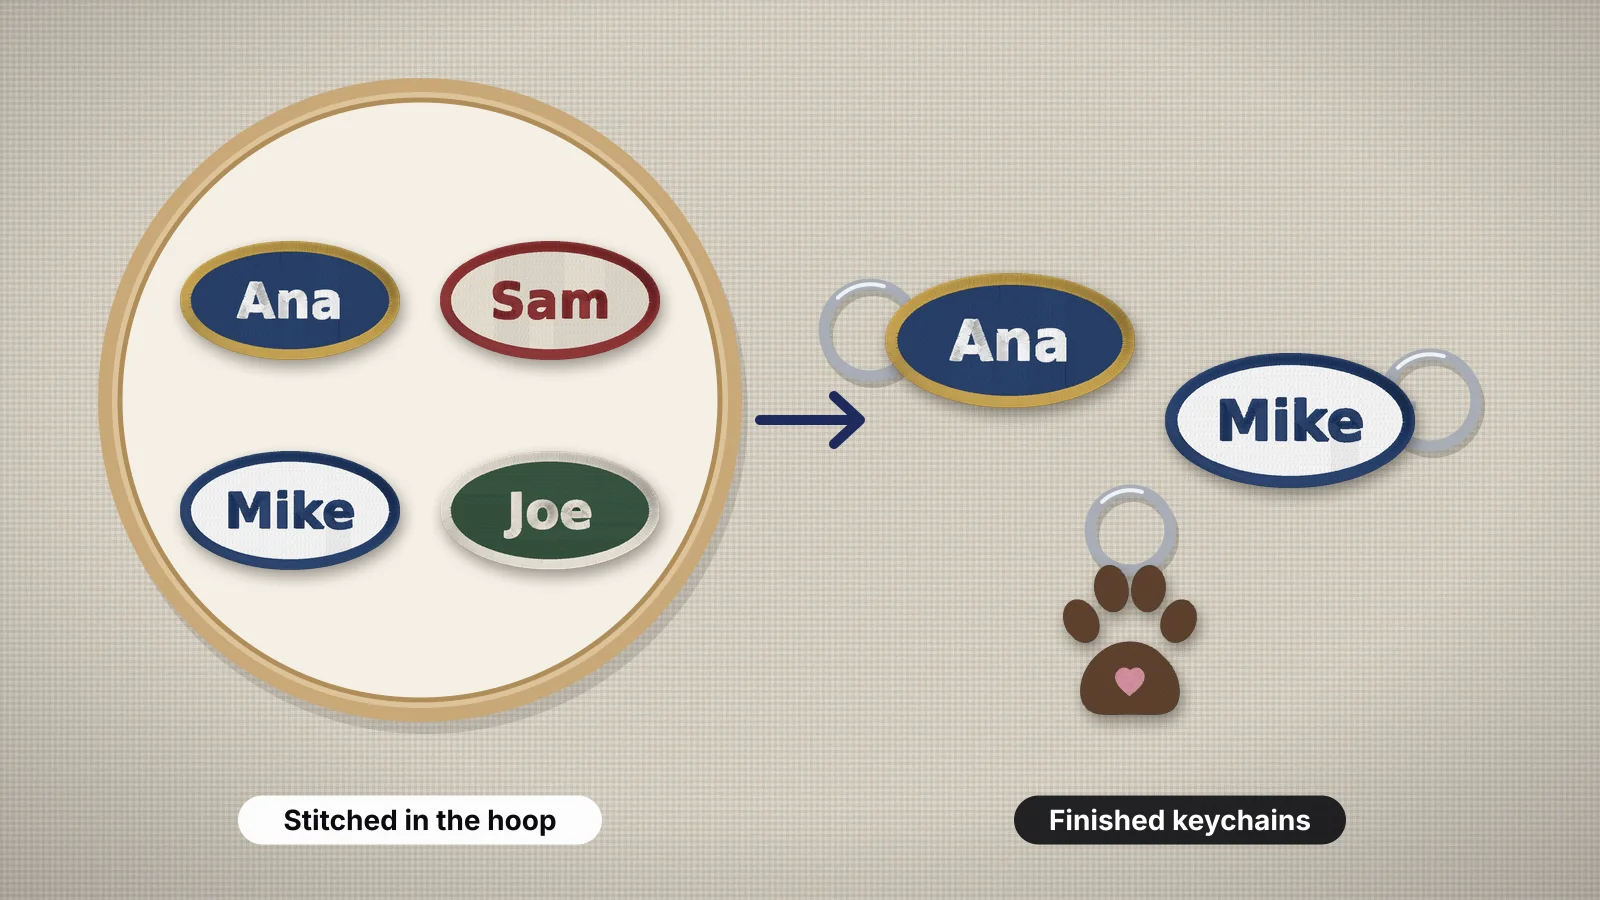
 Free previewIn-the-hoop key fob makerMake an in-the-hoop key fob, bookmark, gift tag or ornament with a name: placement line, tack-down, name and satin border in one file.Open the tool
Keychains are one of the best first in-the-hoop projects: small, quick, cheap to make and easy to personalize with a name. They're also steady sellers at craft fairs and popular as party favors, team gifts and bag tags.
This guide covers the styles, the sewing sequence, materials and hardware, sizes and how many fit a hoop, adding names, making your own keychain design and selling them. For how ITH projects work in general, see in-the-hoop embroidery; this guide goes deeper on keychains.
What is an in-the-hoop keychain?
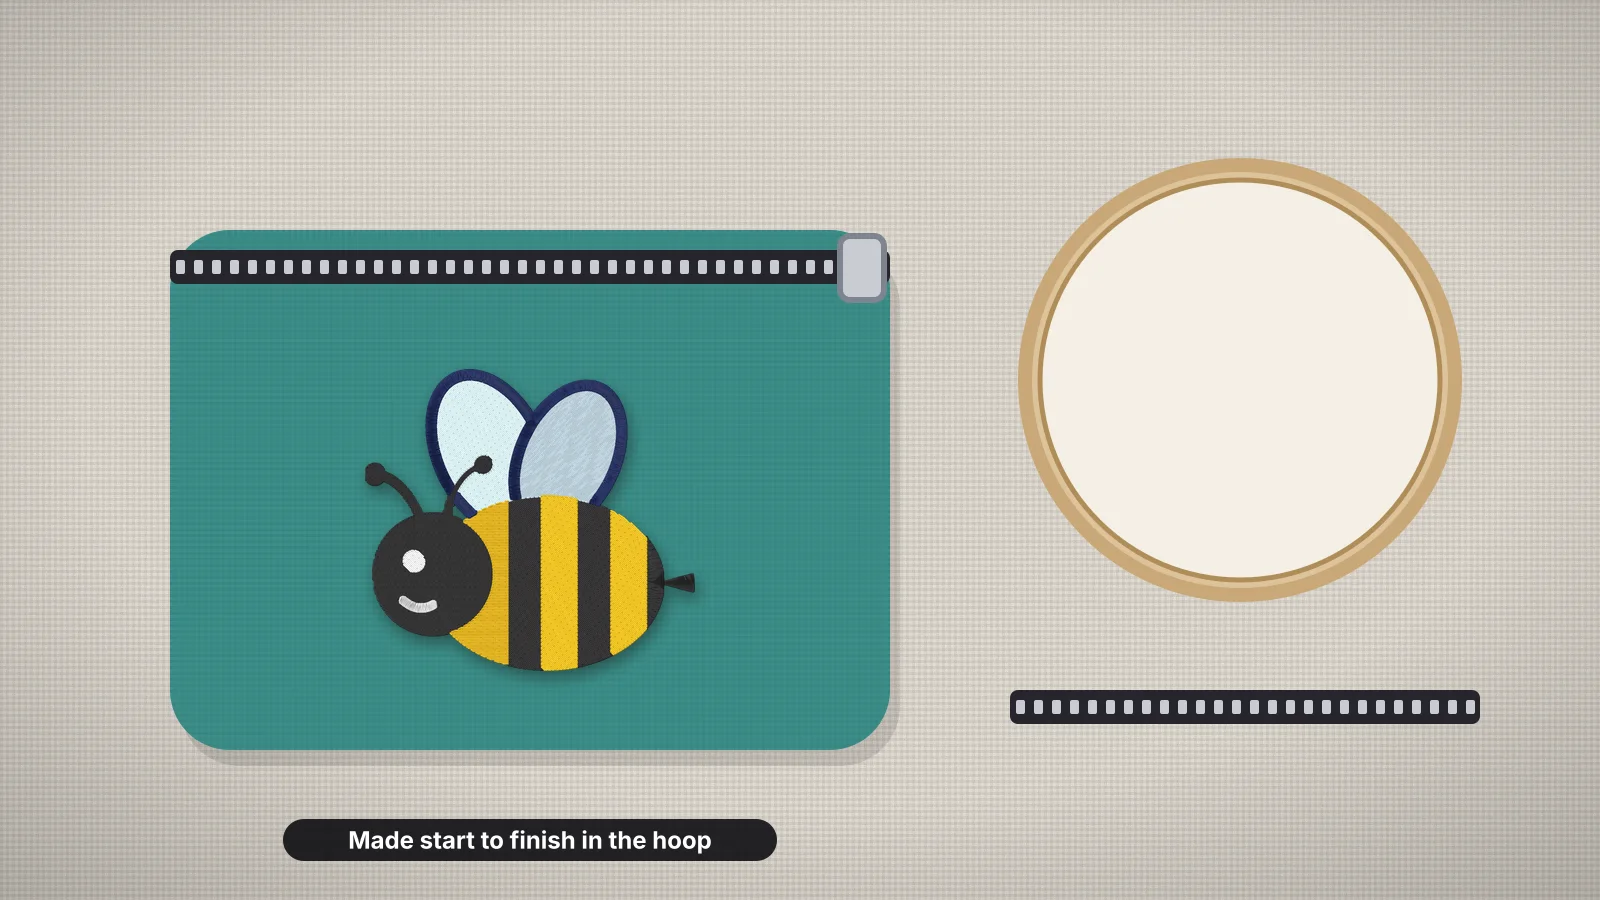
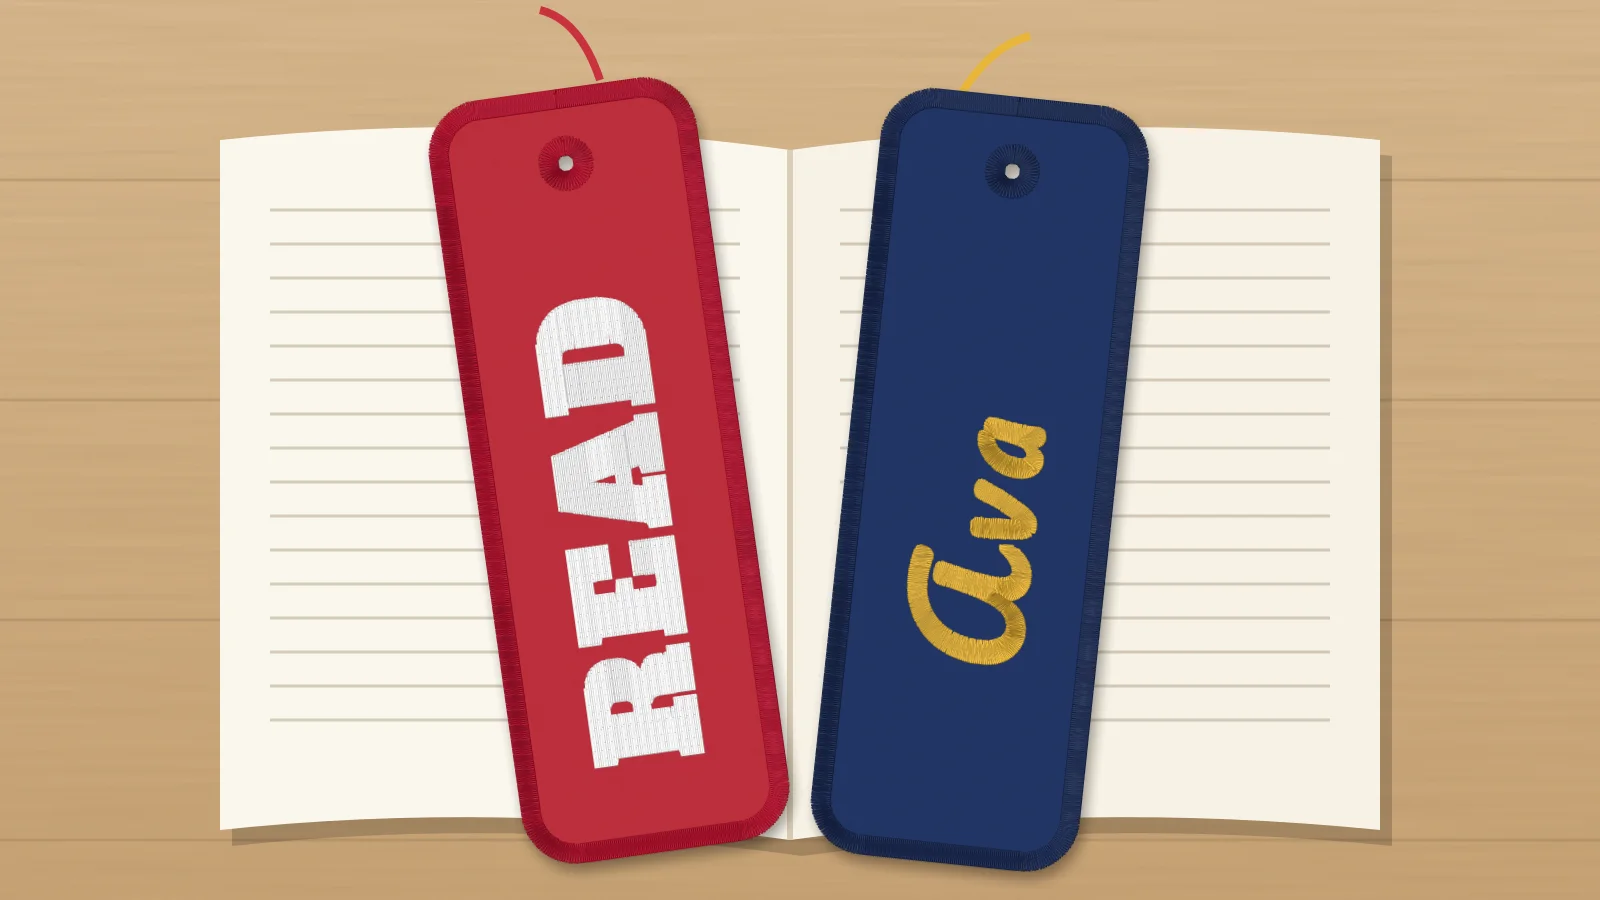
An in-the-hoop keychain is a small, flat fob that the machine builds in one hooping: it stitches a placement line, holds the fabric down, adds the decoration and finishes the edge, and you only trim and add the hardware. The common styles differ mainly in how the ring attaches:
| Style | How the ring attaches | Typical materials |
|---|---|---|
| Shaped fob with an eyelet | A hole inside a stitched ring, or a grommet set after stitching | Vinyl, faux leather, felt, cork |
| Snap tab | A strip folded round the ring and closed with a plastic snap | Vinyl or faux leather, which don't fray |
| Loop fob | A ribbon or webbing loop caught between the layers under the border | Felt, vinyl, cotton with fusible fleece |
| Name or bag tag | An eyelet or loop at one end of a longer, narrower tag | Vinyl, felt, twill |
Edges are usually finished with a satin border that covers the cut edge, or with a bean stitch (triple run) a few millimeters inside a raw edge, which works on vinyl, felt and cork because they don't fray. The glossary has short entries on in-the-hoop, the placement line and the tack-down.
How does an ITH keychain sew, step by step?
Designs differ, so follow the instructions that come with yours. A typical two-layer keychain with a satin border sews like this, with a color stop before each step that needs your hands:
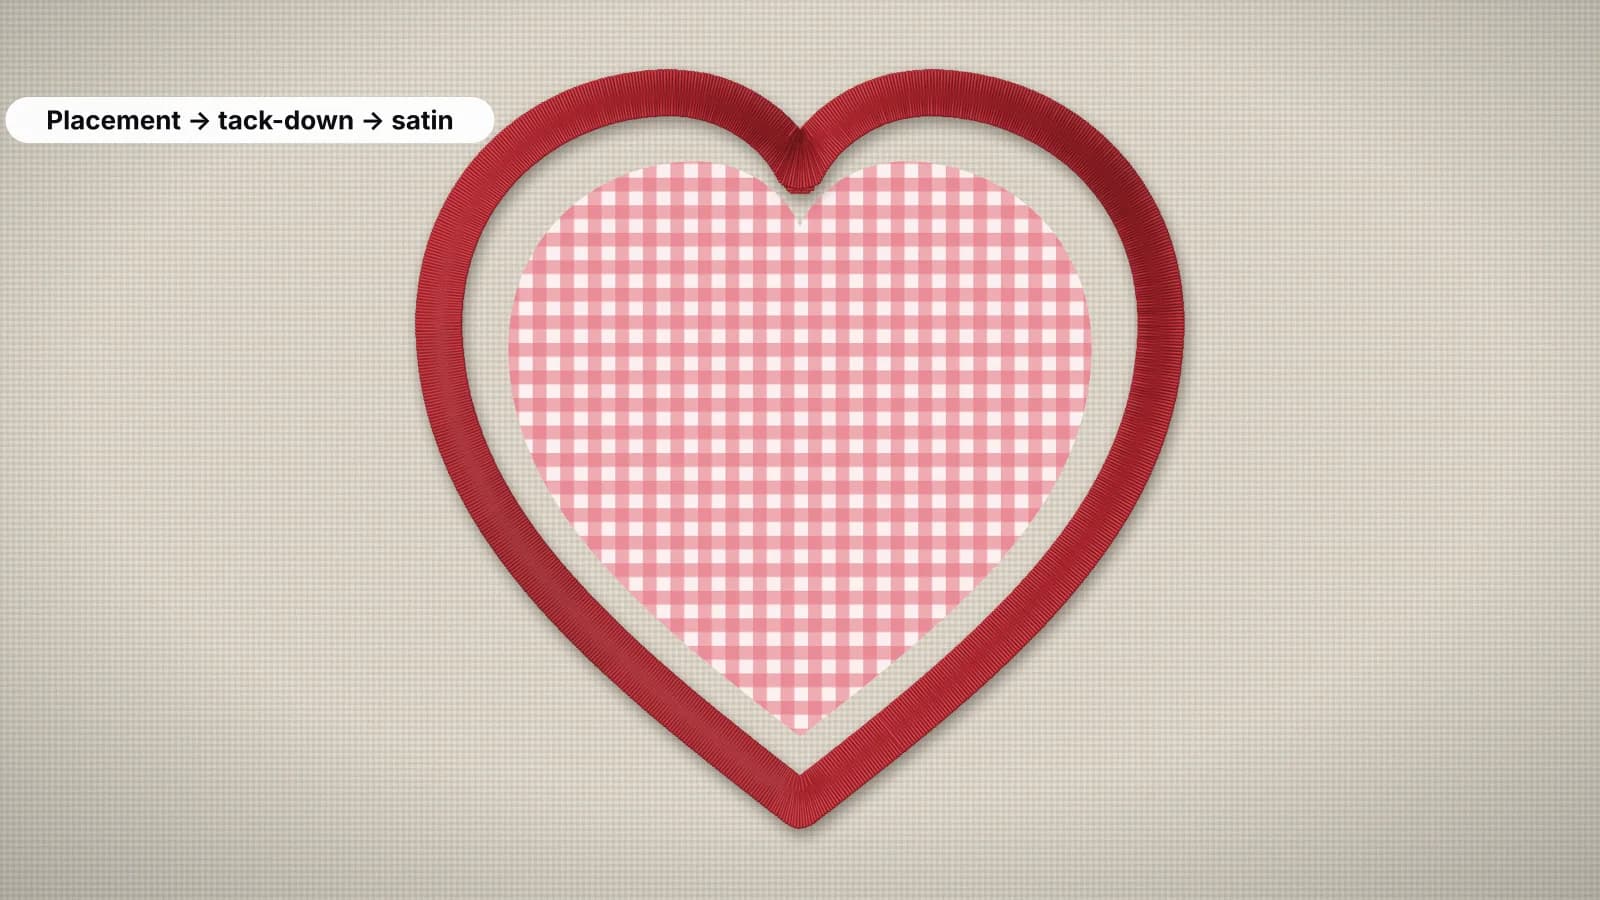
- Hoop medium tear-away stabilizer on its own, drum-tight, and sew the placement line, a single running stitch round the keychain's outline.
- Lay the front piece right side up over the line, with at least 6 mm (1/4 in) to spare on every side, and tape the corners outside the stitch path. Sew the tack-down, a running or zigzag stitch just inside the line.
- Trim the front about 1–2 mm from the tack-down if the instructions say so. On raw-edge designs, felt and vinyl are often trimmed with the back at the end instead.
- Sew the decoration: the name, initial or motif, in as many colors as it needs.
- Add the back. Take the hoop off the machine without unhooping, turn it over and tape the back piece right side out under the stitching area. For a loop fob, tape the ends of a folded ribbon there first, about 6–10 mm inside the outline, with the loop sticking out past the edge.
- Sew the border through every layer: a satin border about 3–4 mm wide, or a bean stitch on raw-edge designs. Slow the machine down for it on thick vinyl.
- Unhoop and finish. Tear the stabilizer away, trim the back close to the border without nicking the stitches, cut or punch the hole, set any snap or grommet, and add the ring.
Use a bobbin in the top thread's color for the border. Both sides of a keychain show, and white bobbin thread round a navy back looks unfinished.
Try it with your own design
Sign up free, upload an image and get a stitch preview in under a minute.
Drop your image here
PNG, JPG, SVG, PDF or AI · stays on your device
Not sure what to expect? See real examples or how it works.
What materials and hardware do you need?
A keychain needs a firm front and back, tear-away stabilizer, tape and a ring or snap. Vinyl and felt are the easiest to start with, because their cut edges don't fray.
| What | Good choices | Notes |
|---|---|---|
| Front and back | Marine vinyl or faux leather with a knit or woven backing, wool-blend felt, cork fabric, or twill or cotton backed with fusible fleece | Vinyl and cork keep every needle hole, so test the design first; see faux leather, felt and cork |
| Stabilizer | Medium tear-away; sticky tear-away for small pieces | Hoop the stabilizer and float the fabric on top; vinyl hooped directly can keep hoop burn marks |
| Hold-downs | Painter's or embroidery tape, or a light temporary spray adhesive | Never pins in the stitch path |
| Rings and clasps | Split rings about 25–30 mm (1–1.25 in), swivel or lobster clasps | Add them after unhooping |
| Snaps and eyelets | Plastic snaps such as KAM size 20, with long prongs for thick vinyl; metal grommets or eyelets | Set them with snap pliers or a press, and punch the hole well clear of the stitching |
| Needle and thread | A new 75/11 or 80/12 sharp or embroidery needle; 40 wt polyester | Slow down for thick stacks and vinyl |
Scraps go a long way. A 50 mm keychain needs a piece about 65 mm square for each side, so one 9 × 12 in (23 × 30 cm) felt sheet cuts into 12 pieces, enough for six two-sided keychains.
What size should an embroidered keychain be?
Most keychains are 40–75 mm (1.5–3 in) on their longest side: small enough for a pocket and big enough for a name. Name tags and bag tags run longer.
| Size | About | Holds |
|---|---|---|
| Mini | 40–50 mm (1.5–2 in) | One initial or a small motif |
| Standard | 50–75 mm (2–3 in) | A short name of four to six letters, or an initial with a motif |
| Long fob or name tag | 25–35 × 90–110 mm (1–1.4 × 3.5–4.3 in) | A name of up to about 8–10 letters on one line |
| Bag tag | 75–100 mm (3–4 in) | A name and a motif, or a name on the front and a phone number on the back |
How many 50 mm keychains fit one hooping, with about 10 mm between pieces and a small margin:
| Hoop | 50 mm keychains |
|---|---|
| 4 × 4 in (100 × 100 mm) | 1, or four at 40 mm |
| 5 × 7 in (130 × 180 mm) | 6 |
| 6 × 10 in (160 × 260 mm) | 8 |
| 8 × 12 in (200 × 300 mm) | 15 |
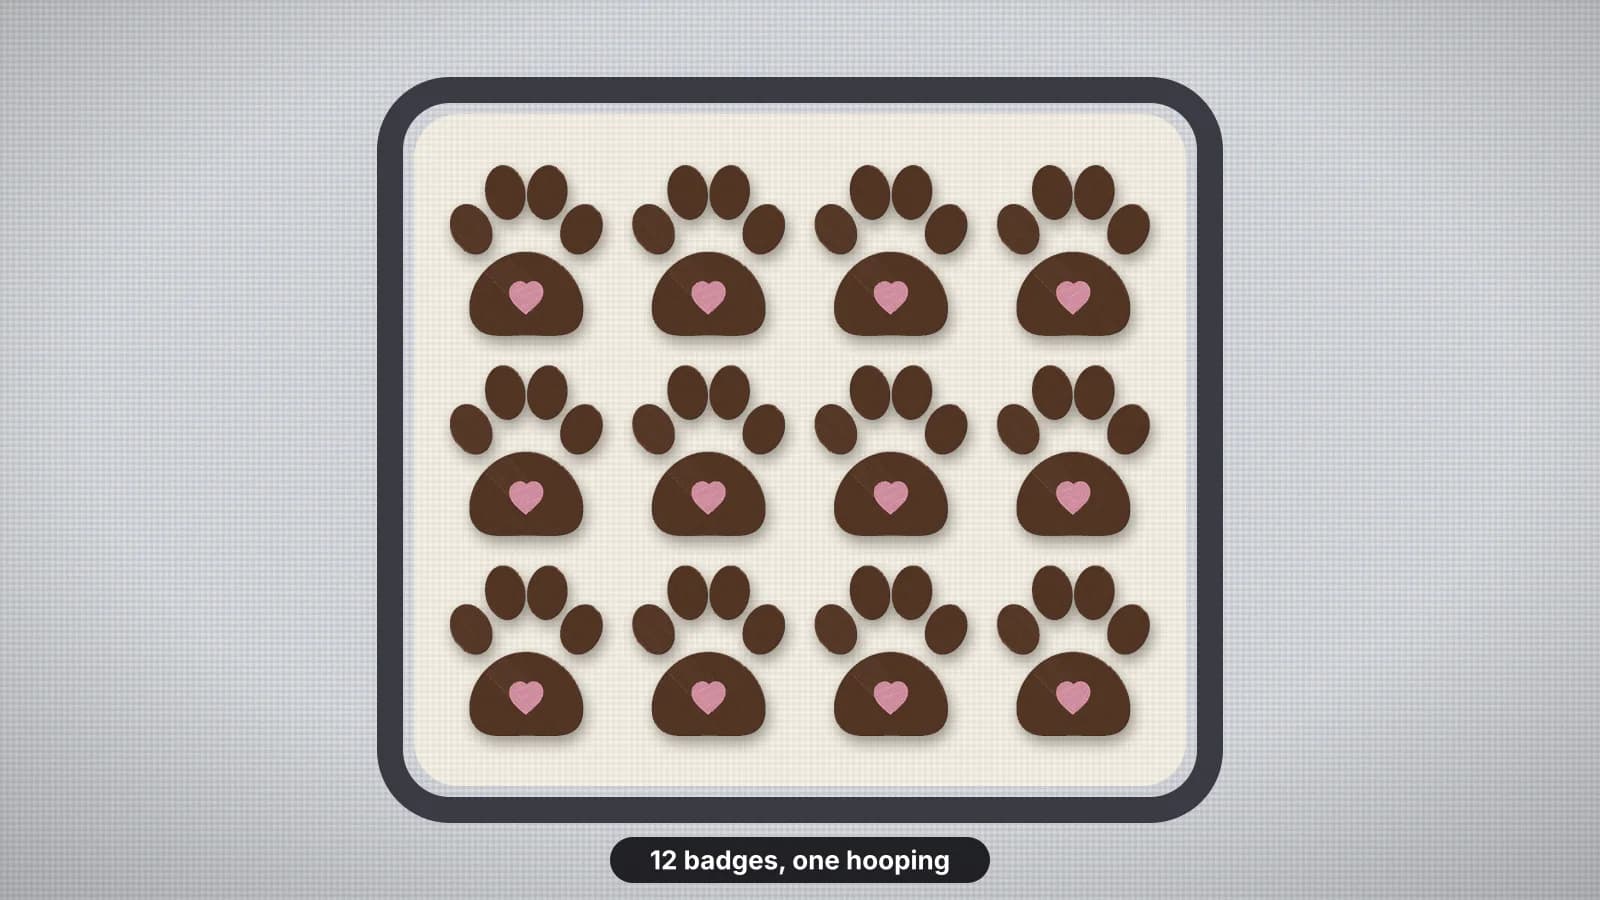
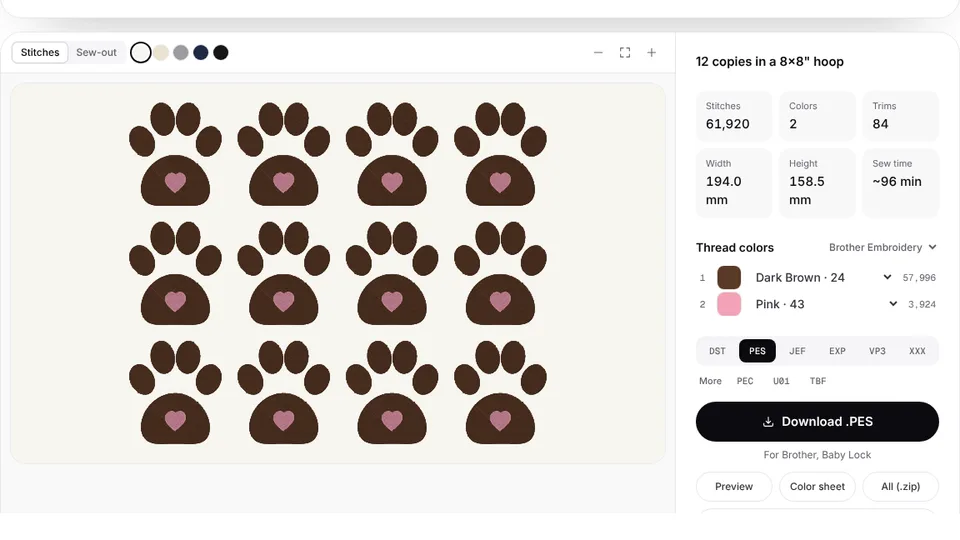
Fobs longer than about 90 mm need a 5 × 7 in hoop. How to embroider multiple items in one hoop covers spacing and sewing order for a full sheet, and the hoop layout tool fills a hoop with copies of one keychain, sewn color by color: every placement line, a stop to lay all the fronts, then every tack-down.
How do you put a name on a keychain?
Use a bold, simple font with capitals at least 6–8 mm (1/4–5/16 in) tall; about 8–12 mm suits a standard keychain. Thin scripts and fine serifs lose detail at this size, especially on vinyl, where every needle hole shows.
- One name: type it in text to embroidery, pick a font and set the height, from 8 mm up, so it sits inside the border with 3–4 mm to spare.
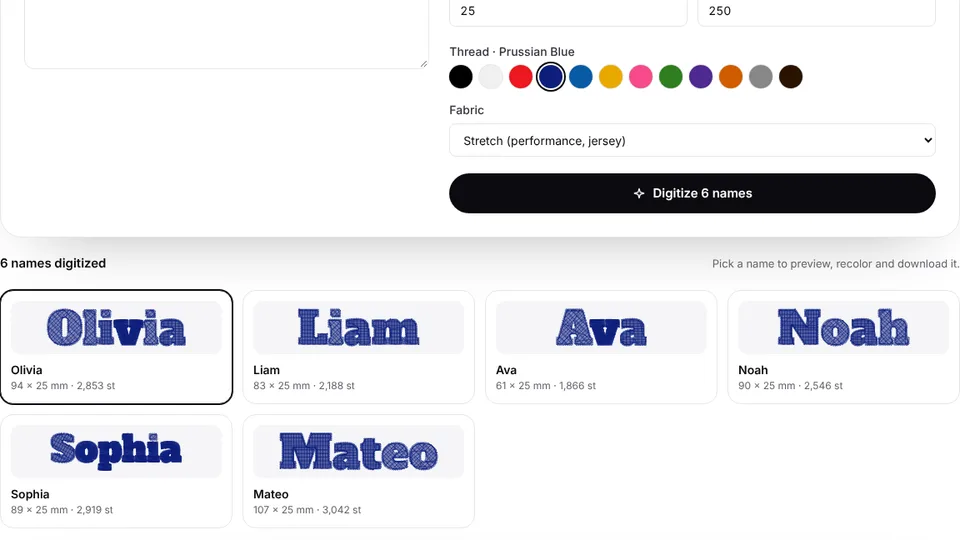
- A list of names for a team, class or party favors: batch name embroidery digitizes up to 30 names per batch in one font, height and thread, and flags any that come out wider than the space you set.
- Check the width. At 10 mm tall, a typical name runs about 6–8 mm per letter, so a six-letter name such as Olivia is roughly 40–50 mm wide and fits a 60–75 mm keychain.
- Center the name in the shape on your machine's edit screen, if it can combine designs, or in your embroidery software. Most machines also center each design in the hoop, so a name file loaded after the shape's tack-down lands in the middle; many can then reload the keychain file and skip ahead to the border's color stop. Check your manual.
- Selling at events? Pre-stitch common names and take orders for the rest; selling embroidery at craft fairs covers names while customers wait.
Sew the name before the back goes on, not after the border. Stitched last, it puts its bobbin stitches on the back of the keychain and can pull the finished edge out of shape.
How do you make your own ITH keychain design?
A keychain file is mostly the same three steps as appliqué, plus the decoration. To make one, a digitizer adds:
- A placement line: one running stitch round the outline, followed by a color stop.
- A tack-down just inside the placement line, then a stop for trimming.
- The decoration, kept at least 3–4 mm inside the border so the two don't crowd each other.
- A border through all the layers: a satin about 3–4 mm wide over the cut edge, or a bean stitch on raw-edge vinyl or felt.
- Room for the hardware: a stitched ring round a hole at least 12 mm (1/2 in) across, a clear area for a snap, or a straight edge where a ribbon loop is caught.
- A stop between every step, even when the thread doesn't change, so the machine pauses for you; see color change.
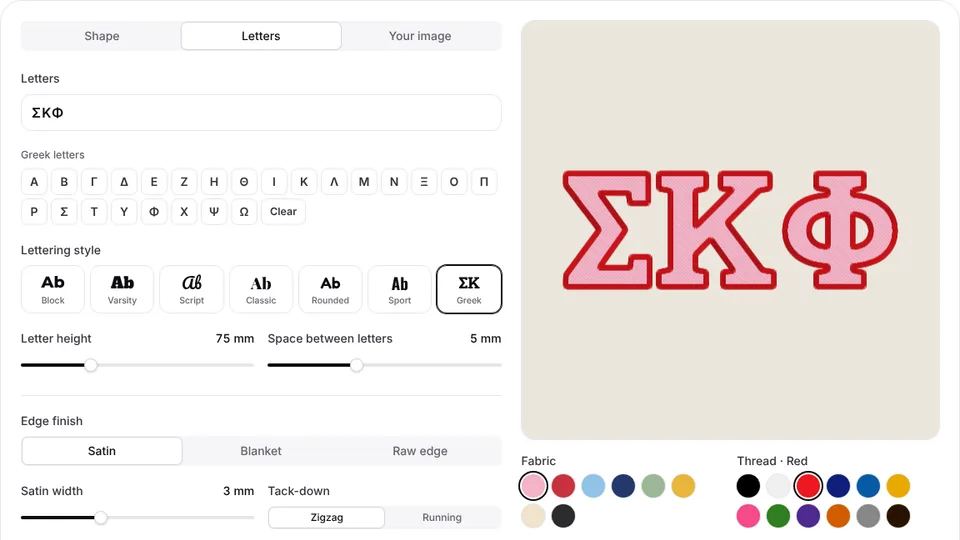
The appliqué maker builds the placement line, tack-down and satin border for you as three color stops. Choose a shape (circle, heart, star, oval, scallop, rounded square, square or tree) from 30 to 200 mm, type up to eight letters in a varsity, block or script style for an initial keychain, or upload a silhouette. Untick Fill in gaps inside the shape and a hole in your silhouette gets its own satin ring, ready to cut out for the key ring. It also gives you a cutting template as an SVG for a Cricut or Silhouette, or to print.
It doesn't add a separate stop for the back piece, placement lines for snaps or loops, or the name. Tape the back on before the border stop and add the name between the tack-down and the border, as above. How to digitize appliqué explains each stop in more detail.
Do embroidered keychains sell?
Yes. They're cheap to make, quick to personalize and an easy impulse buy. Personalized keychains typically sell for about $8–$15 at fairs and online, with more for sets, leather-look pieces and custom logos.
| Cost or price | About |
|---|---|
| Materials: vinyl or felt, stabilizer, thread and a ring | Often under $1–$2 a keychain |
| Machine time, one at a time | 10–15 minutes with the stops and trimming |
| Machine time, six to a 5 × 7 in hoop | Roughly 5–8 minutes each |
| Typical selling price, personalized | $8–$15 |
| Sets for teams, weddings and party favors | Usually priced per piece, with a quantity break |
- Sell sets to sports teams, scouts, classes, bridal parties and businesses, where one order is 10–30 names; how to get embroidery customers covers reaching them.
- Offer a short menu: a few shapes, two fonts and a color card.
- Price your real time, including trimming and setting snaps; the embroidery pricing calculator does the sum.
- Use original designs and names. Team logos and characters need a license; embroidery design copyright explains the basics.
Practice on a free design
167 ready-to-sew designs in every machine format, free with an account.



What Embrizo does for keychains, and what it doesn't
Embrizo makes the parts of a keychain project you'd otherwise buy or digitize by hand:
- The keychain itself: the appliqué maker makes the placement line, tack-down and a satin, blanket or raw-edge border for a shape, letters or a silhouette, with a cutting template.
- Names: text to embroidery for one, and batch name embroidery for up to 30 at a time.
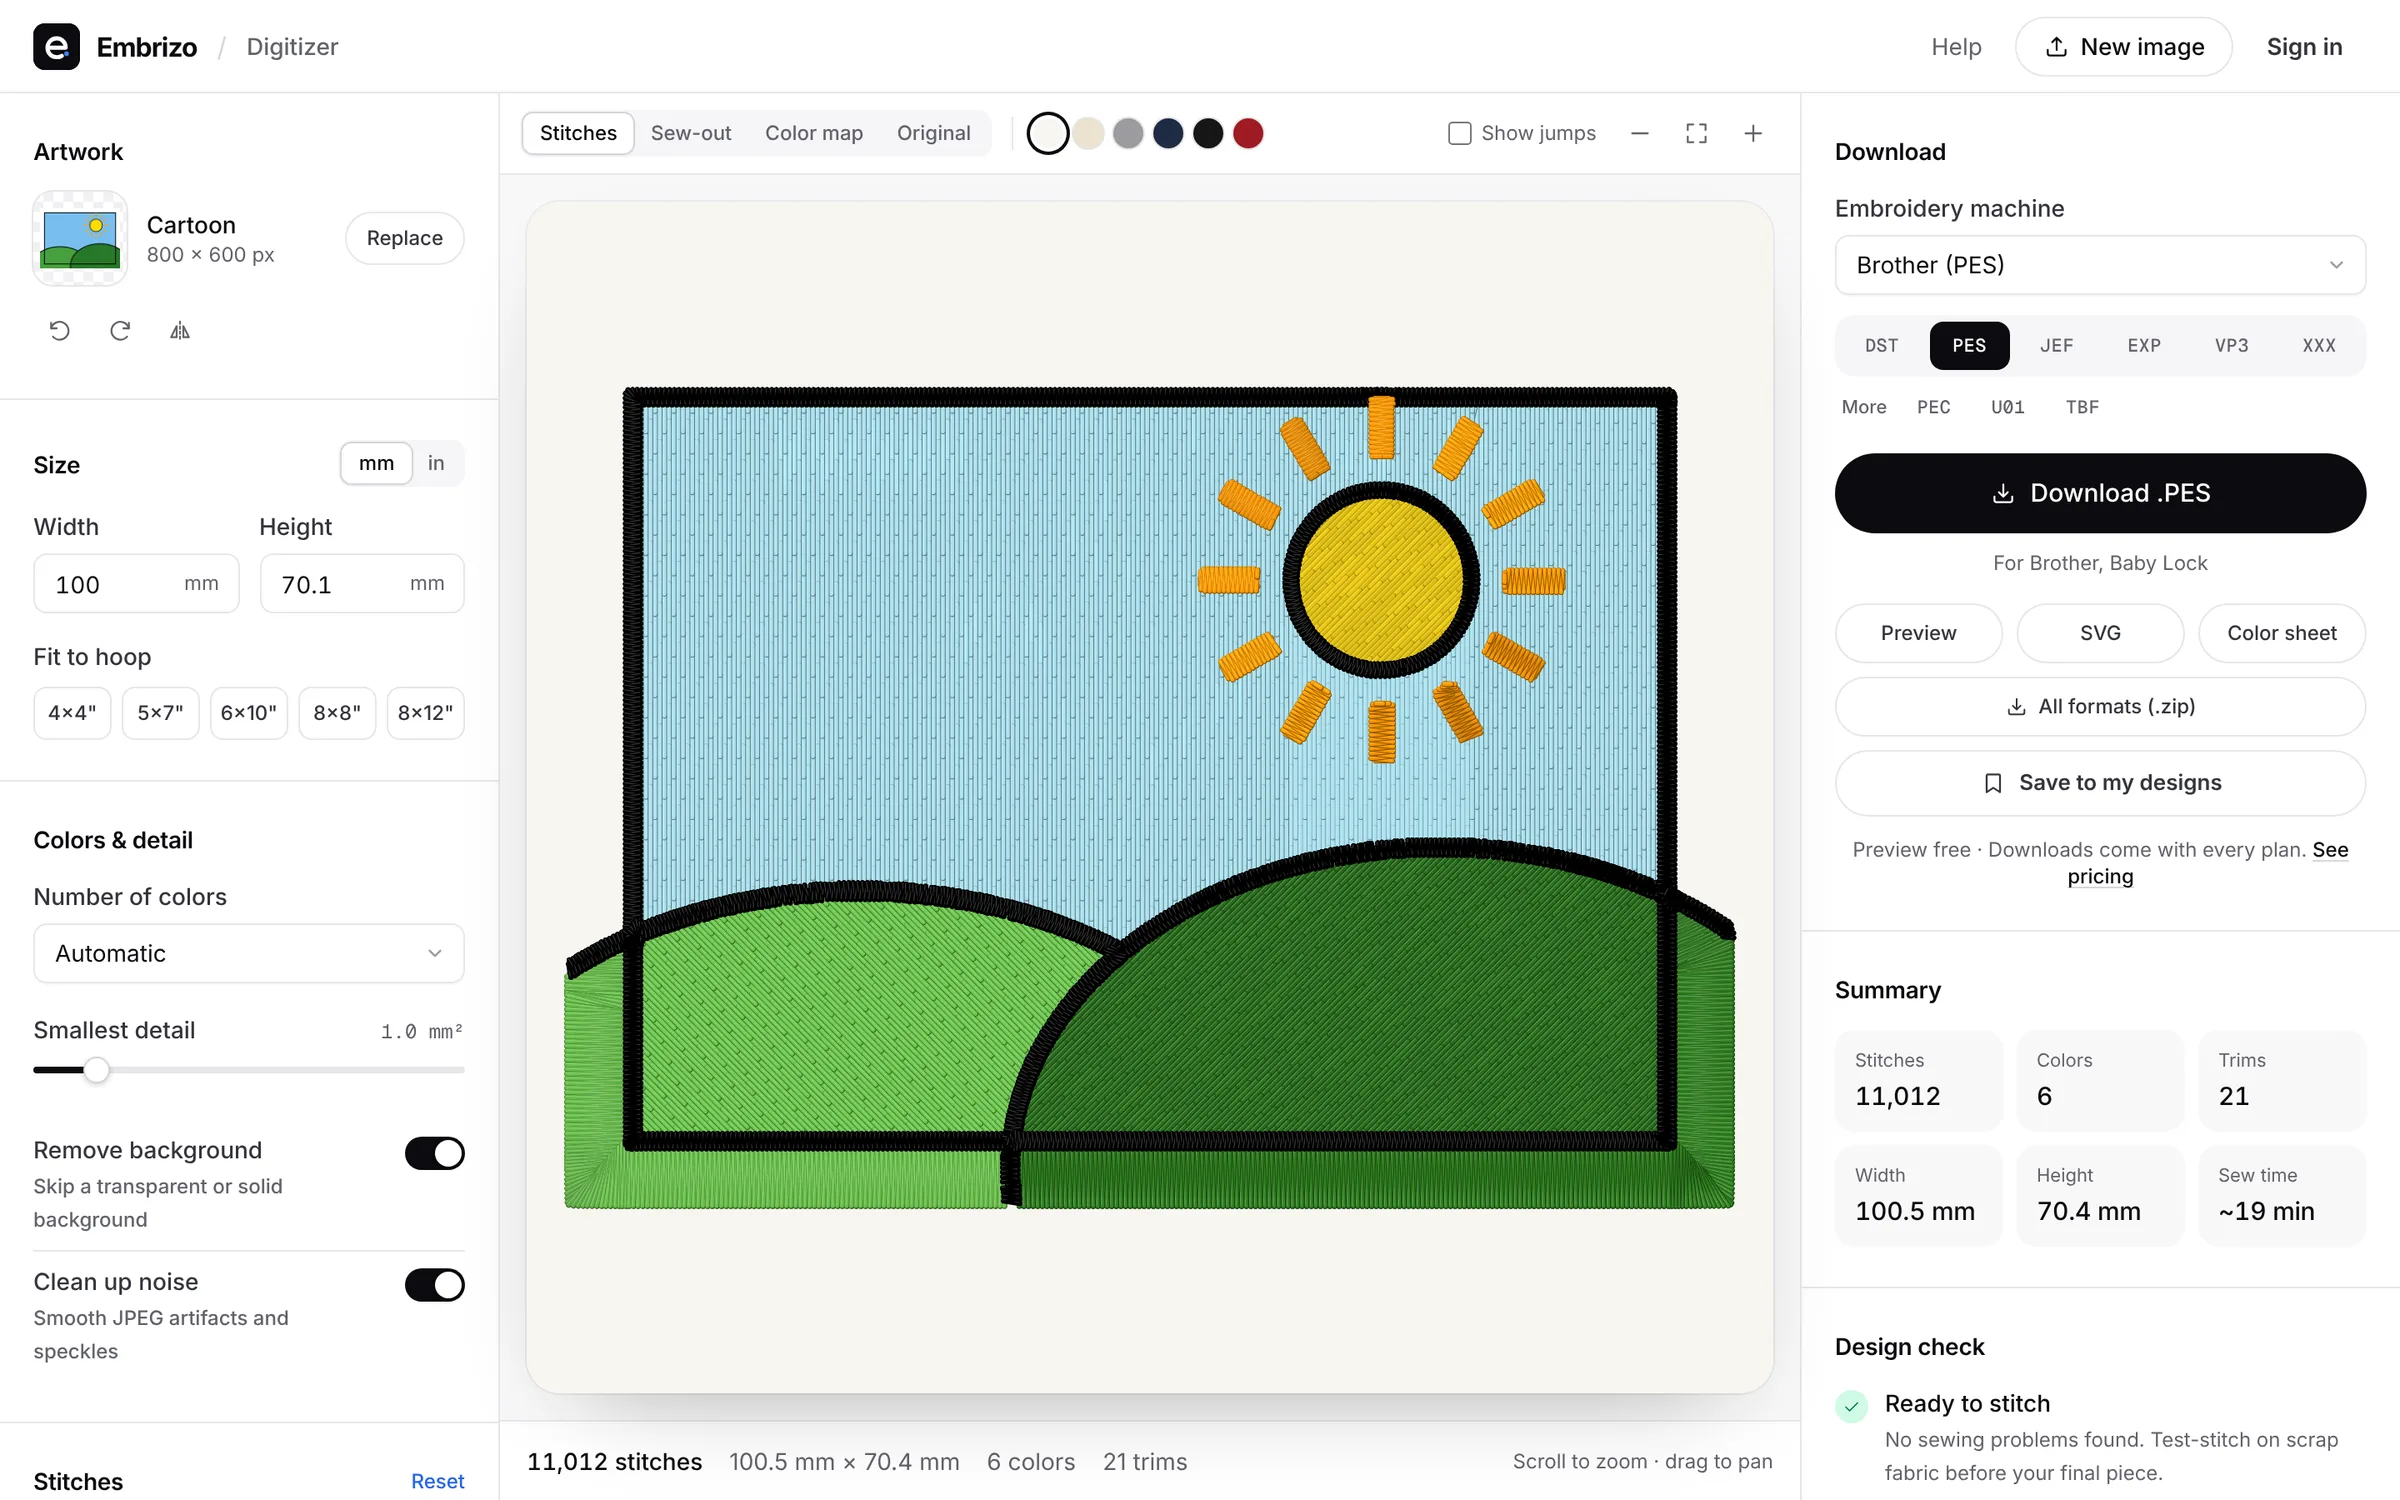
- A motif from your artwork: upload a simple logo or drawing to the digitizer and set it to about 25–40 mm wide. The design check warns when details are too fine to stitch at that size.
- A full sheet: the hoop layout tool repeats one keychain across your hoop.
It doesn't make zip pouches or other multi-piece ITH projects, snap tab outlines or loop placement lines, and it doesn't sell kits or hardware. Designing and previewing are free with an account; downloading the machine files needs a plan.