 Free previewEmbroidery design combinerMerge two embroidery files into one: a motif with a name, stacked or side by side, checked against your hoop.Open the tool
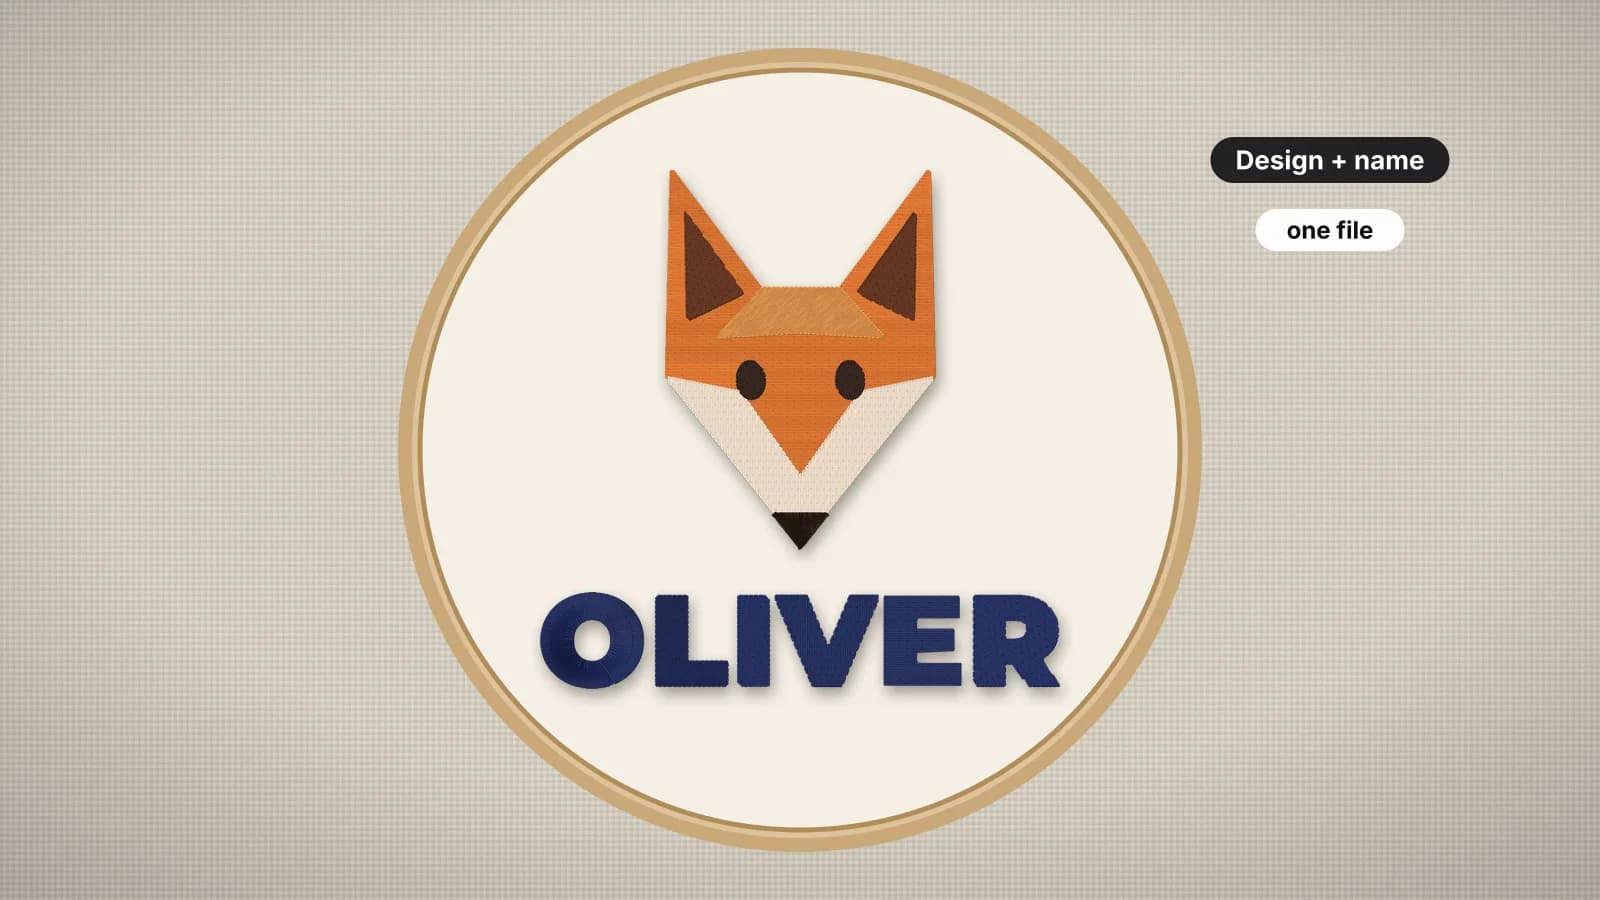
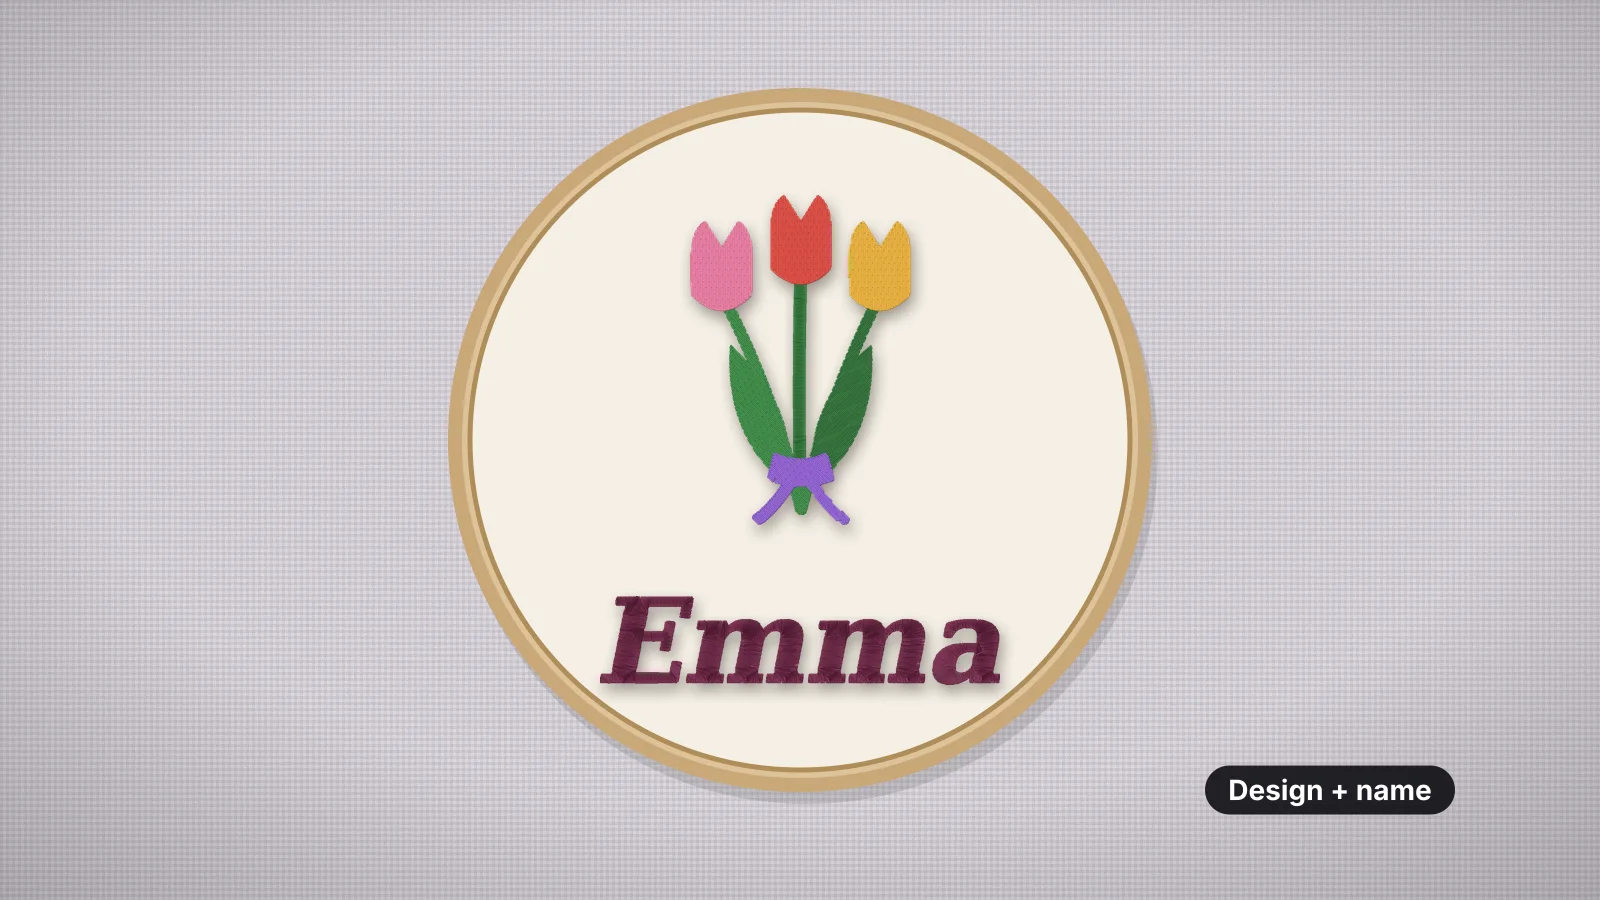
A floral motif with a name under it, a pet portrait with a dog's name, a team logo with a player's number: adding text is the most common way to personalize a design. You can do it on the machine, by joining a lettering file to the design, or by digitizing artwork that already includes the words.
This guide covers each route, the letter sizes and fonts that sew cleanly, where to put the text under or around a motif, curved text and how to test the result. For lettering on its own, see how to embroider names.
Three ways to add a name to a design
Use the machine's fonts for a quick one-off, a lettering file when you want more fonts or the same layout again, and artwork when the text is part of a logo:
| Method | Best for | Limits |
|---|---|---|
| Built-in machine fonts | A quick name on one item, no computer needed | Only the fonts and sizes on your machine; layout is redone each time unless saved |
| Lettering file combined with the design | More font choice, exact sizes, the same layout for many items | Two files to join; designs sit side by side or stacked |
| Artwork with the text included, digitized as one | Logos, badges and text that wraps around a picture | Changing the words means editing the artwork and digitizing again |
Adding text with the machine's built-in fonts
Most combination and embroidery machines with a color screen can add lettering to a design before sewing. The number of fonts varies a lot:
| Machine | Built-in lettering |
|---|---|
| Brother SE700 and SE725 | 10 fonts |
| Brother SE2000 | 13 fonts |
| Baby Lock Journey | 19 fonts |
| Baby Lock Meridian 2 | 30 fonts |
| Bernina 990 | 24 alphabets |
| bernette 79 | 7 alphabets |
| Pfaff creative expect 350 | 10 fonts, each in 3 sizes |
| Singer Superb EM200 | 2 fonts, each in 3 sizes |
| Janome Memory Craft 230E | 3 fonts for monograms |
- Open the design and go to the editing screen. On a Janome Memory Craft 550E, for example, the editing window opens built-in designs, monograms and designs from a USB stick together; on a Bernina 790 PRO each added design becomes a layer.
- Add lettering, choose a font and type the name.
- Set the size, then move the text under the motif and center it.
- Check that the whole layout fits the hoop you'll attach.
- Save the combination to the machine's memory or a stick if you'll sew it again.
Machine fonts are pre-digitized, so they sew well at the sizes they're offered in. Fixed sizes are the main limit: a font that only comes in three sizes may not fit a long name exactly. Some machines also let you arch the text, change the spacing or give each letter its own color, so look through the lettering edit screen before you reach for software. A two-line name usually means typing each line as its own piece of lettering and stacking them.
Try it with your own design
Sign up free, upload an image and get a stitch preview in under a minute.
Drop your image here
PNG, JPG, SVG, PDF or AI · stays on your device
Not sure what to expect? See real examples or how it works.
Making a lettering file and combining it with the design
When the machine's fonts aren't enough, make the text as its own stitch file and join it to the design. Both tools run in the browser:
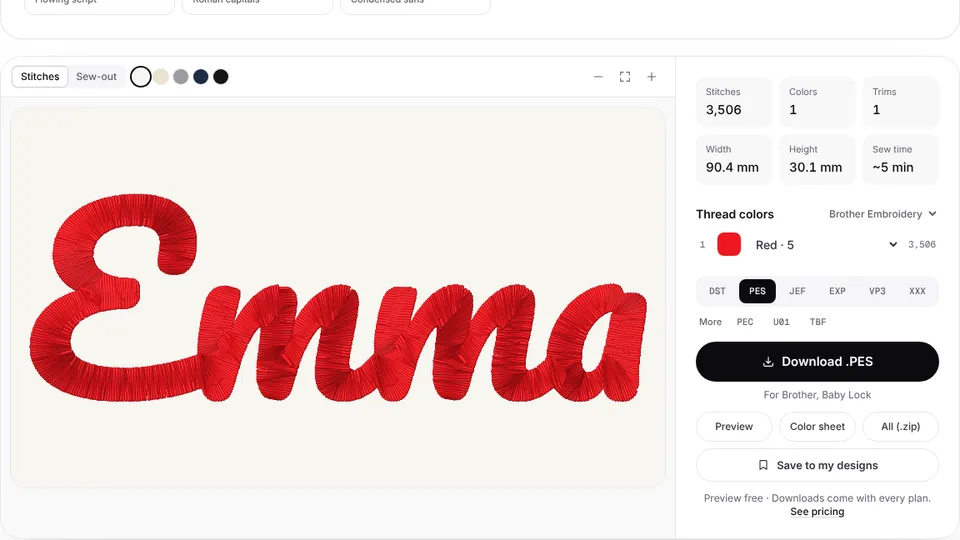
- Make the lettering in the text to embroidery tool: type up to three lines, choose one of 12 fonts, set the height (8 to 150 mm), the thread color and the fabric. It warns when capitals drop below 5 mm.
- Open the [embroidery design combiner](/tools/embroidery-design-combiner) and add the motif as the first file and the lettering as the second.
- Choose stacked for a name under the motif, or side by side, set the gap (0 to 40 mm, 6 mm to start) and align the text left, center or right. Swap the order if the text should sew first.
- Check the size against your hoop. The combiner tells you if the result is too big for one hooping and links to the design splitter.
- Save in your machine's format. Where threads match at the join, they merge into one color stop, so there's no extra thread change. Saving needs a plan.
For a batch of items with different names, the batch name embroidery tool digitizes up to 30 names in one font, height and thread, with a check against a maximum width. How to combine embroidery designs covers gaps, stitch order and color stops in more depth.
Letter sizes and fonts that sew
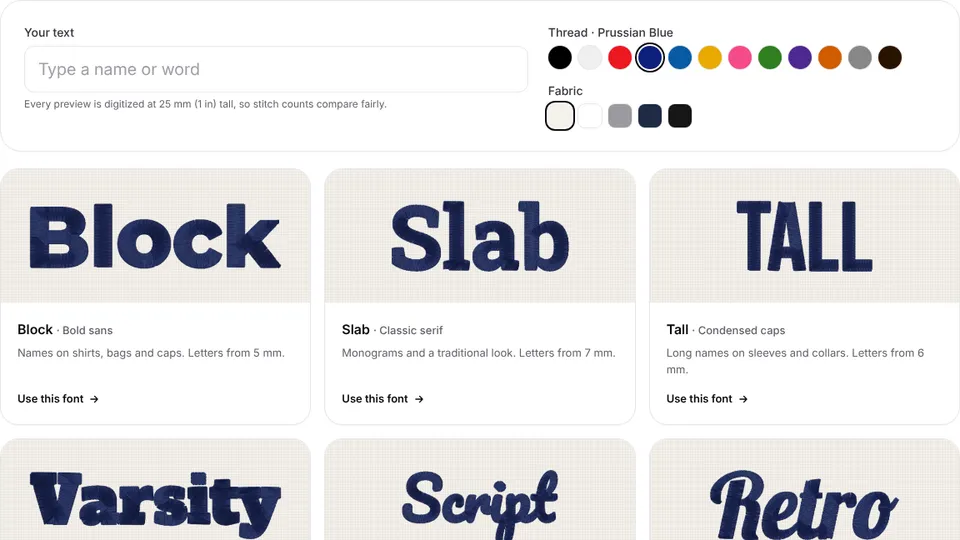
Bold, simple fonts sew small; scripts and thin serifs need more height. These are the smallest capital heights that stay readable for the 12 lettering styles in Embrizo's text tools:
| Smallest capital height | Fonts |
|---|---|
| 5 mm (0.2 in) | Block, Rounded, Sport |
| 6 mm | Tall, Varsity |
| 7 mm | Slab, Roman |
| 8 mm | Classic |
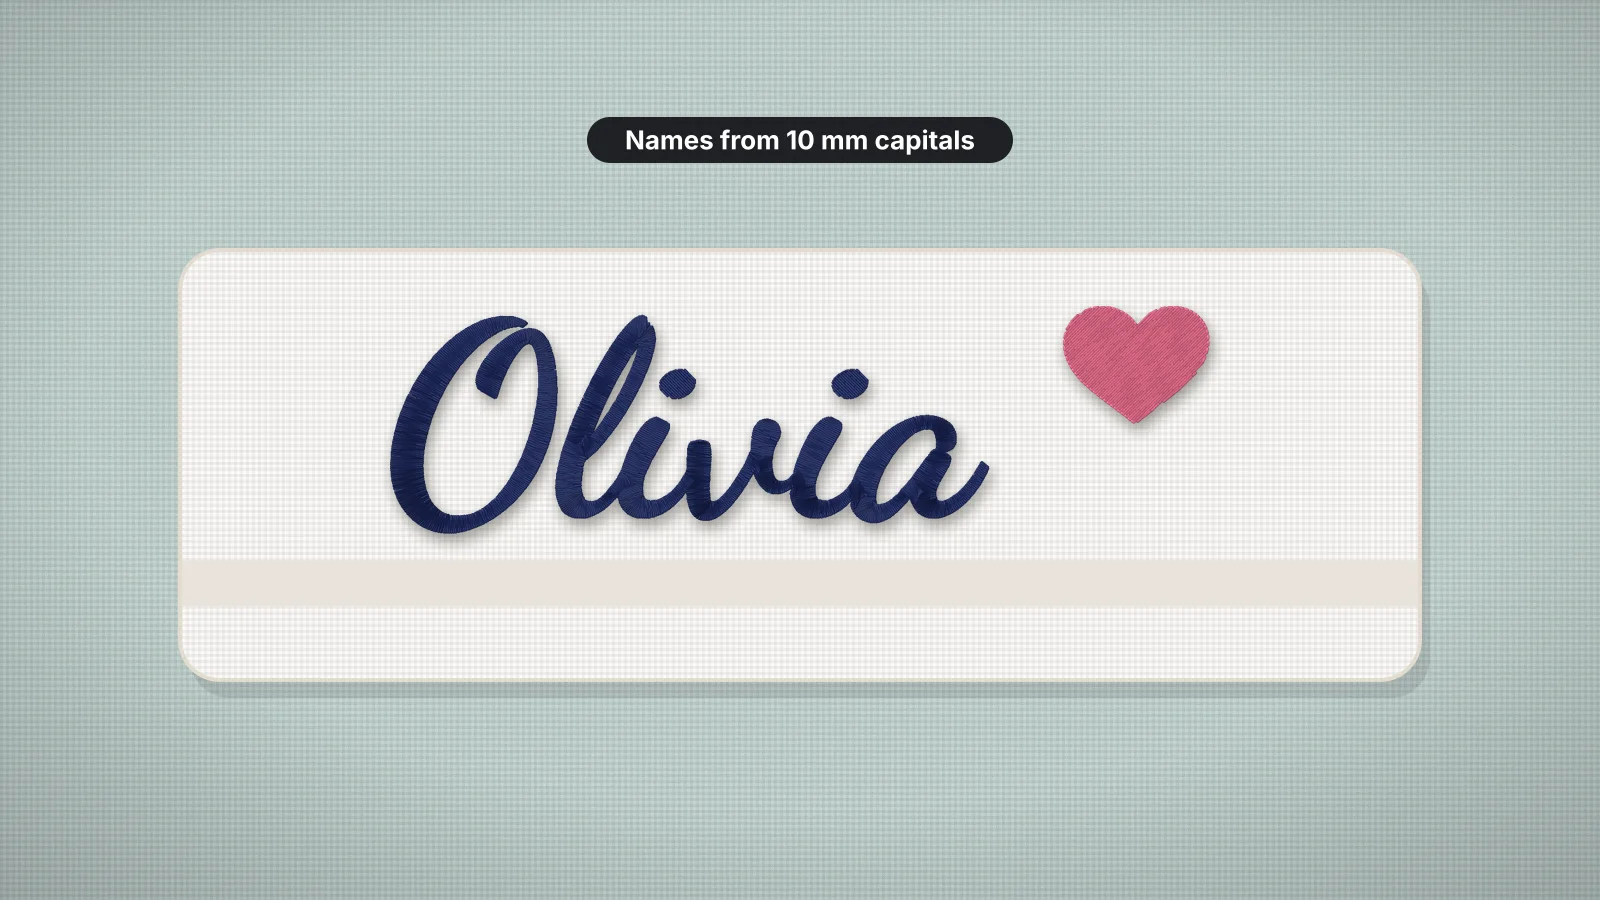
| 10 mm (0.4 in) | Script, Retro, Brush |
| 12 mm | Flowing |
Lowercase letters are smaller than capitals in the same font, so check the short letters too, and add 1 to 2 mm on towels, fleece and piqué. The lettering size calculator shows how tall a name comes out at a given width, and the font previewer stitches your text in all 12 fonts. The small text guide has more.
Placing text under or around a motif
Text looks best when it reads as part of the design rather than an afterthought. These proportions are a good starting point:
- Gap. Leave about 5 to 10 mm between the motif and the text. Less looks crowded; much more makes them look like two designs.
- Width. Keep the text no wider than the motif, and usually 60 to 100 percent of its width.
- Height. On a small motif, a name with capitals around 8 to 15 mm balances well; on a large one, scale it up, but rarely past a quarter of the motif's height.
- Centering. Center on the motif's visual middle, not its outer box: a flower with a long stem on one side may need the name nudged toward the bloom.
Check the fit as a whole. In a 4 × 4 in hoop (100 × 100 mm), a 65 mm motif, a 6 mm gap and 12 mm lettering make 83 mm, which leaves a margin; a 5 × 7 in hoop gives room for a second line. The hoop size calculator checks any layout, and the placement guide covers where the design goes on the garment.
Curved text around a motif
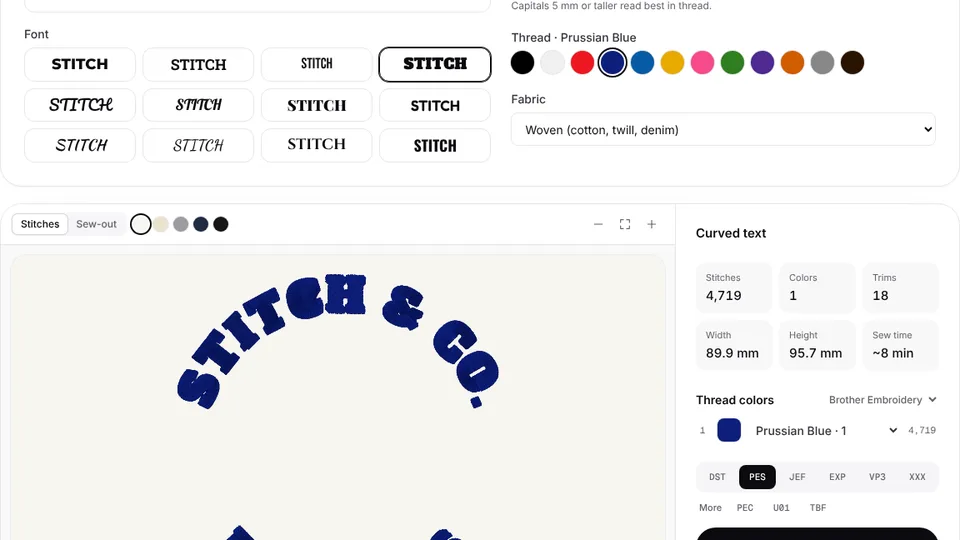
For a name arched over a design, or a ring of text around a badge, use the curved text tool. It sets a top arc and an optional bottom arc around a circle of 30 to 200 mm, with letters 5 to 30 mm tall in the same 12 fonts, and warns when the text wraps almost all the way round.
- Above or below the motif: combine the arched text with the motif in the combiner, stacked, as for straight text.
- A motif inside the ring: the combiner puts designs side by side or stacked, not on top of each other, so place the motif in the middle on your machine's editing screen if it can combine designs, or digitize the ring and the picture together as one piece of artwork.
- Size the circle to the motif: the letters are centered on the circle, so the clear space inside is the diameter minus the letter height. For a motif 60 mm across with 8 mm letters, a circle of about 75 to 80 mm leaves a few millimeters of space.
How to embroider curved text explains how the radius affects letter spacing and which sizes stay readable on a curve.
Digitizing artwork that already includes the text
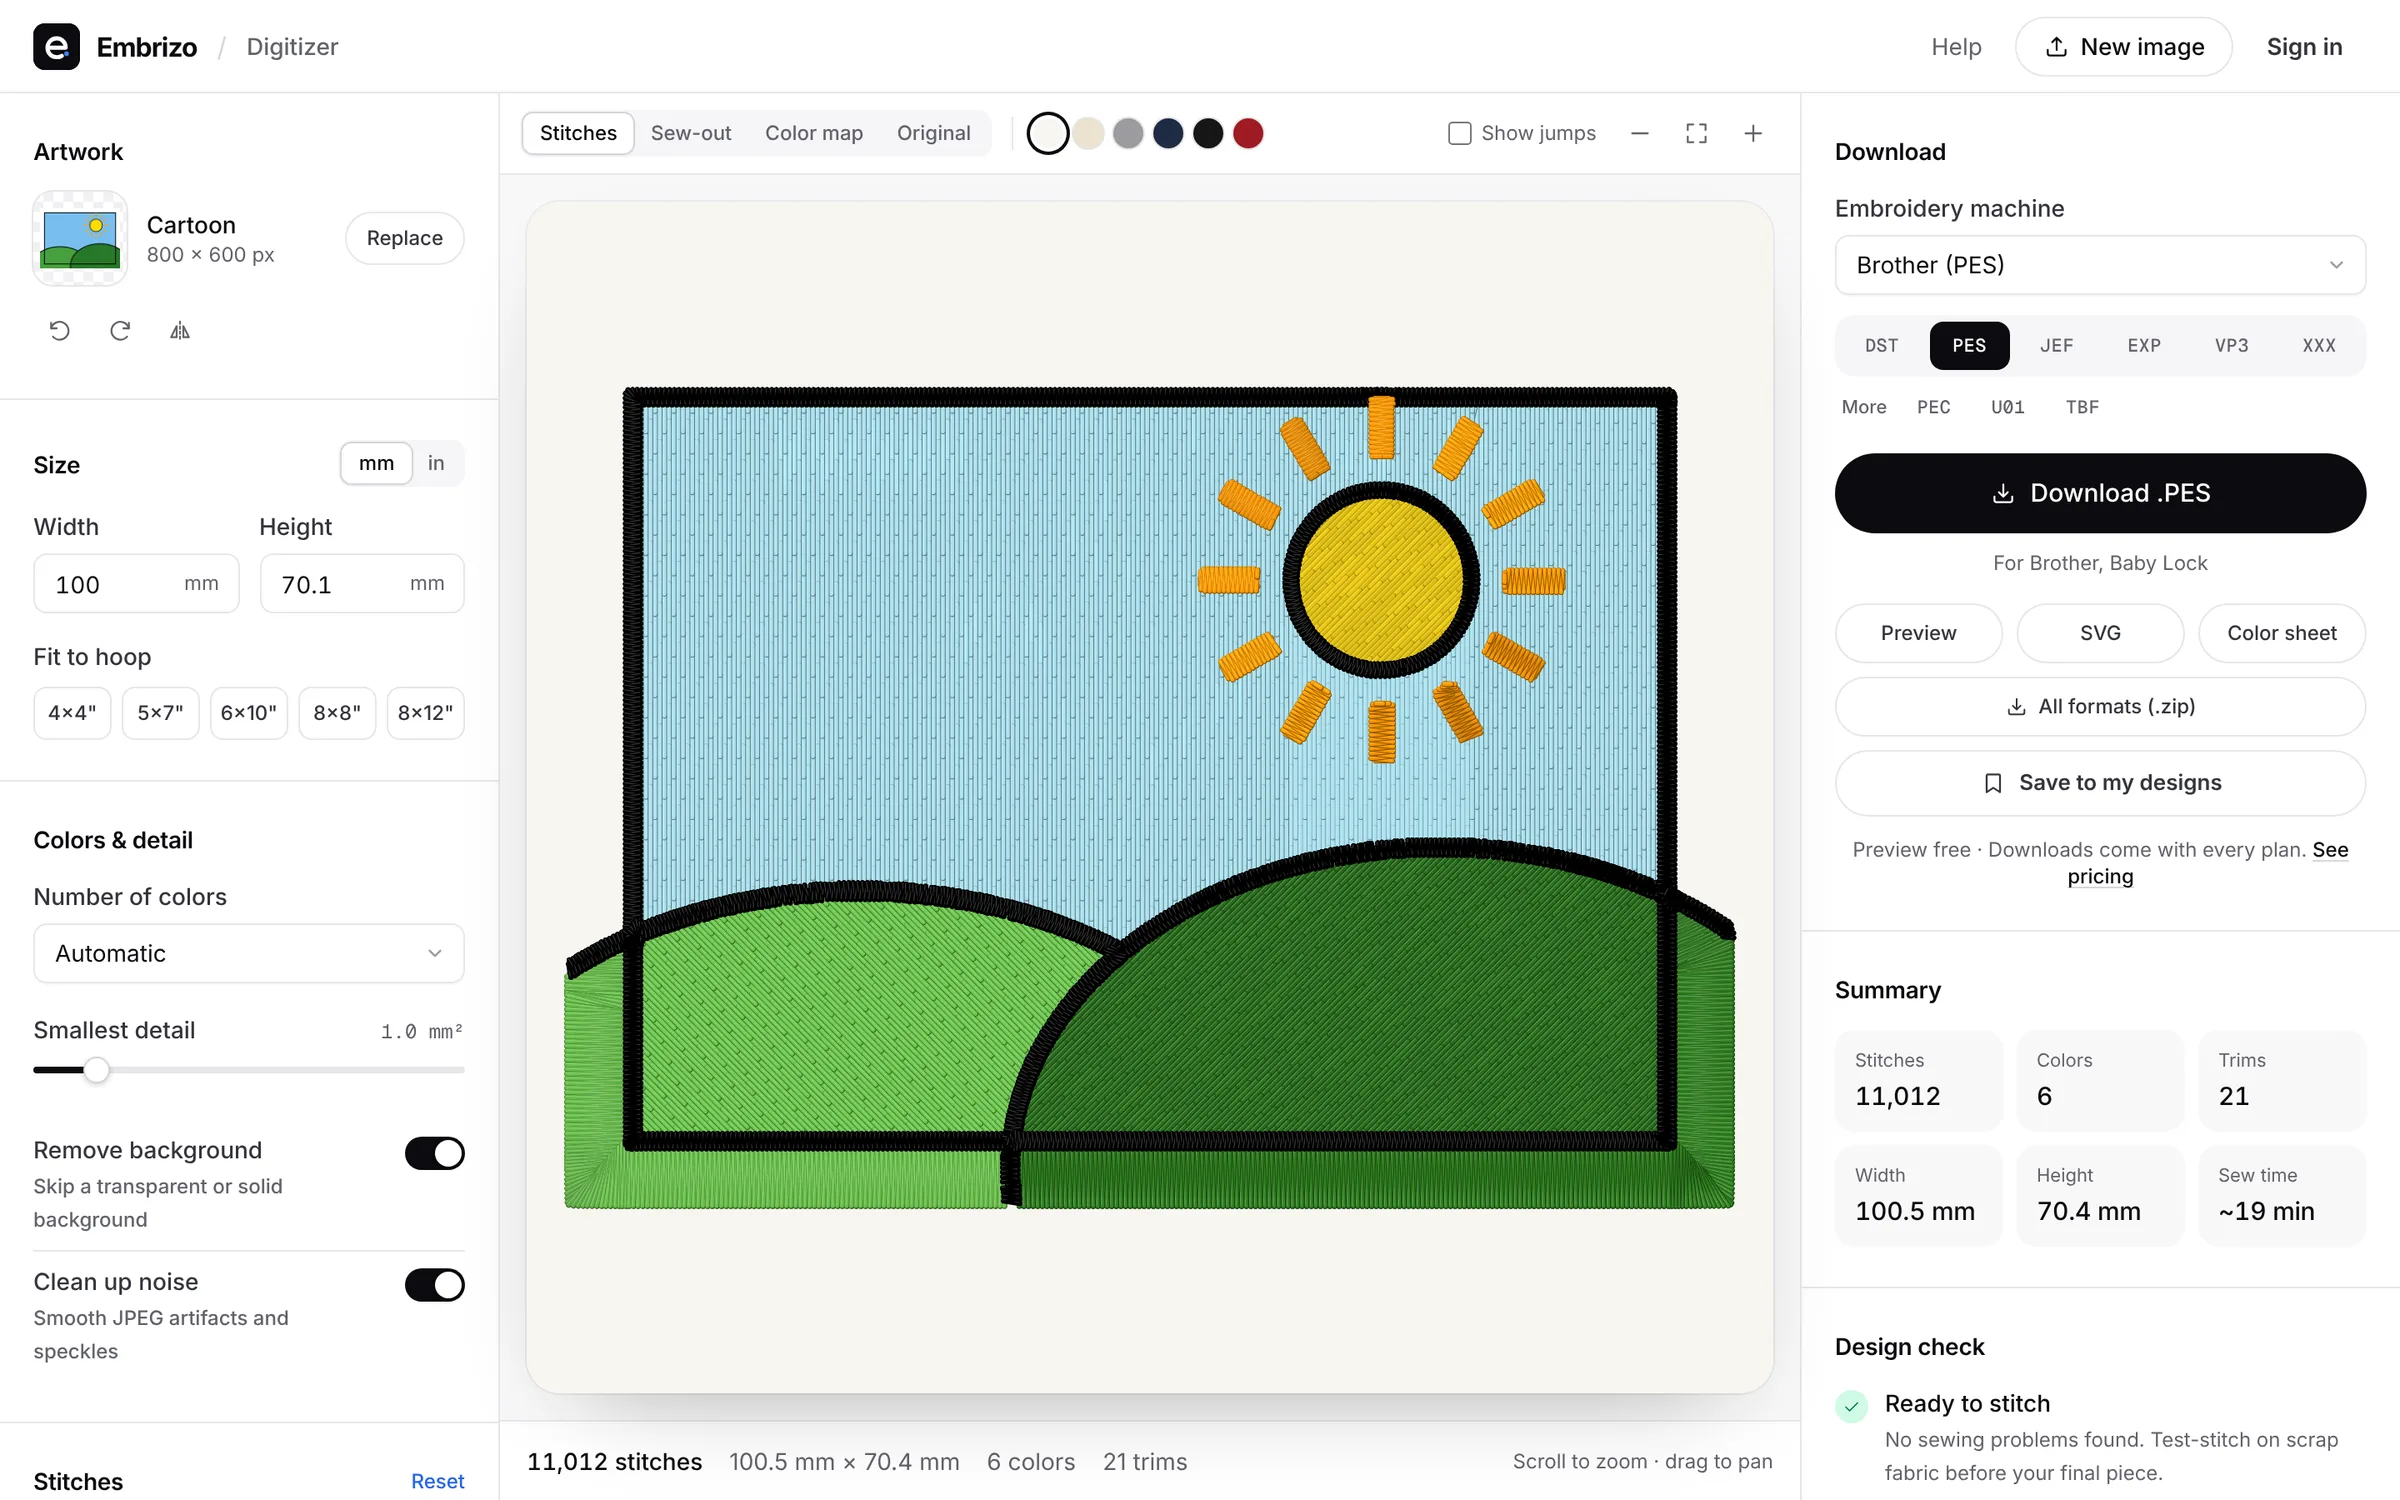
If the text belongs to a logo or badge, it's simplest to digitize everything as one design. Upload the artwork to the Embrizo digitizer: lettering is usually narrow enough to sew as satin, small lettering of one color all gets the same stitch type so a word never mixes heavy and thin letters, and narrow details up to 2.5 mm wide are sewn on top of a fill rather than cut out of it.
- Size the text in the artwork: at the final size, capitals should be at least 5 mm tall and strokes at least 1 mm wide.
- Outline the text in your design app so the font can't change, and use solid colors.
- Read the design check, which flags details too fine to sew, and look closely at the letters in the stitch preview.
The trade-off is flexibility: to change a name, you edit the artwork and digitize it again, which takes seconds but means a new file for each name. For many names on the same motif, a lettering file combined with the motif is quicker. Digitizing and previews are free with an account; downloading files needs a plan.
Practice on a free design
167 ready-to-sew designs in every machine format, free with an account.
Stitch order, colors and a test sew
- Sew the text last in most layouts, so it sits on top and the motif's fill doesn't pull it out of shape.
- Reuse a thread. If the name is the same color as part of the motif, it can share that color stop and save a thread change.
- Stabilize for the lettering. Small text on stretchy or textured fabric needs a cut-away backing and, on towels and fleece, a water-soluble topping.
- Test on scrap of the same fabric and check that every letter is crisp before the real item.