Tatami fill digitizing for large areas
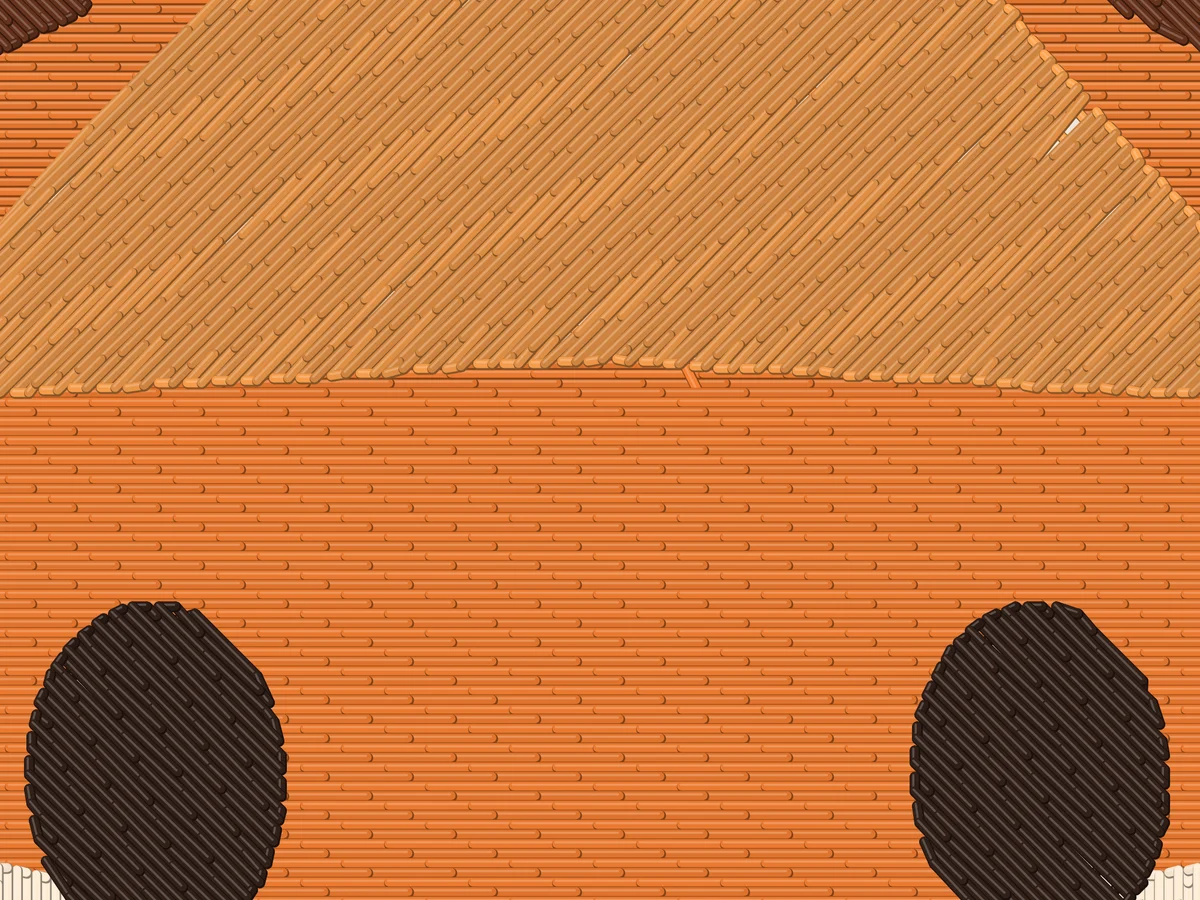
Every area too wide for satin becomes a smooth tatami fill: rows of stitches whose needle points shift every row, sewn at an angle chosen for the shape, over underlay that holds it flat.
- Free stitch preview
- 9 machine formats
- Runs in your browser
- Row spacing on woven fabric
- 0.4 mm
- Row spacing on woven fabric
- Fill stitch length
- 3.5 mm
- Fill stitch length
- Neighboring colors alternate on Auto
- 45° / 135°
- Neighboring colors alternate on Auto
- Lower layers tuck under upper ones
- 0.3 mm
- Lower layers tuck under upper ones
A fill with no lines or channels
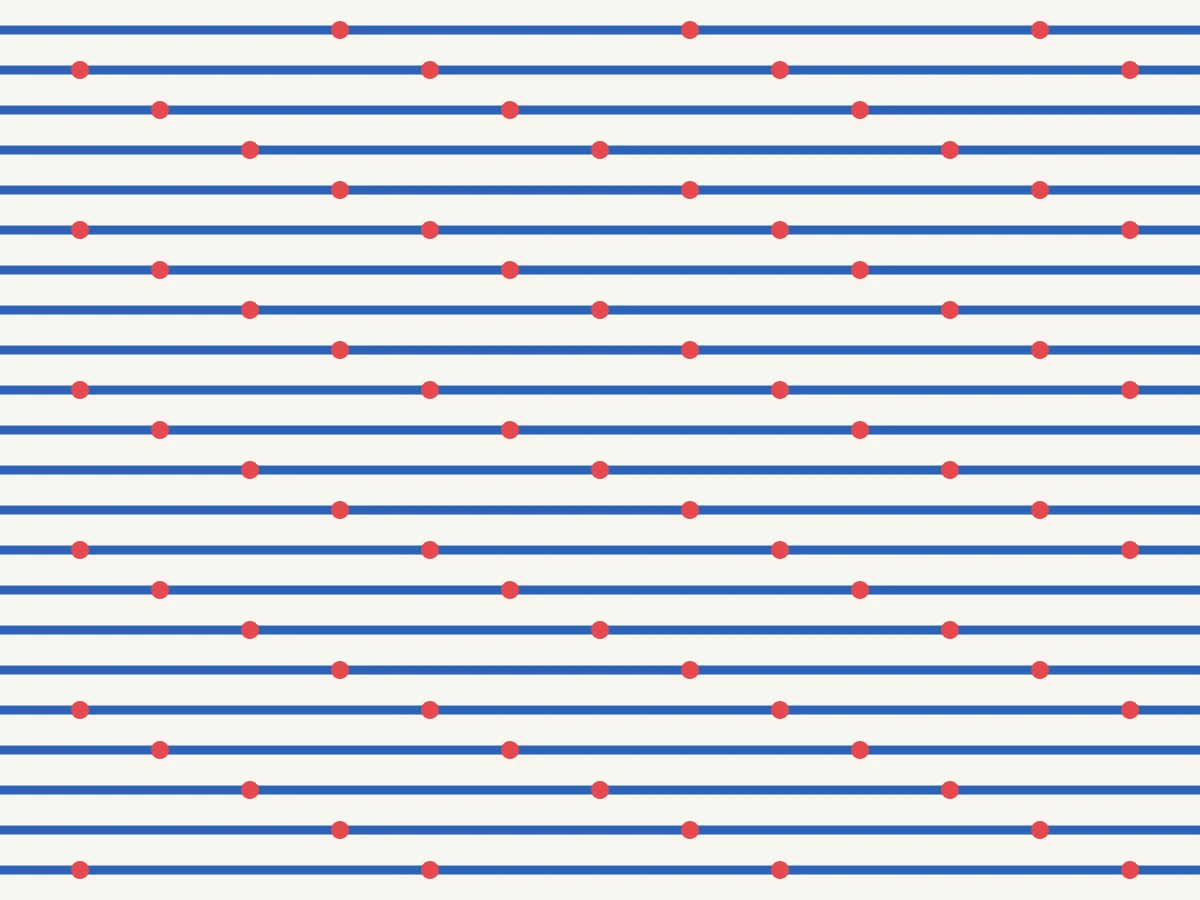
Needle points move along every row, so the pattern only repeats every four rows and no channels or lines show. Each area is split into sections sewn in order, and the needle travels inside the area so the fill covers the travel.
- Staggered needle points
- Travel hidden under the fill
- Edge walk and cross-hatch underlay on larger areas
An angle for every shape
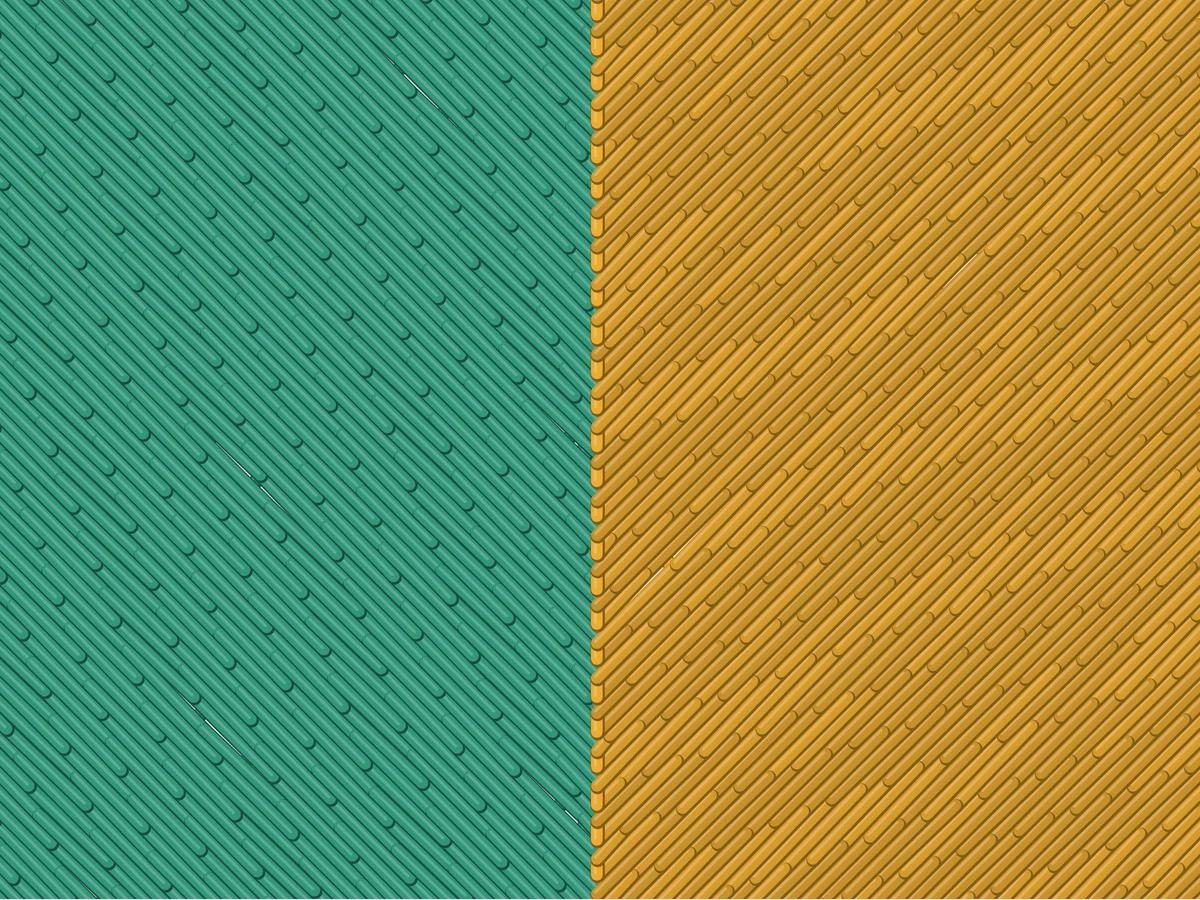
On Auto, each fill is sewn at the angle that splits it into the fewest sections, and neighboring colors alternate between 45° and 135° so they catch the light differently. Prefer one direction? Pick a fixed fill angle, from 0° to 150°, in the stitch settings.
- Fewer sections, so fewer trims
- Contrast between neighboring colors
- A fixed angle when you want one
Free account · No credit card needed
Colors that meet without gaps
Fabric pulls in as it's stitched, so areas sewn first extend 0.3 mm under the colors sewn on top of them. Small details, like thin text inside a fill, sit on top of the fill instead of being cut out of it, so they don't sink or leave gaps.
- 0.3 mm overlap under later colors
- Details under 2.5 mm stitched on top
- Large areas first, details last

Try it on your own design
Drop a logo, drawing or lettering here and see it stitched, with every setting on this page applied, in about a minute.
Drop your image here
PNG, JPG, SVG, PDF or AI · stays on your device
Free tools for this
- Free toolStitch density calculatorConvert stitch spacing to lines per inch and stitches per square inch, and estimate a design.Open
- Free toolStitch count & price calculatorEstimate stitches, sew time and price for any design size and coverage.Open
- Free toolEmbroidery thread calculatorHow much top and bobbin thread a design needs, per color and per order, from a stitch count or a file.Open
Free account
See your own design stitched
Create a free account to digitize any image, try every setting and watch it sew. Choose a plan only when you want to download files.
- Digitize and preview any image
- Realistic stitch preview and sew-out
- Download free ready-made designs
- No credit card needed



Fill stitch digitizing: questions
The quickest way to see what it does with your artwork is to try it. With a free account, digitizing and previewing cost nothing and take about a minute.
What is a tatami fill stitch?
Tatami is the standard fill for large areas in machine embroidery: rows of running stitches sewn back and forth, with needle points staggered from row to row so the surface looks smooth and even. Embrizo uses it for every area too wide for satin.
Which fill angle should I use?
There's no single best angle. 45° is a safe default, neighboring areas look best at different angles, and long shapes look best when the rows run across them. Embrizo picks the angle per shape on Auto, or you can set one.
Why are there gaps between the colors in my embroidery?
Stitches pull the fabric in, so shapes that only touch on screen open up when sewn. Embrizo extends lower layers 0.3 mm under the colors on top and adds pull compensation, which closes those gaps.
Can I turn a fill into satin?
Yes. Set the color to Satin in the color list; wide shapes then sew as split satin.
Guides on this
 10 min readFill stitch angle: how to choose the directionWhat the fill angle changes (sheen, perceived color, pull and push, sections and trims), why 45° is the default, contrasting angles for neighboring areas, following leaves, petals and fur, the angles to avoid on knits and long shapes, angle and pull compensation, a shape-by-shape table and how to set the angle in Embrizo.Read the guide
 6 min readEmbroidery stitch density explainedWhat density means in embroidery, typical spacing for fill and satin, how fabric and thread change it, and what it does to stitch count, sew time and stiffness.Read the guide
 7 min readHow to fix gaps in embroideryThe kinds of gap and how to tell them apart, why stitches pull the fabric, fixes in the hoop and the stabilizer, fabric showing through fills, machine checks, designs that are prone to gaps, and fixing the file or digitizing again.Read the guide
 6 min readSatin stitch vs fill stitch: when to use eachHow satin, tatami fill and running stitches differ, the widths each one suits, and how to choose.Read the guide
Your design, ready to stitch
Sign up free, upload an image and see it stitched in under a minute. Your image stays on your device.